
I discovered Mood Sewciety a few Summers ago when I was looking for patterns for the Sew Together For Summer challenge. I have sewn a few items from Mood and I’m returning to that great resource for my latest project.

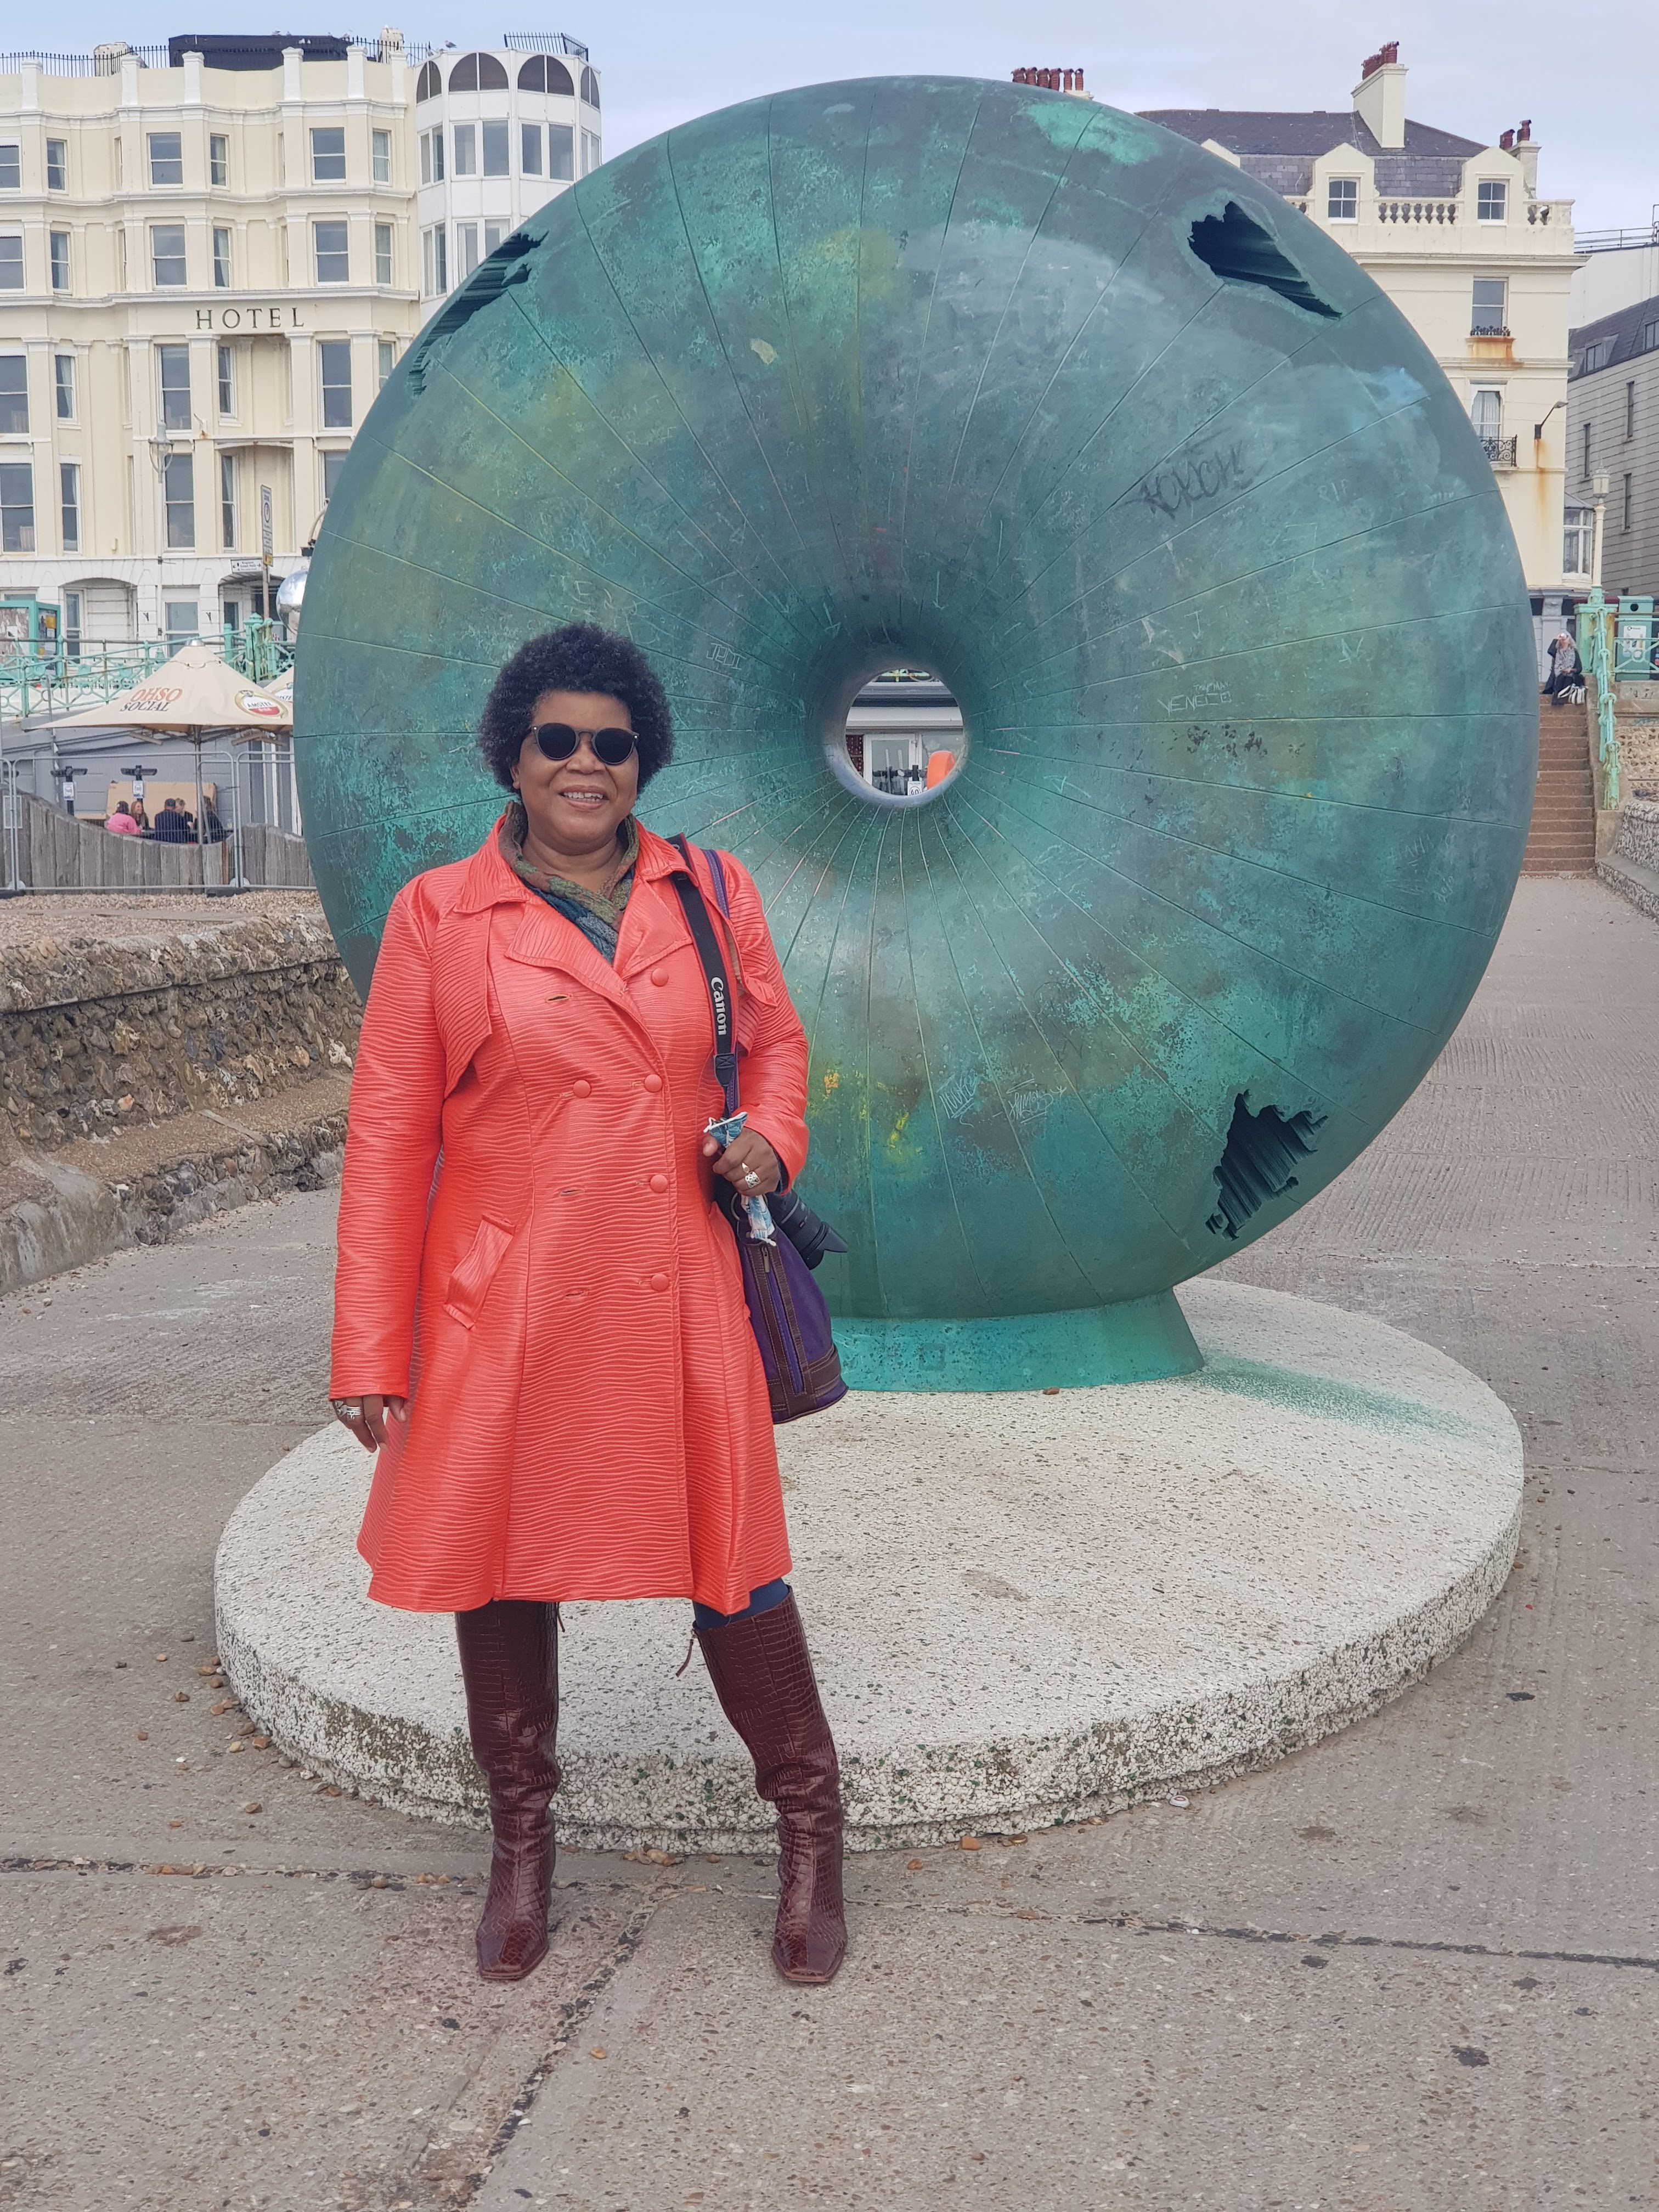
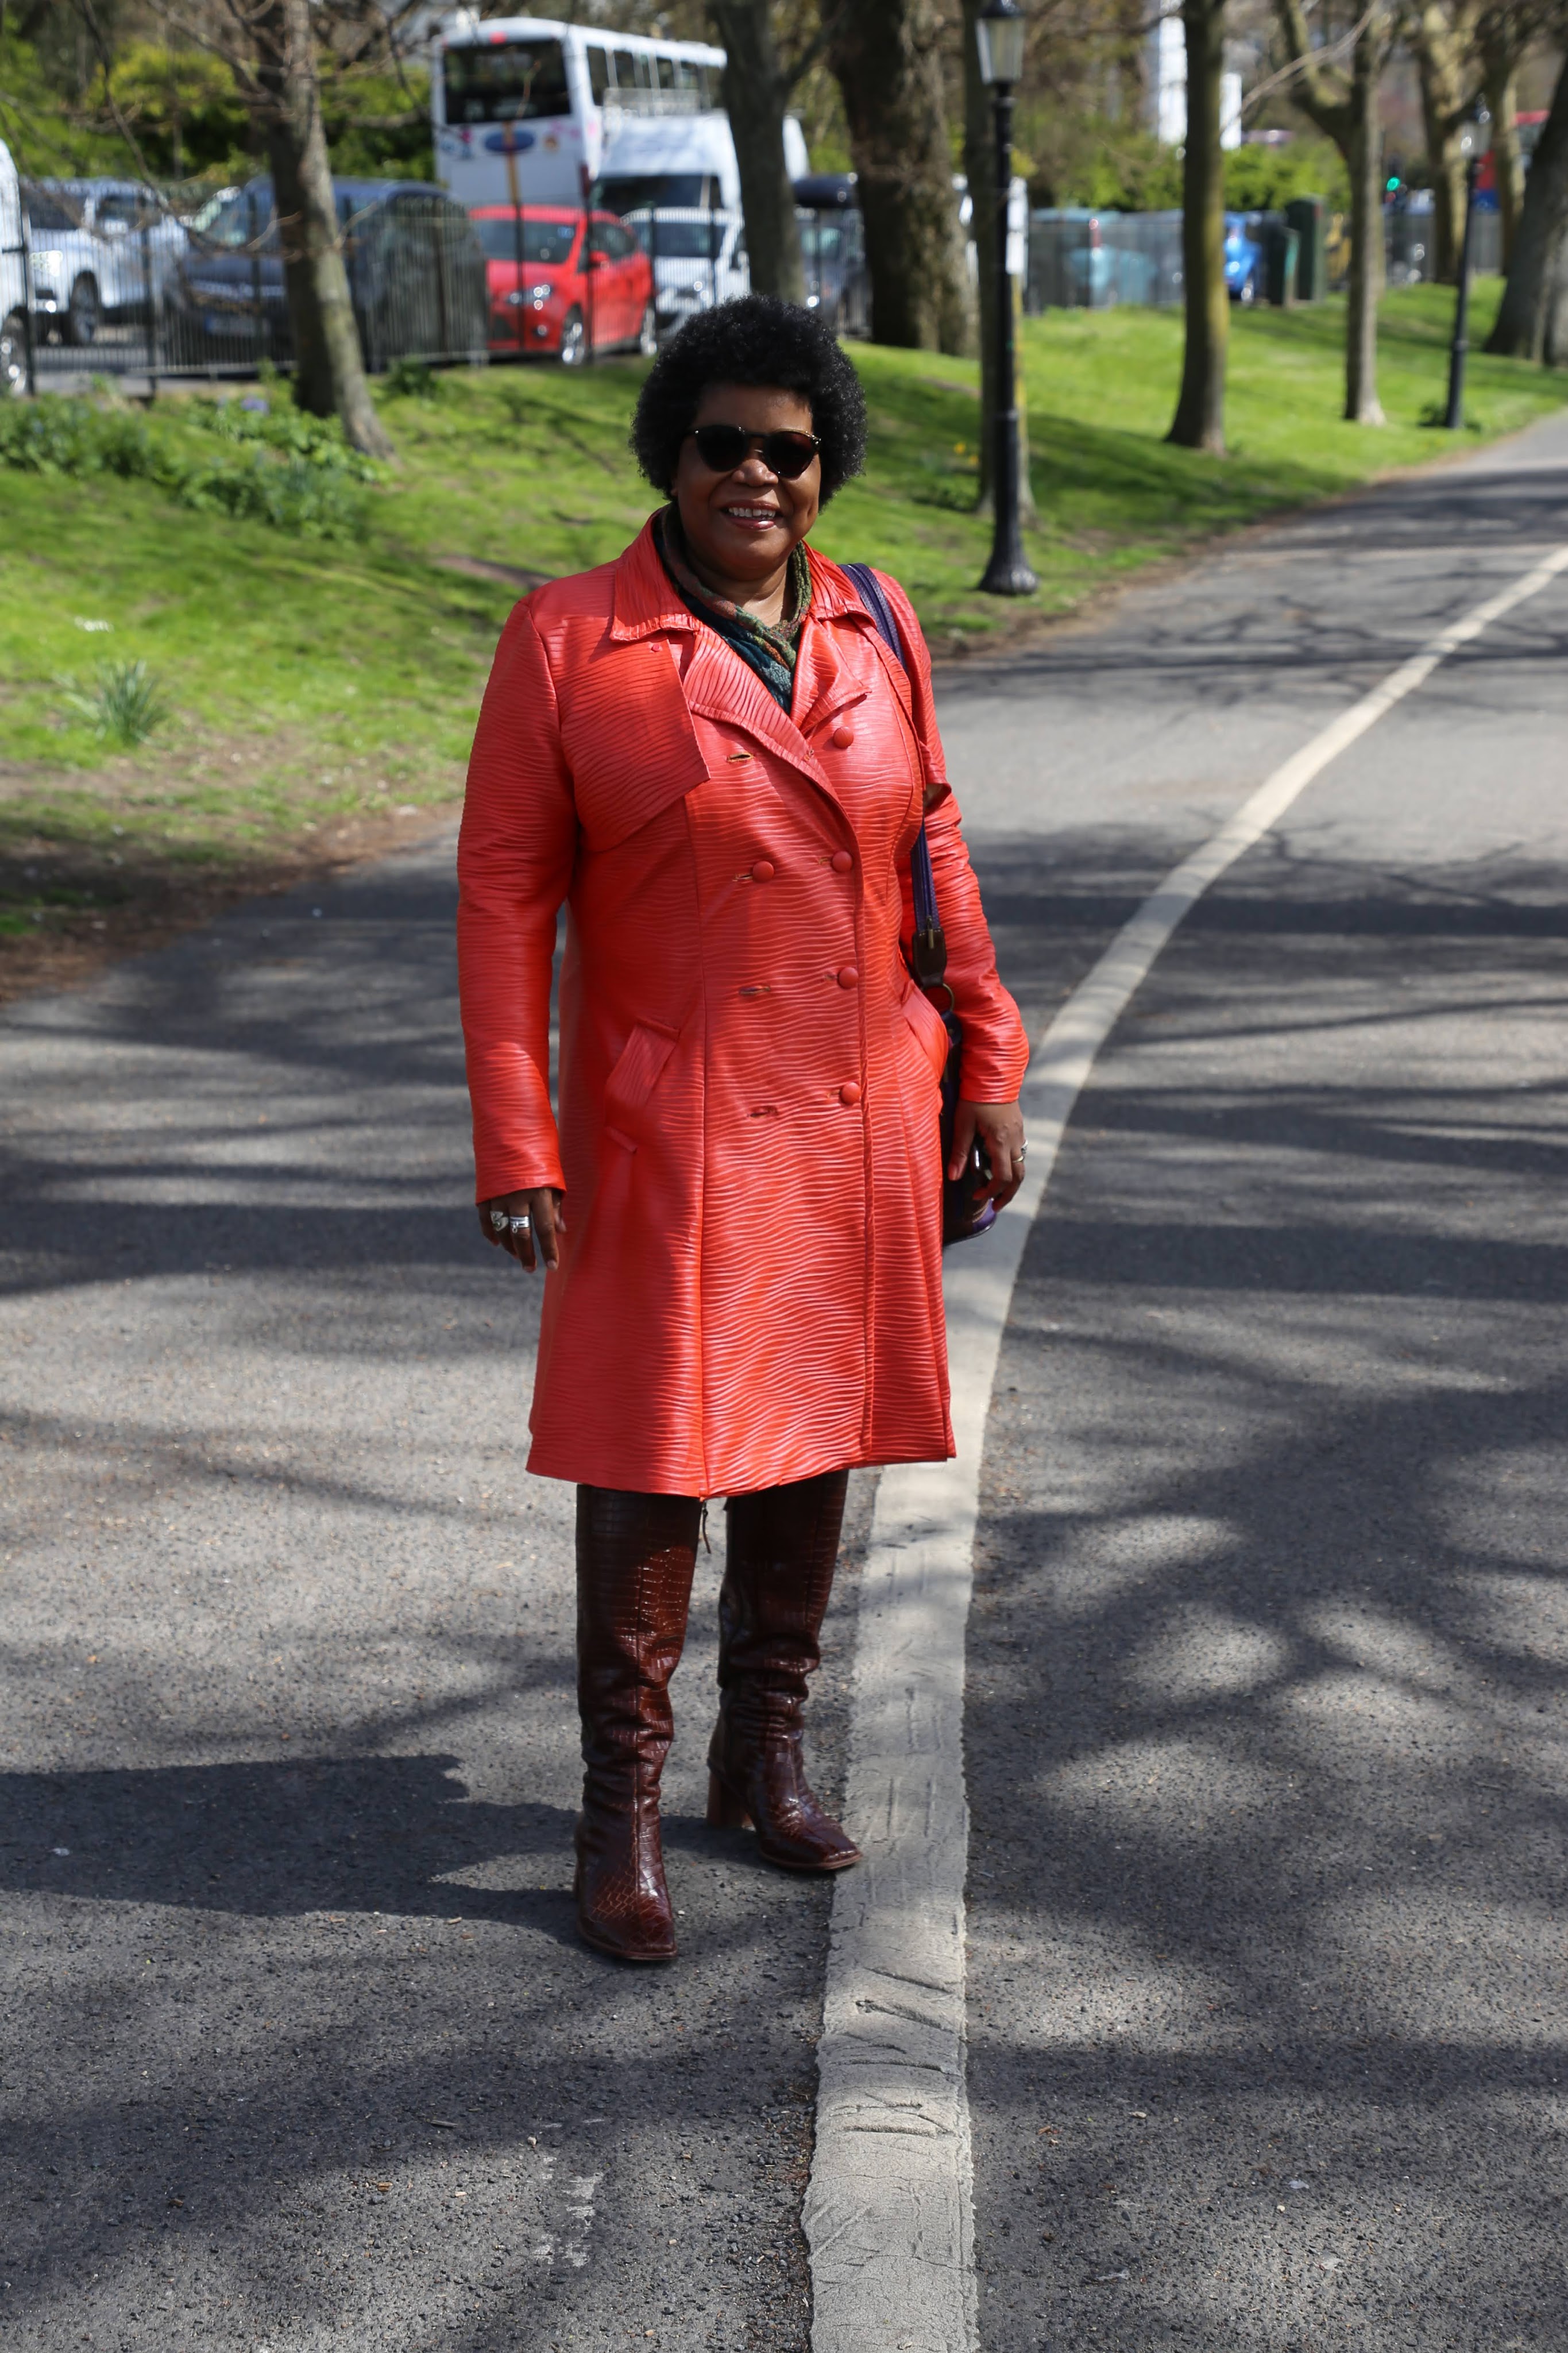
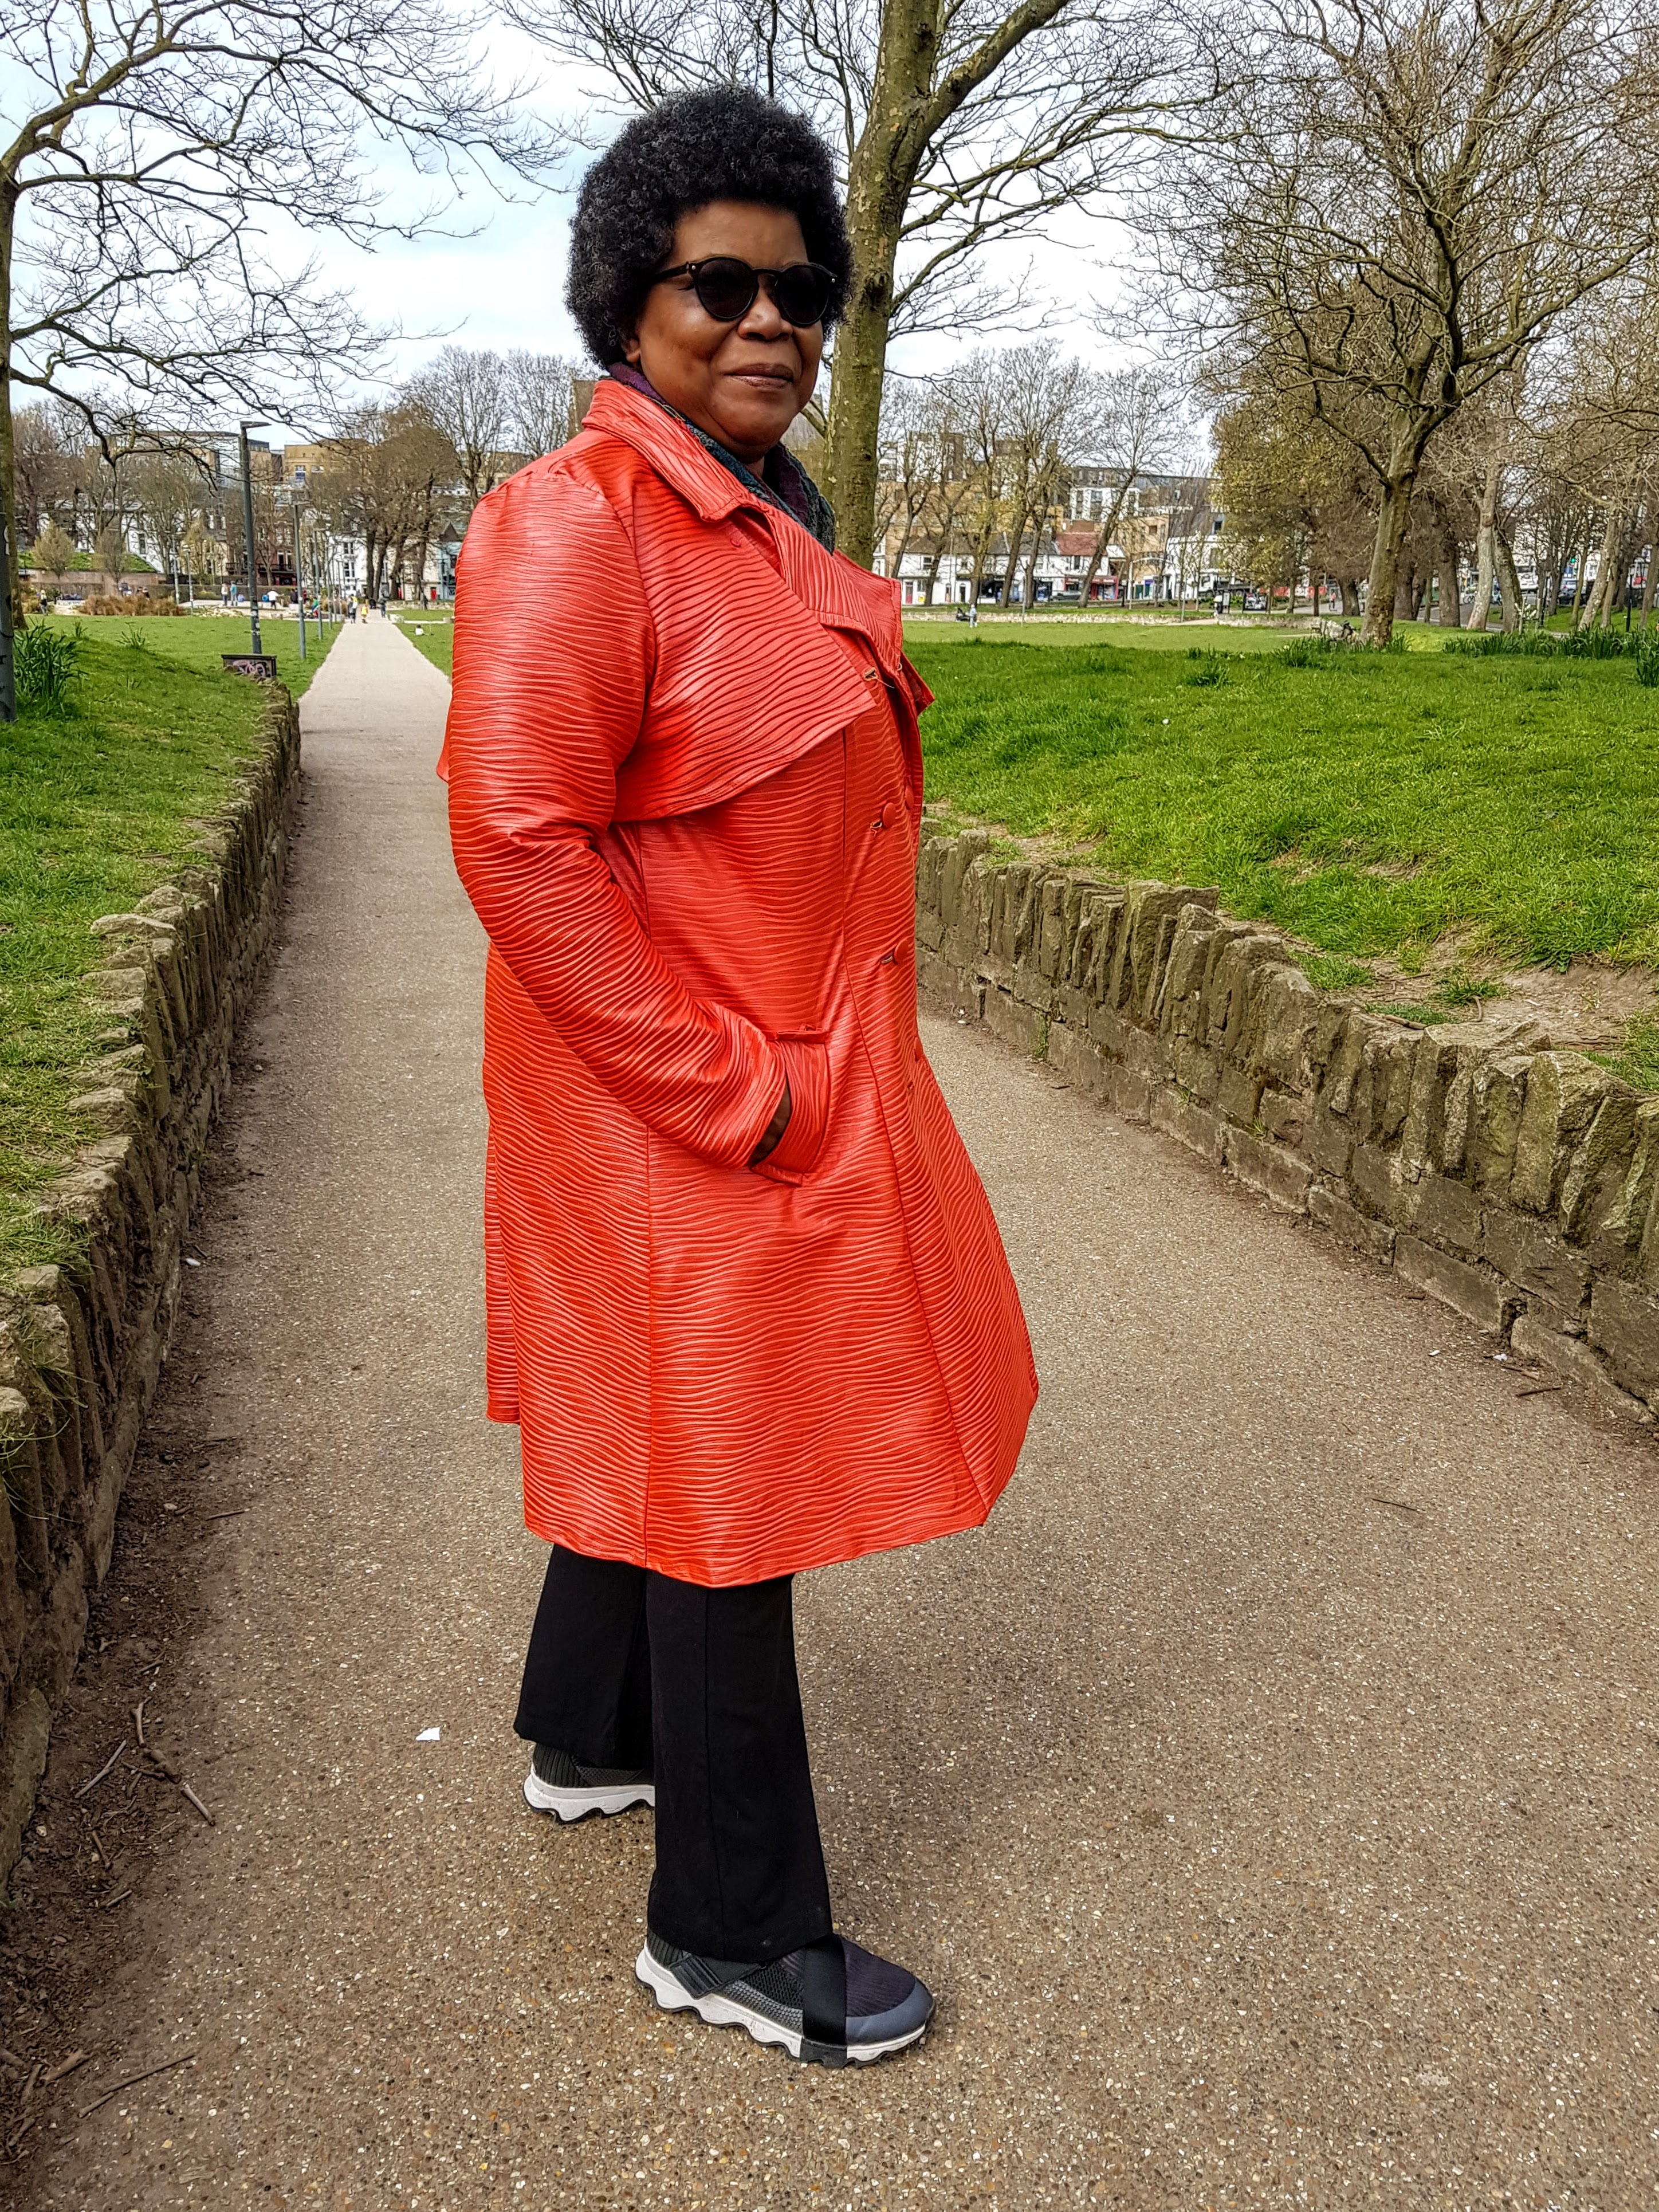
I’m making a lightweight Trench coat out of this eye-popping red pleated faux leather fabric that I got from Minerva.

Makes me feel hot just looking at it 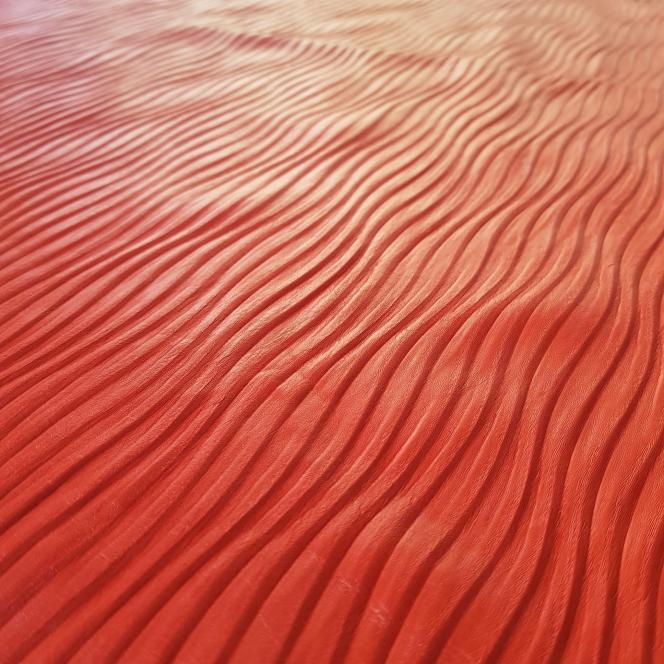
Namib desert vibes
There is a gap in my wardrobe for a lightweight coat, I’ve made a couple of Woolen coats in the past and a few jackets but I do need a raincoat. I also think the effects of cabin fever are still pushing me towards bold and highly featured makes. With this bright red fabric, I’m hoping to use my rainbow thread to embellished the insides as I’m not lining it.
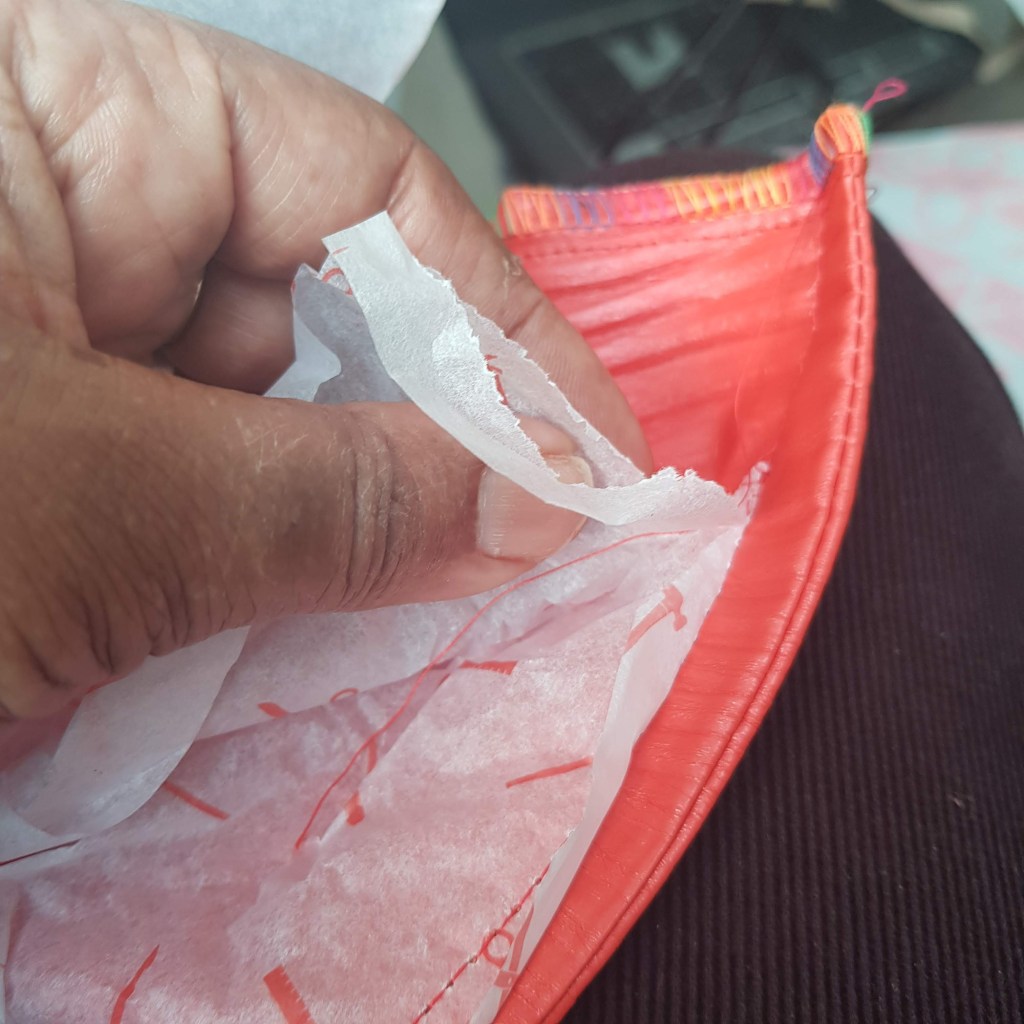
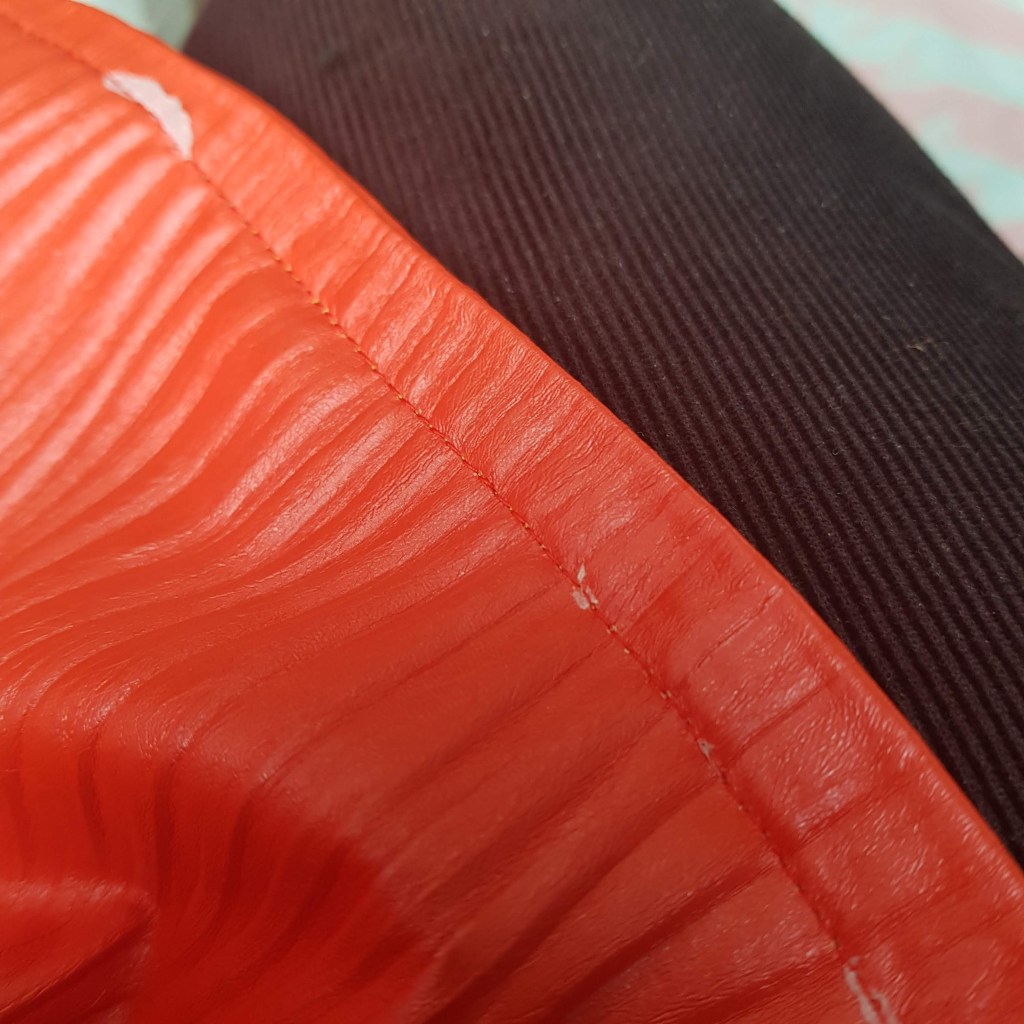
It’s easy to prepare and to work with because it’s synthetic and it’s essentially vinyl so there’s no pre-washing needed and there’s no need for pre-finishing the edges as they don’t unravel. I’ve decided I want to minimise the stitching so there will be some top-stitching around the edges but I’m going to use seam tape to join some of the closures for example inside I’m going to stick the facing to the main fabric using seam tape rather than topstitch it. I’m a little nervous about stitches and needle holes showing through the fabric.
When I did my topstitching I used the Teflon presser foot and covered the fabric with tissue paper to stop sticking and then just tore it away.


This coat has an interesting detail in that it is made in two pieces. It’s has a detachable bolero which serves as the storm flaps. The coat can be worn sleeveless although, to be honest, I can’t see the point in that and I will be joining the two pieces. I noticed on the Mood website they’ve got a version where they’ve made a reversible bolero so you essentially get two options of how to wear your coat and this would make a detachable version worthwhile. I used some small Prym poppers to attach the bolero to the body of the coat. I half imagined that I could try the sleeveless version later but in reality these poppers are quite firmly attached and I don’t want to risk damaging the fabric trying to separate them. So a permanent fixing it is.

I had some covered button kits in my stash so I used the self-fabric to make a set of buttons. As I was putting them together, I marvelled at how clever somebody was to invent these buttons. They are so easy to make, simply cut out the circle of fabric a little larger than your button, baste around the circumference, pop in the button back and pull it tight then you snap a cover over the shank and voila there you have the beautifully finished button.
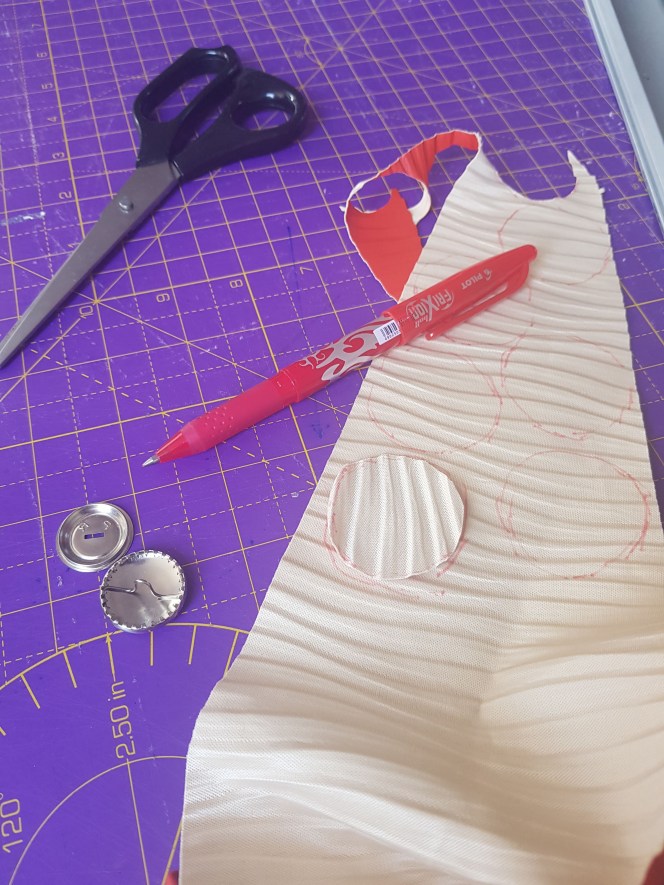


Turns out I also had a no-sew button covering kit that I had forgotten about.
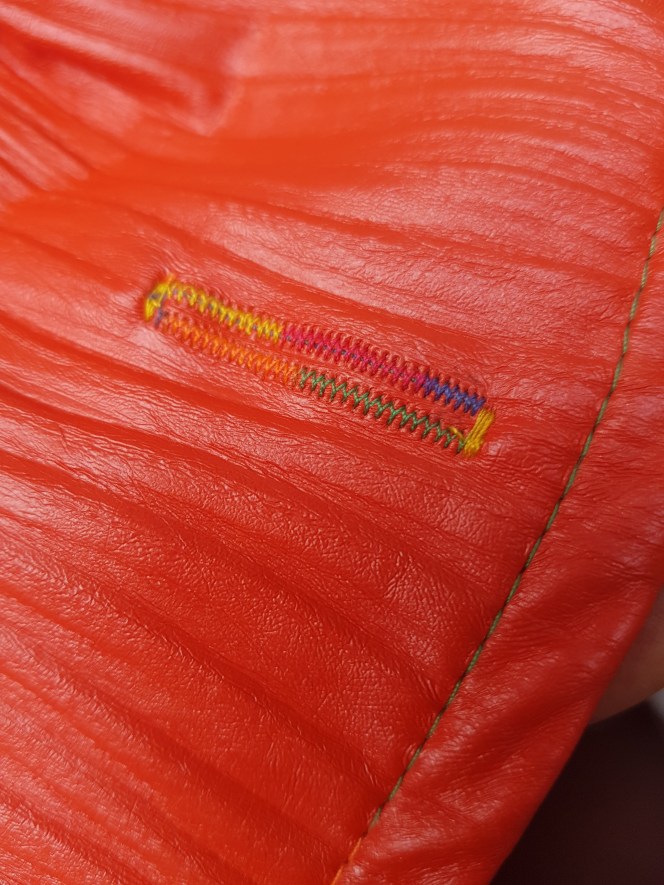
For some reason, I kept putting off sewing the buttonholes on this coat and I attached the buttons before I’d done my buttonholes, which is back to front because the buttonholes determine the position of the buttons. I made another fateful decision in choosing to use my rainbow thread on the buttonholes which will therefore be very visible and little room for errors.
My hesitation seemed to be justified, I was concerned that maybe the presser foot would stick on this fabric however that didn’t happen. The problem I encountered was that my rainbow thread kept breaking. I usually use this thread on the overlocker and I’ve never had any trouble and I used it to make buttonholes on my recent Donna Karan blouse and again didn’t have any problems with it. I’m not sure why but despite testing successfully, I only seemed to be able to manage one-and-a-half buttonholes before the thread broke again so these stage was a bit of a nightmare. When an automatic buttonhole sequence is interrupted, for example, by a broken thread, the computer loses its place. It doesn’t simply pick up where it left off so I couldn’t just finish the buttonhole, it wants to start a new buttonhole so a couple of them ended up absolutely butchered.
I didn’t really know whether I should try to unpick them as I envisaged a mass of mangled red vinyl. I thought about ‘patching’ them by zigzagging over the missing bits. In the end, I chickened out a bit and left the offending buttonholes hoping that they will fall under the flap where they won’t be visible – we shall see, it depends on how obvious they are both in reality and in my mind’s eye. Edit:- I eventually gathered some courage and unpicked the offending b/holes and redid them.

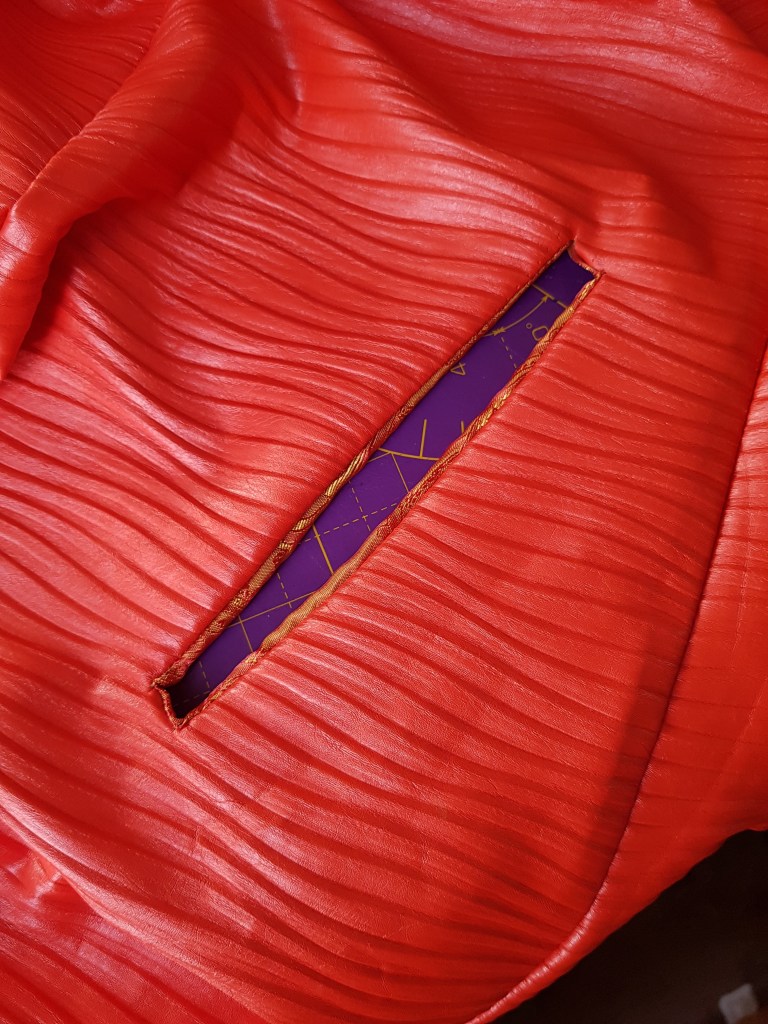
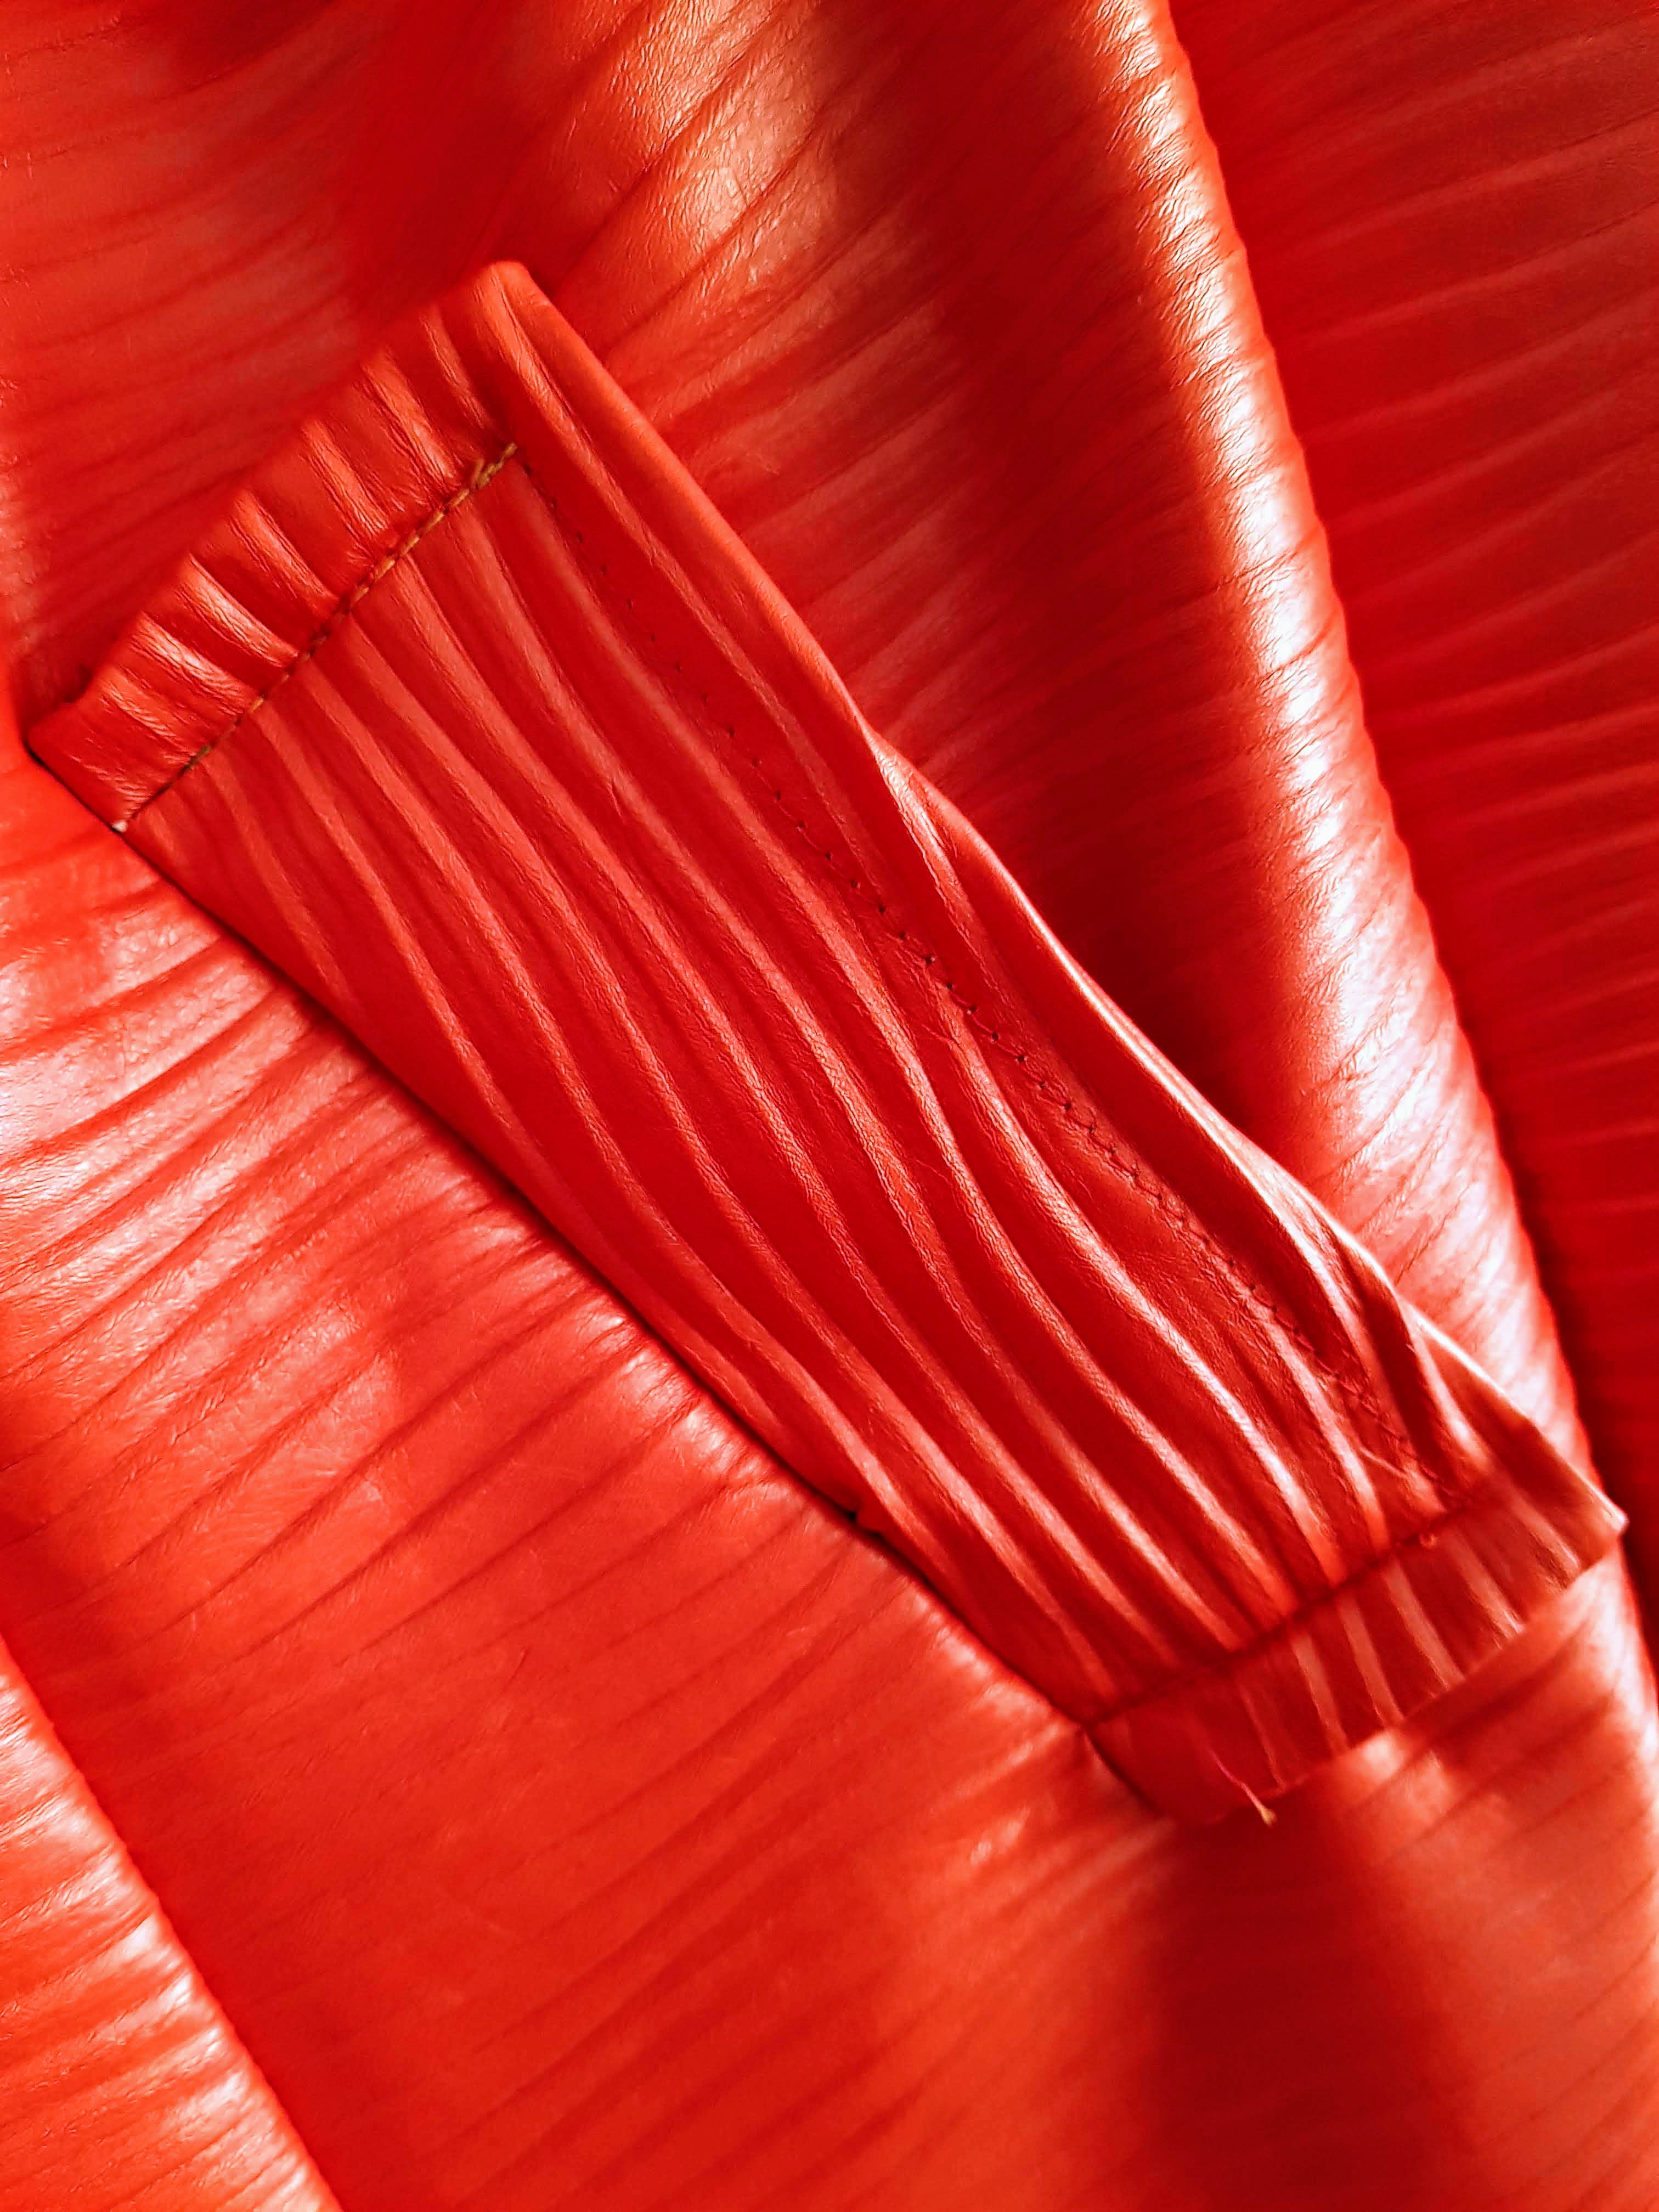
There is a pair of welt pockets to add and I’ve had a reasonable amount of practice at these now so they weren’t too difficult to insert. I used the lovely two-tone Paisley jacquard lining fabric which goes so nicely with the red of the coat and I think will give a lovely pop whenever the coat flashes open.
I’m so happy with this coat that I’m almost willing it to rain so I can go out with test its water resistance, but I will still enjoyed flashing it on a sunny day and feeling like a million dollars as I start down the street.

Have you made any feel good clothes for when lockdown ends?
Thanks for dropping by,


Adore this coat Elaine – and completely feel your buttonhole pain – I got caught with the same ‘computer says start again’ issue on my latest make because there were too many fabric layers (apparently)🤨. You were totally dauntless to go with such an unusual fabric but my, did it pay off 😍 Post-lockdown spirits lifted I am sure!
LikeLiked by 1 person
Hey, Welcome! Thank you for visiting and for your lovely comment. I really was tempted to leave those buttonholes but I knew they were there. The coat has definitely made me want to give up hermit life and go outside!
LikeLike
That’s certainly a feel-good coat! Amazing. The covered buttons worked beautifully. Wish I could get mine that smooth, I always seem to end up with little pleats.
LikeLike
I was a little scared of this fabric initially but it behaved well throughout.
LikeLiked by 1 person