
Burgundy faux suede bomber jacket
Since I rebooted my sewing hobby 5 years ago, I have seen many IG prompts on challenges that ask what are your tried and true patterns. I’ve never joined in with those before because, in my previous sewing life, I rarely used a pattern more than once.
However, these days, I find I am starting to gather a few favourite patterns. It shouldn’t be a surprise because, in my RTW days, I was the sort of person who, if I found a particular pair of trousers that fit me well, might have 3 or 4 in different colours. Therefore, it makes sense that a pattern that works well would be made up more than a couple of times.
So, meet my most used and therefore a Tried and True pattern for me:

Kommatia Patterns J004 Bomber Jacket.
This project will be my 4th iteration of this jacket, but strangely, I haven’t blogged any of them.


Funnily enough, I bought the fabric for this jacket before I made any of those ones and as is the way with “plans that went astray”, I don’t know why I was hesitating to make it. This burgundy suedette was one of the first pieces of fabric I bought when I decided to resume my sewing hobby. I bought it to make a bomber jacket, but for some reason, it sat for 4 years unmade and then when I cut it out, it sat another year in the UFO pile. It’s not a difficult pattern to sew, so it must just have been that other projects jumped the queue again. Now I look at my pictures, I remember ….. welt pockets.
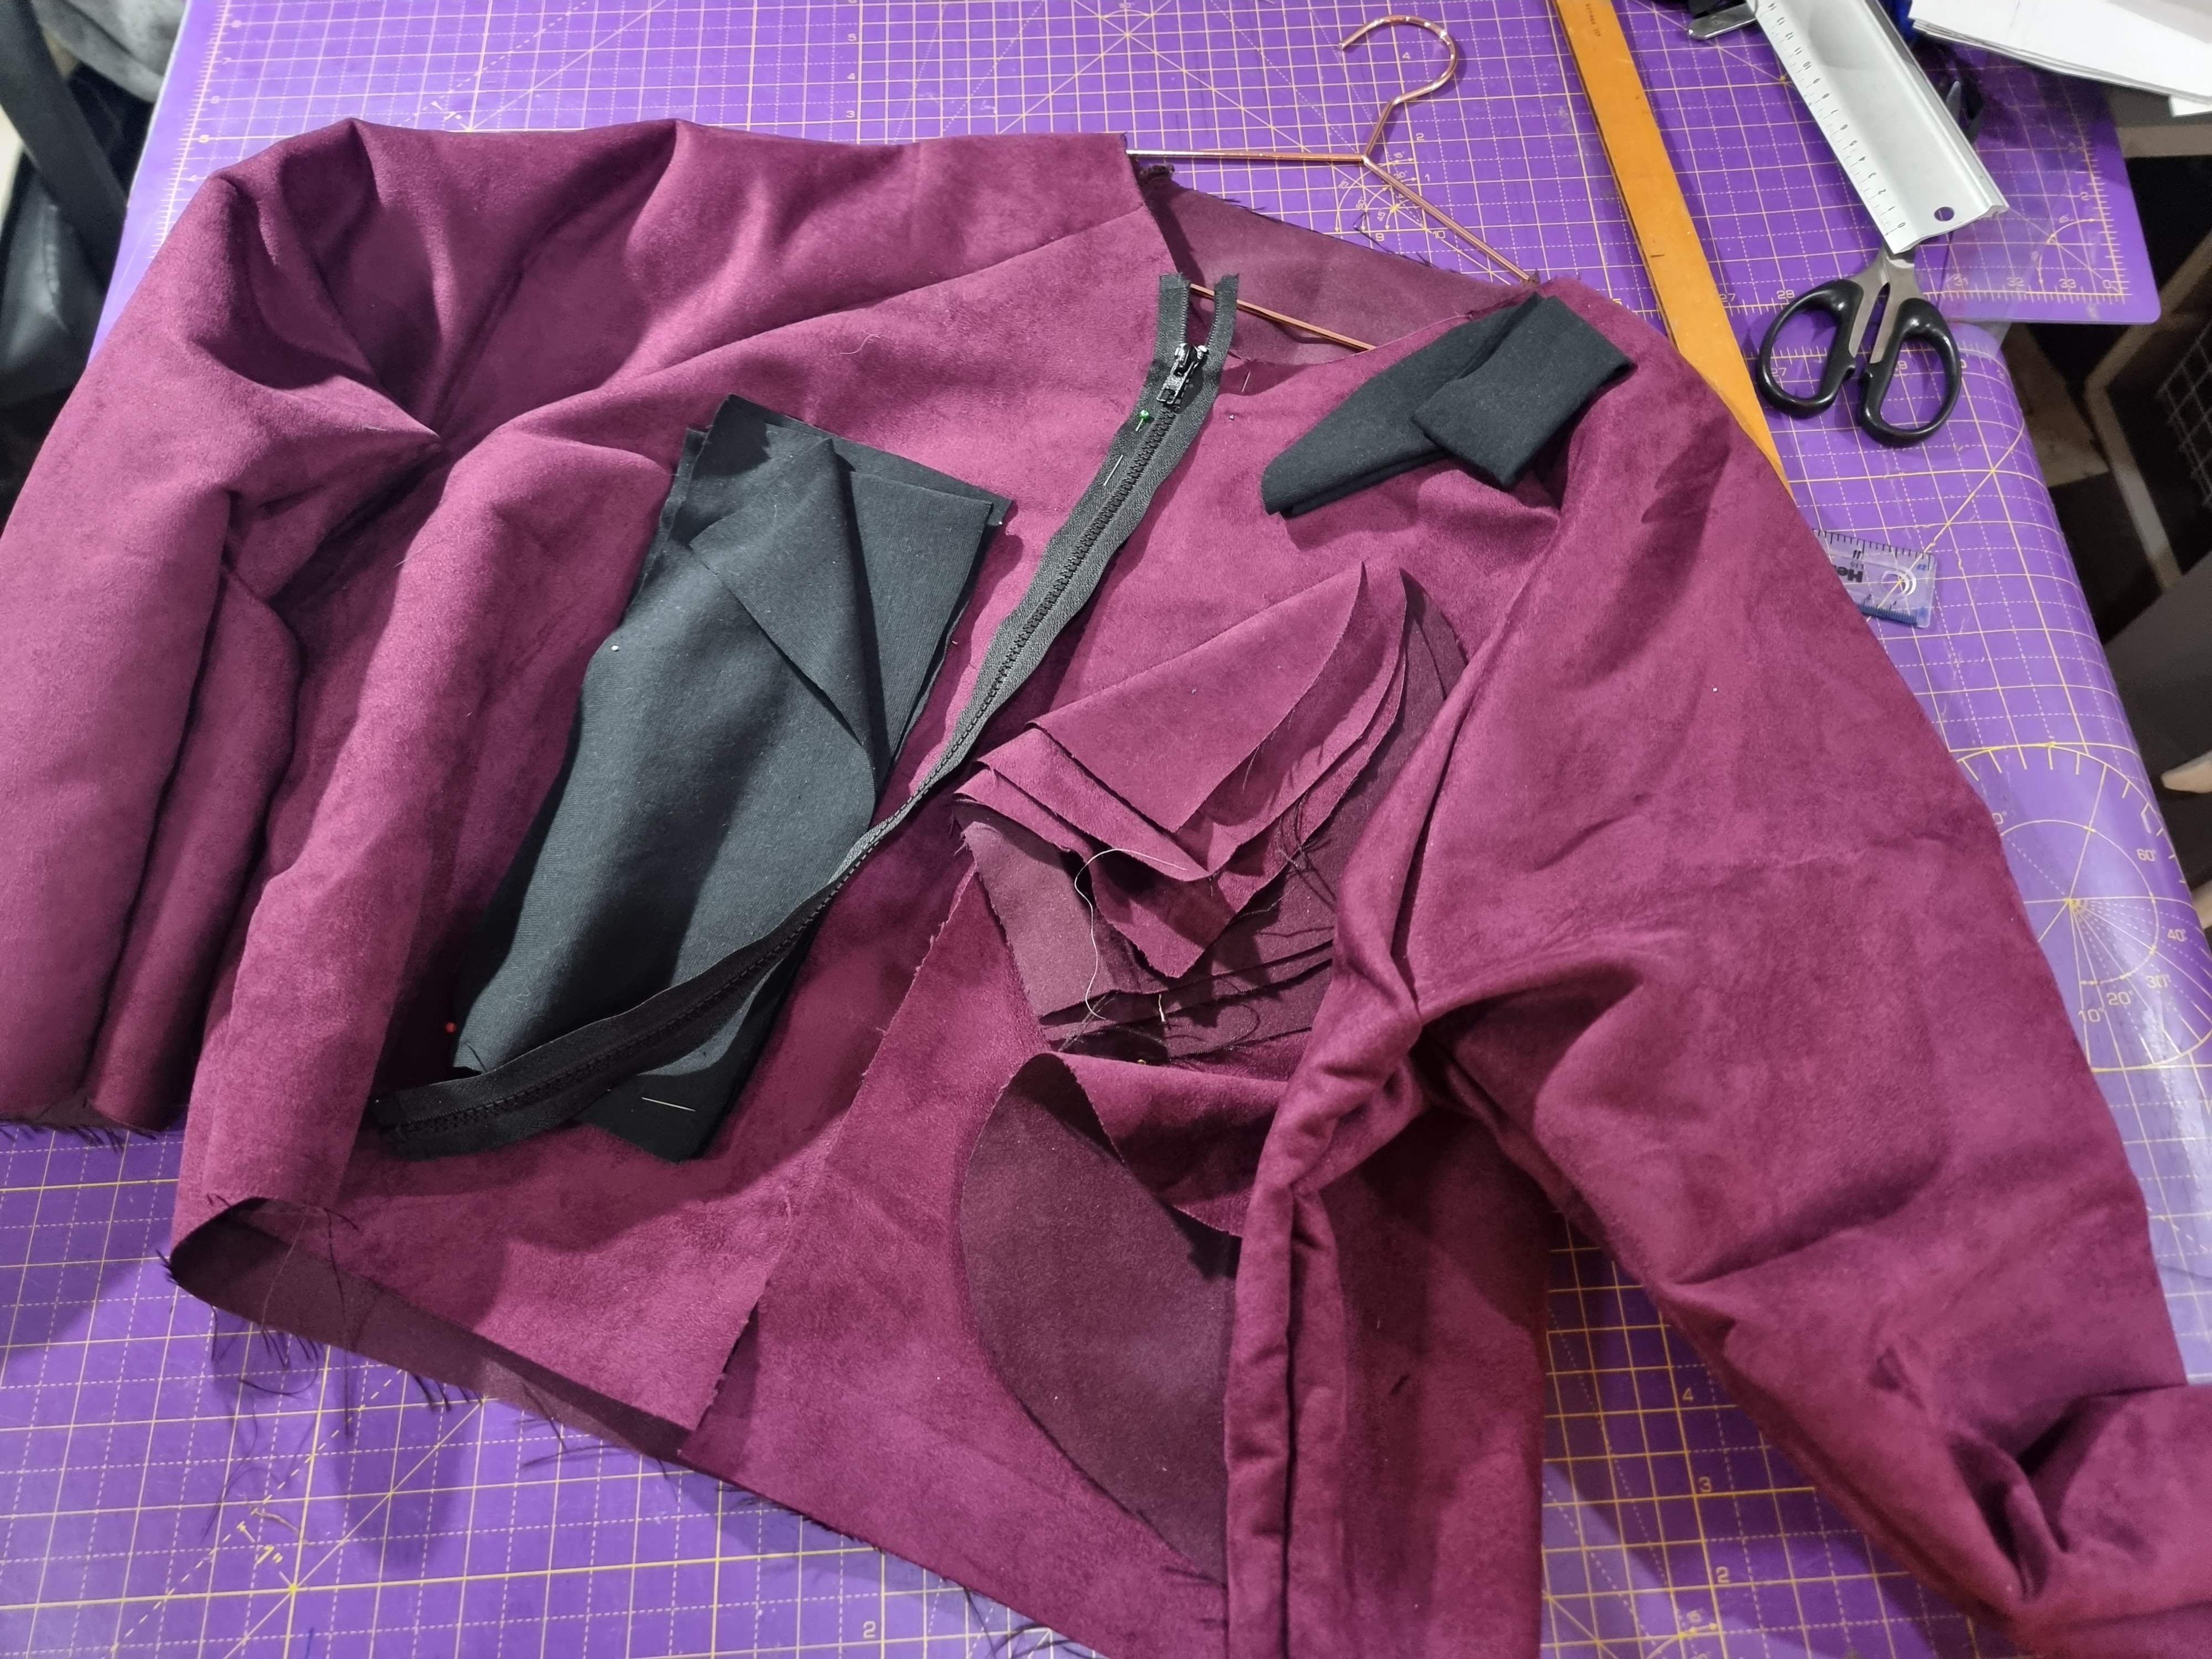
In the interim, I decided to line the jacket. The pattern is not designed with a lining, but I thought it needed it to elevate it to a level befitting this fabric. I bought some great lining from Minerva which was the perfect shade and simply cut out a second set of pieces and made it up the same way as the shell.

I plucked up my courage and made the welt pockets adding a piece of the black ribbing as a contrasting element on the welt. I remembered from my first version of this that the zipped pockets of the original were really scratchy and uncomfortable, so I left out the zip. Unfortunately, this renders the pockets next to useless as they are not particularly deep and the angle means nothing will stay in them. Note to self – if I make this jacket again – I need to redesign the pockets.

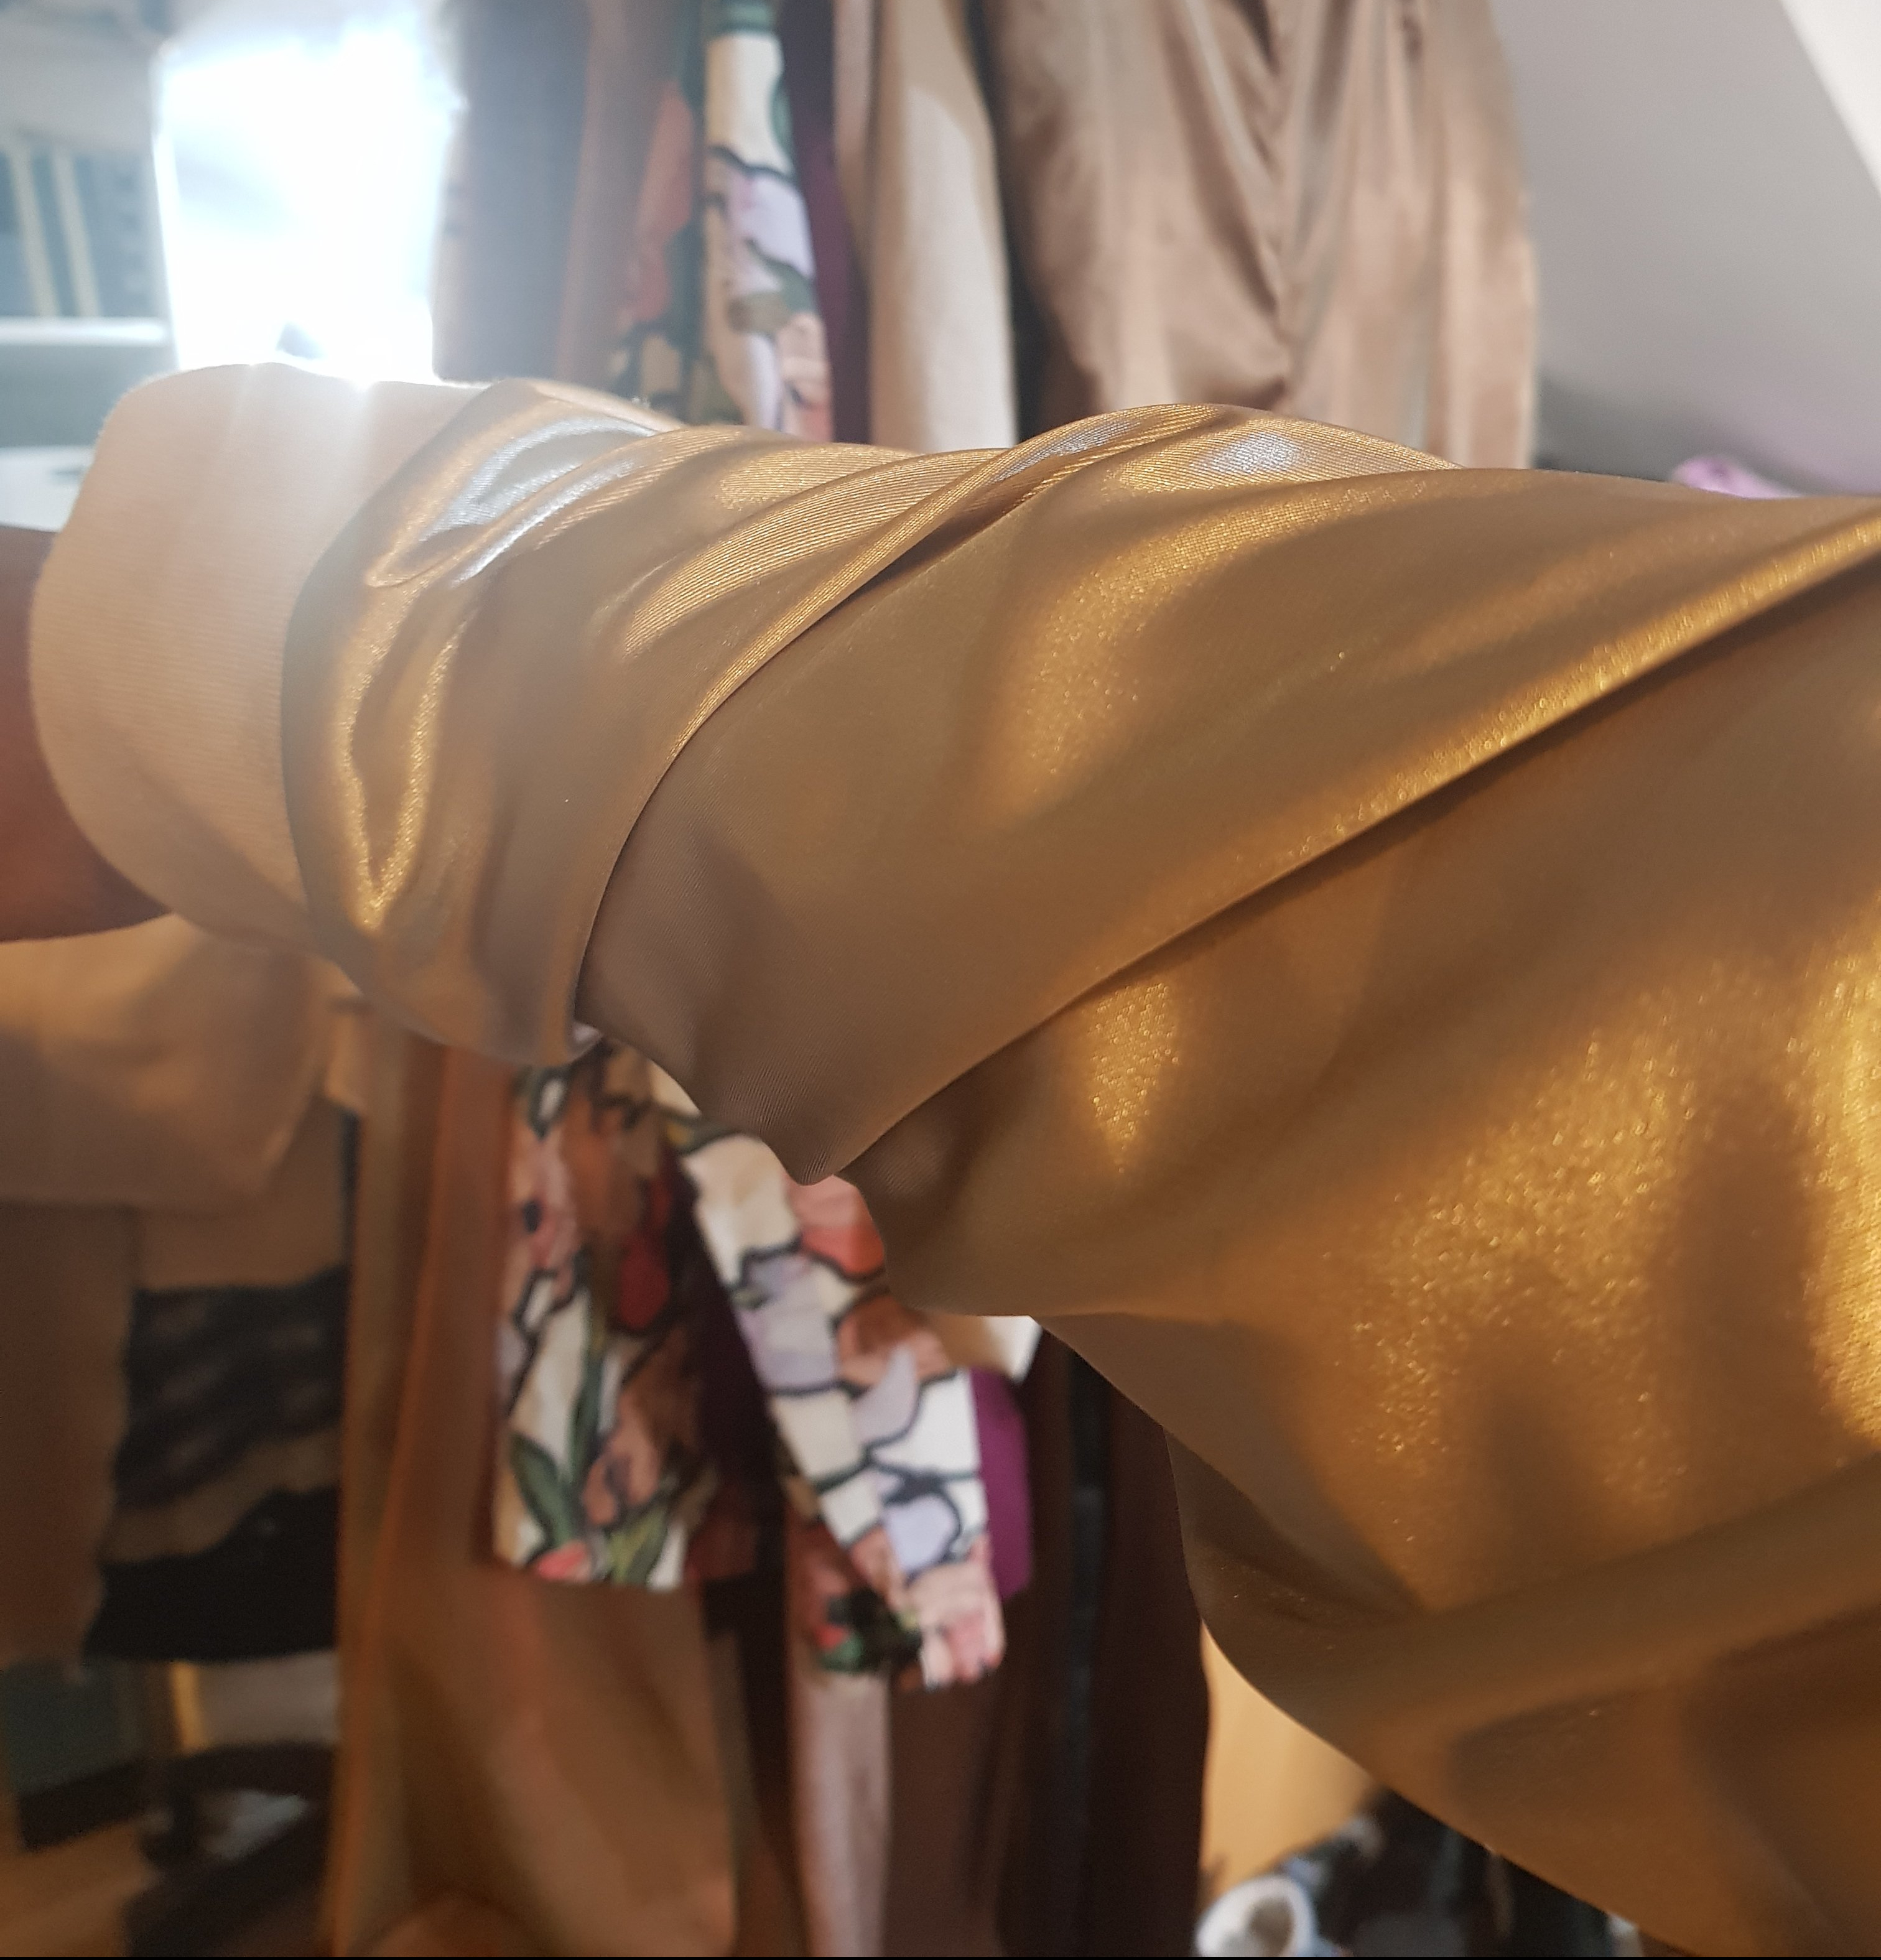
After I had made the pockets, the next step was to join the shell to the lining. To line the jacket, I first added the ribbed collar, by sandwiching the collar between the outside and inside and stitching it into place.
I then joined the sleeves together. This is a little tricky, I had to first attach the ribbed cuff to the outside and then, turn both sleeves inside out and join the hems together so that their right sides are together with the cuff between. When these are stitched together the sleeves must then be pulled back through the outer sleeve. You have to be careful to match the sleeve seams carefully or you can end up with a twisted sleeve, as I experienced when I made my satin bomber.
The jacket has a chunky separating zip as a closure at the centre front. Putting the two pieces right sides together, I sandwiched the zip between the two layers and stitched it up.
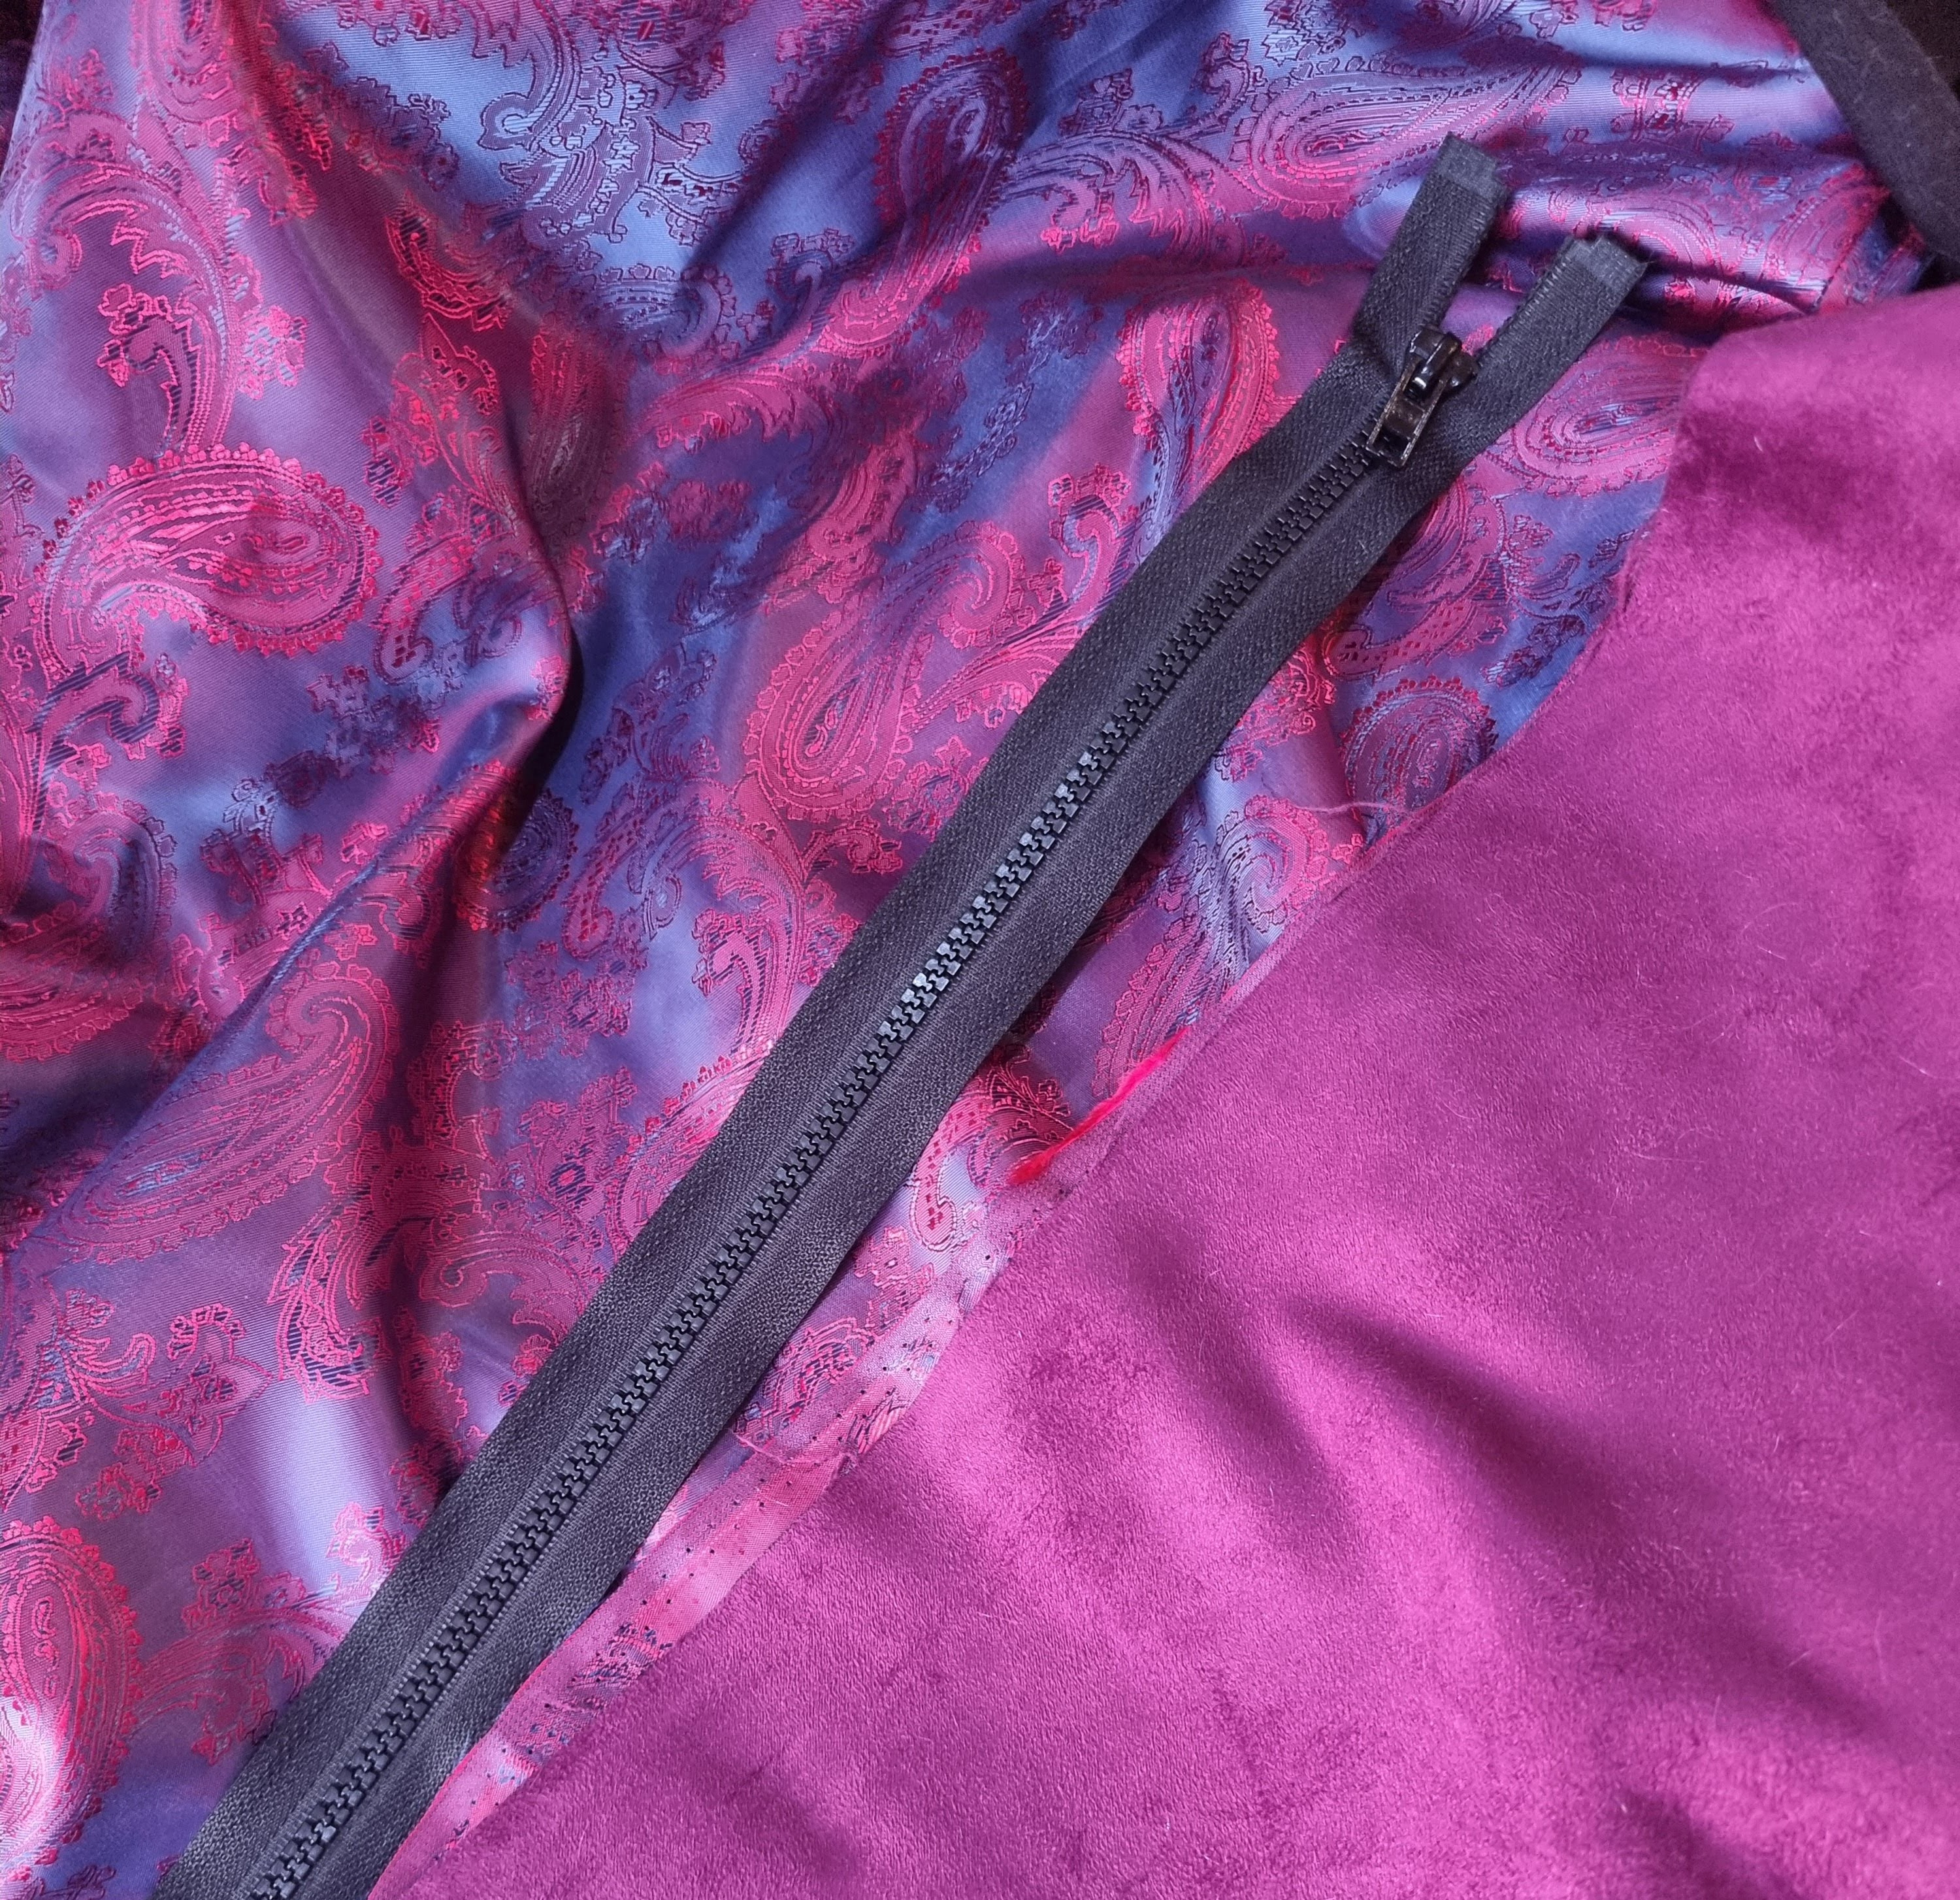
When closing the bottom of the jacket, I joined together the pieces this time inserting the waistband between the two layers but leave a gap of about 20 cm to allow the garment to be turned, and it can then be finished by hand.


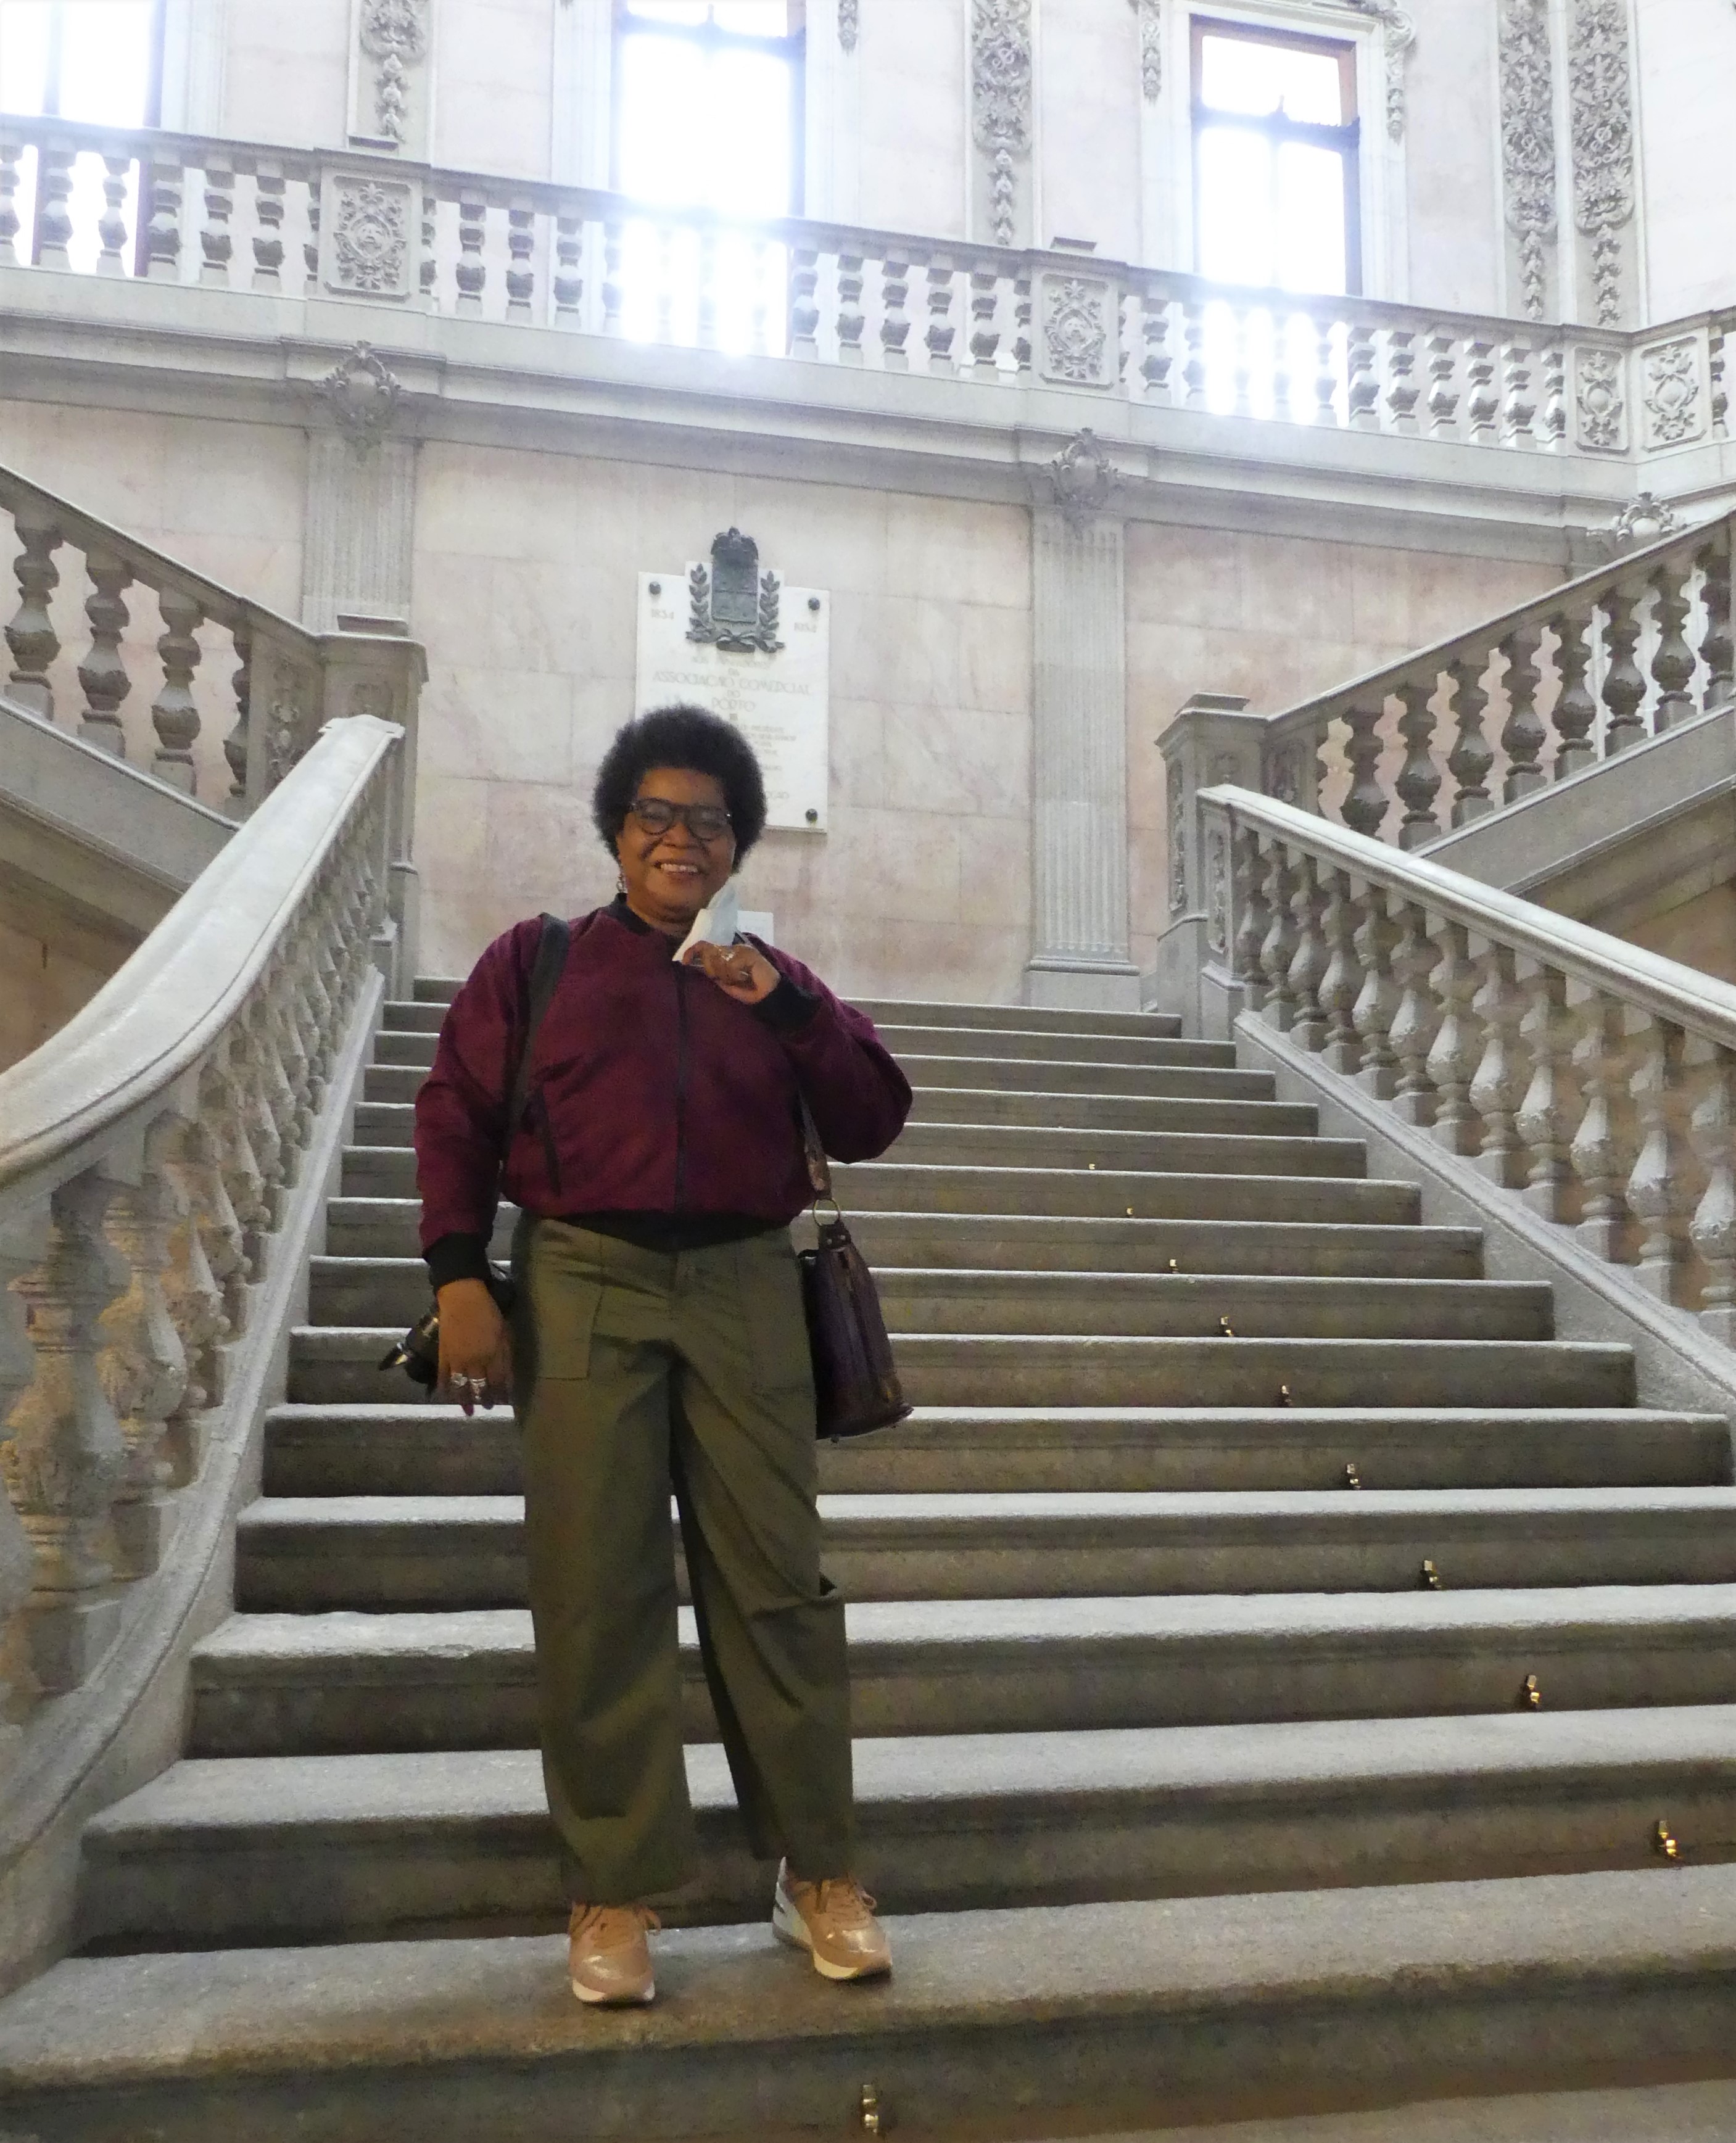
I got some pictures of me enjoying Portugal in my new bomber jacket. They are not the greatest but hopefully, you can see how pleased I am with my bomber.
Thanks for dropping by,


Awesome! The others are great too, especially the silver satin one
LikeLiked by 1 person
A great and versatile jacket in a fabulous color! Thanks for the details. Oh and love the lining!
LikeLiked by 1 person
Thank you, the lining really elevates it.
LikeLiked by 2 people
I love all the details of this project – those pockets and lining really make it something special.
LikeLiked by 1 person
I’m so happy to see this with all the extra details! The lining pockets and fabric really make it special.
LikeLiked by 2 people
Thank you, it was a nice base to make some adjustments. I really love it now.
LikeLiked by 2 people
Love the bomber jackets! Oh and I cannot wait to visit Portugal someday!
LikeLiked by 2 people
Thank you, you will love Portugal!
LikeLiked by 1 person