
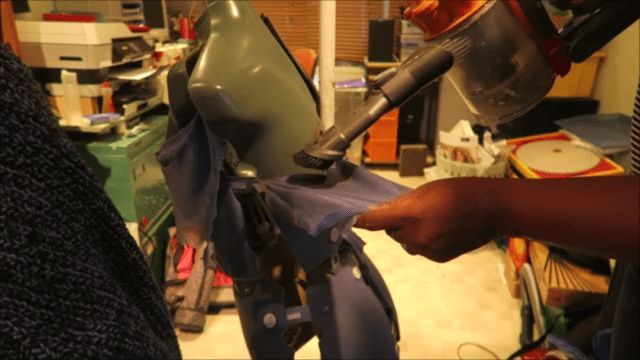
Well here we are ready to get a girl back on her feet. In part two I showed you how I re-covered both upper and lower parts of the dress-form. It now just leaves her tipsy stand to be sorted out. There’s often that moment when you have dismantled something and you realise you don’t quite know how to put it back together. So here I was basking in the glory of having done decent job of re-upholstering my dress-form. However there remained the not so small job of getting her remounted on her stand and re-fixing that cap that I had ripped apart some time earlier.
I had of course known at the time that this would be difficult to fix, but … omelettes, eggs … you know?
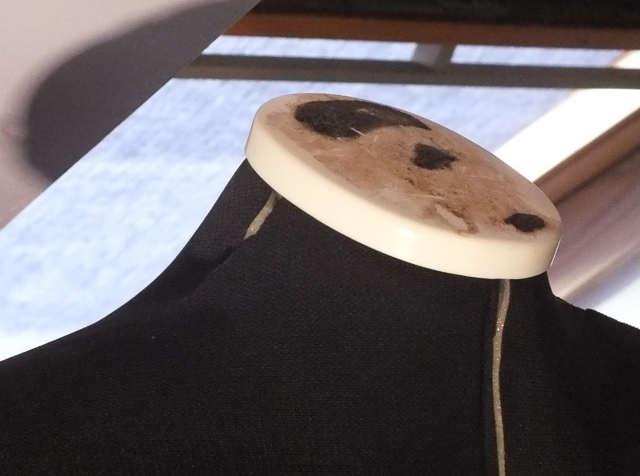
The main problem is that the whole apparatus was glued to that cap and fixed together with a metal pin. No I didn’t lose the pin, but I figured this had to have been done by machine and therefore would be difficult for me to do by hand. I found that I simply couldn’t push it back into place.
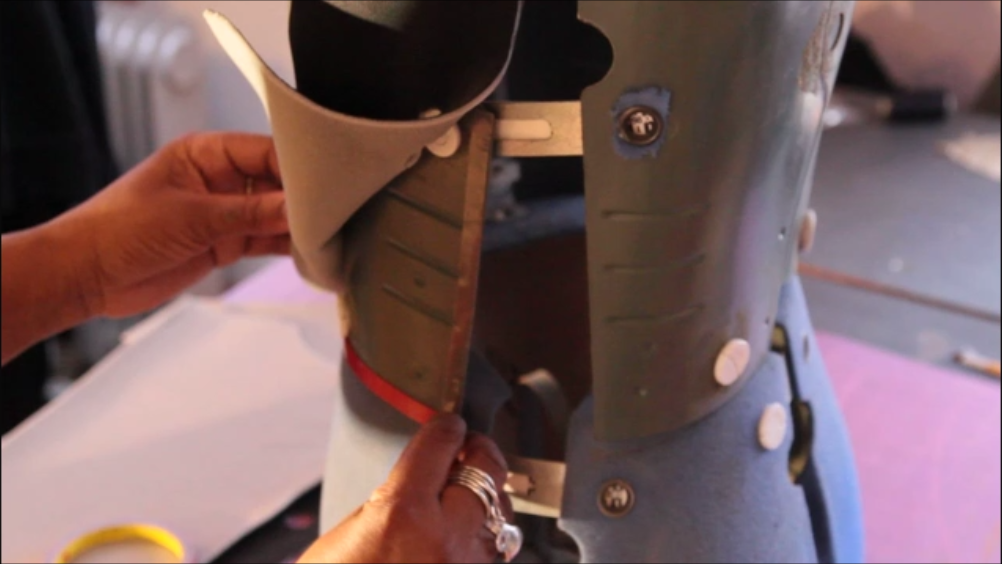
The solution was a less than elegant gaffer tape intervention. The neck parts are taped inside and the cap placed on top. It won’t stay in place and I will have to careful when lifting and using but it is more than functional.
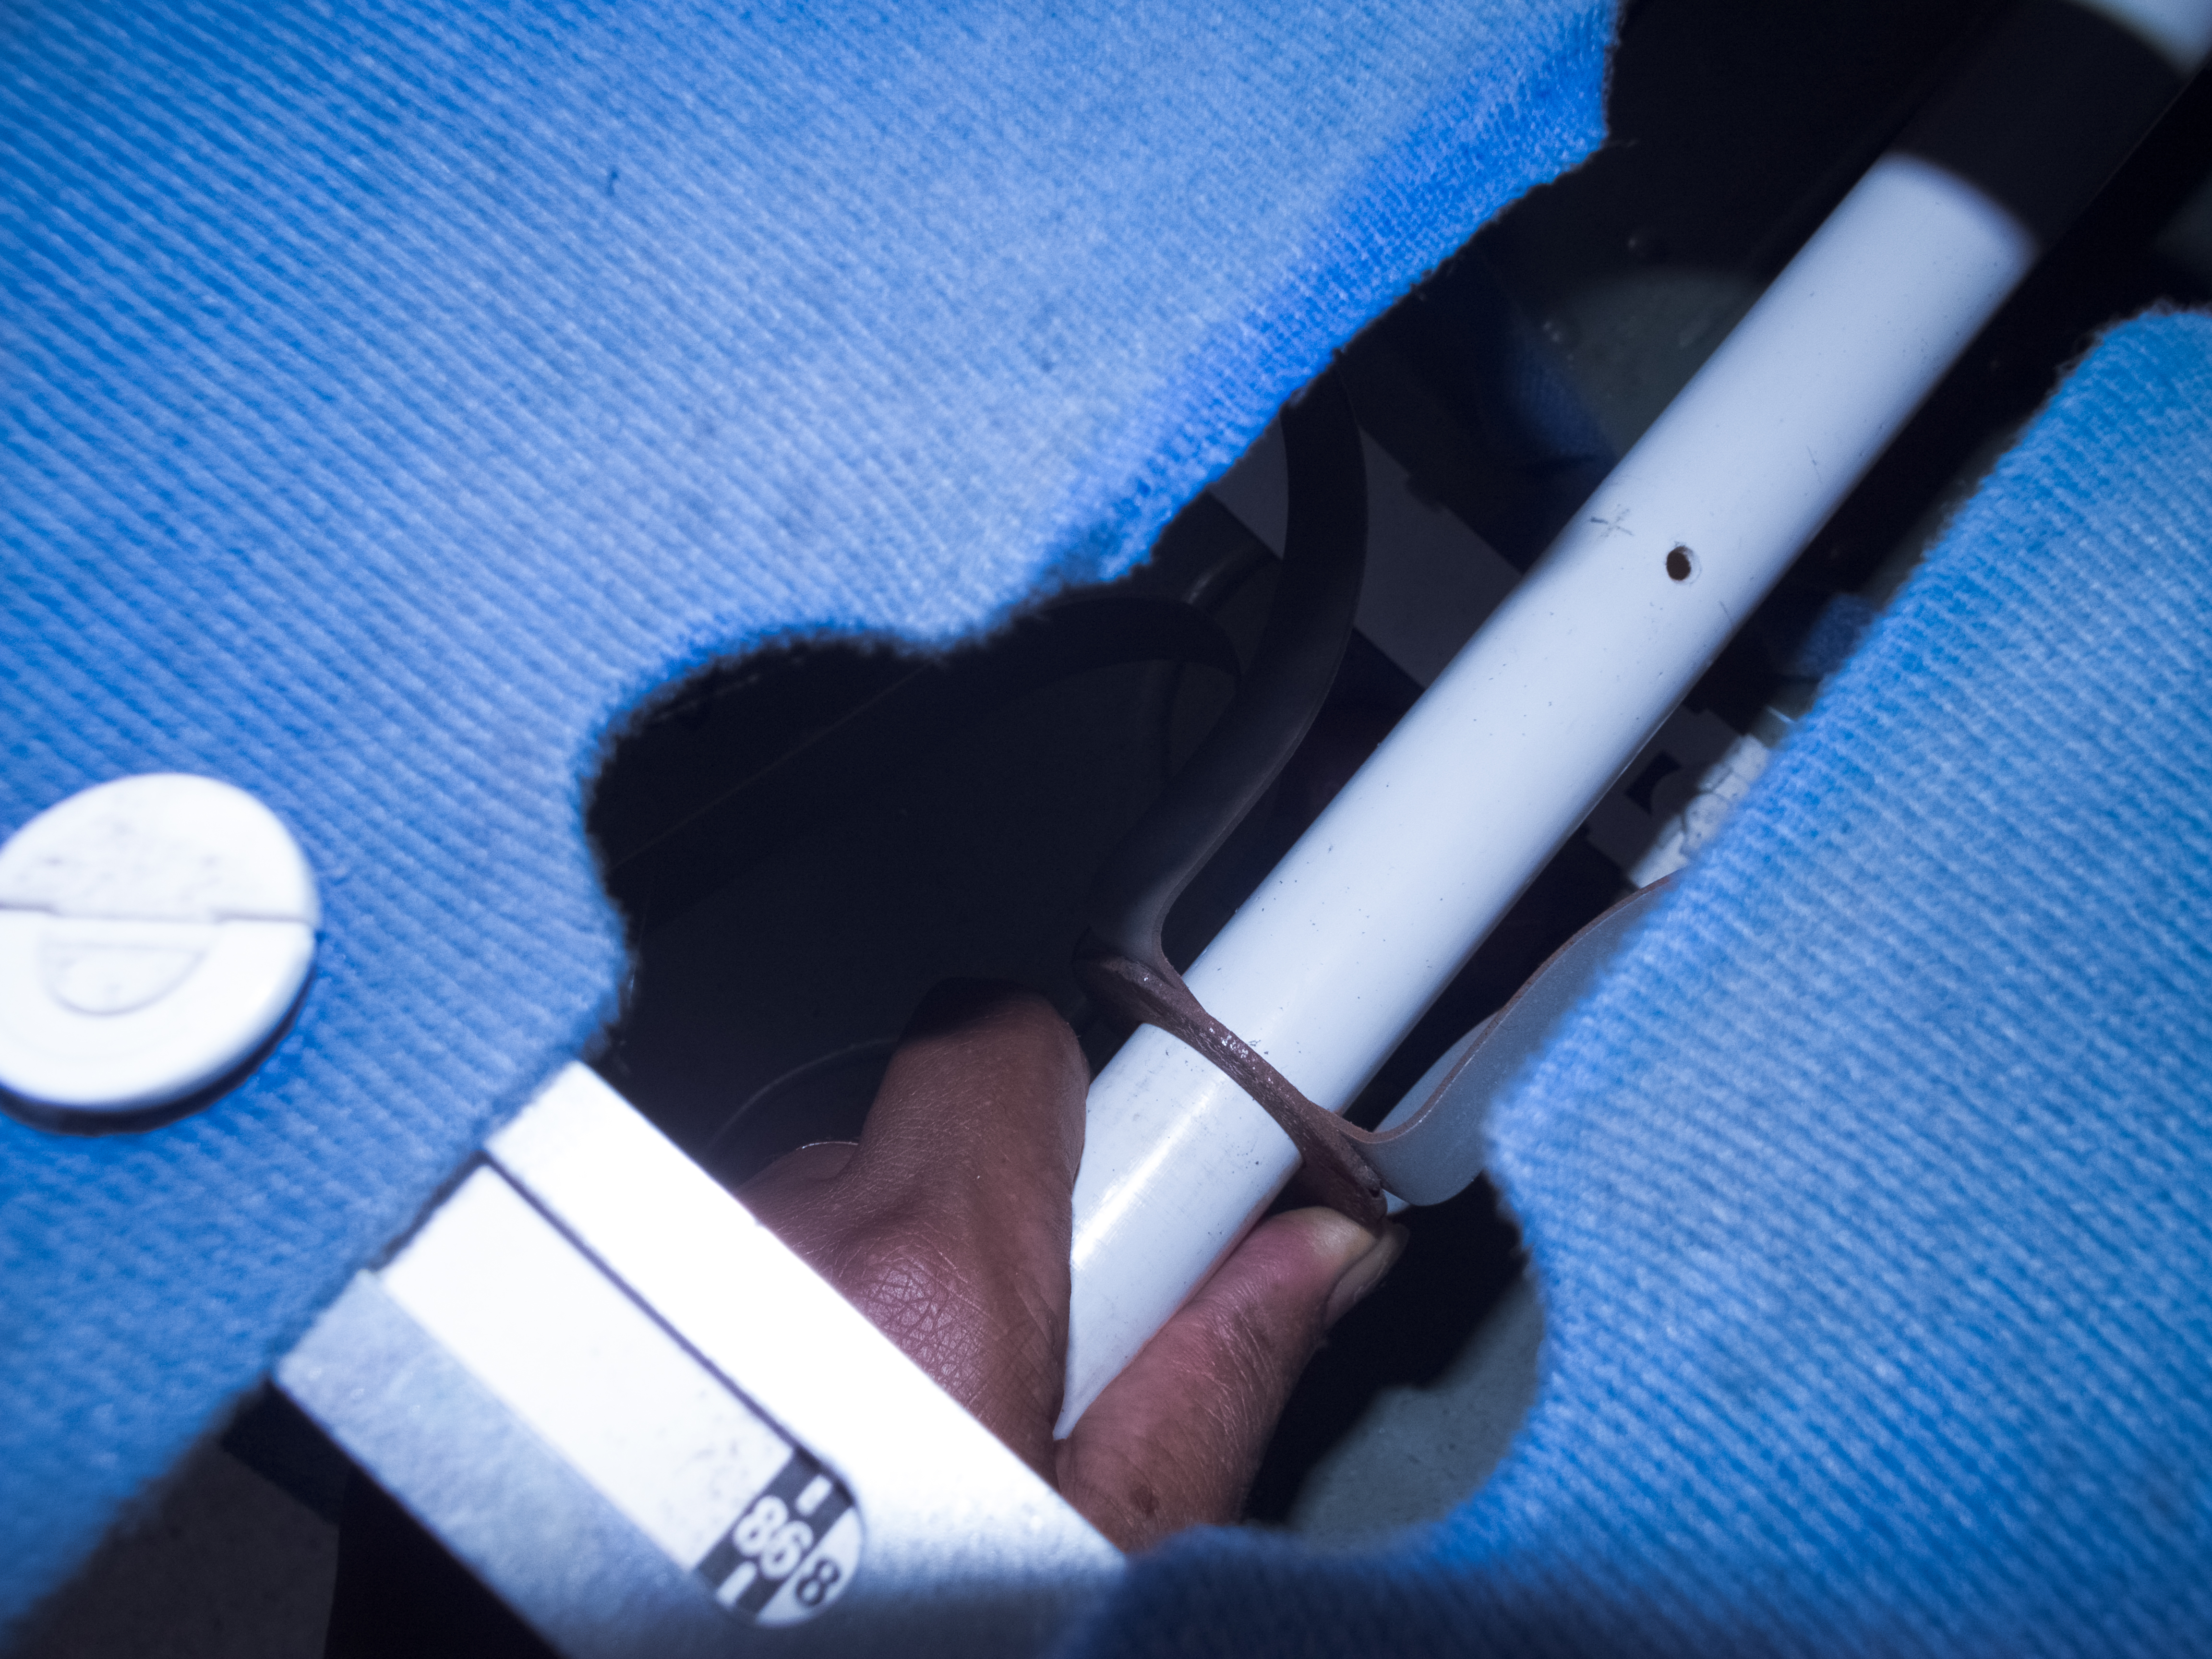
Another issue arose with the stand, a pole goes up the inside of the mannequin and allows it to be raised and lowered, this was fixed to the cap above and holds the entire thing together. I needed some way of fixing this so that it would a. sit on the stand and b. more importantly hold the cap in place. This required a bit of drilling (ably assisted by the OH) and a strategic nail to hold it all together.
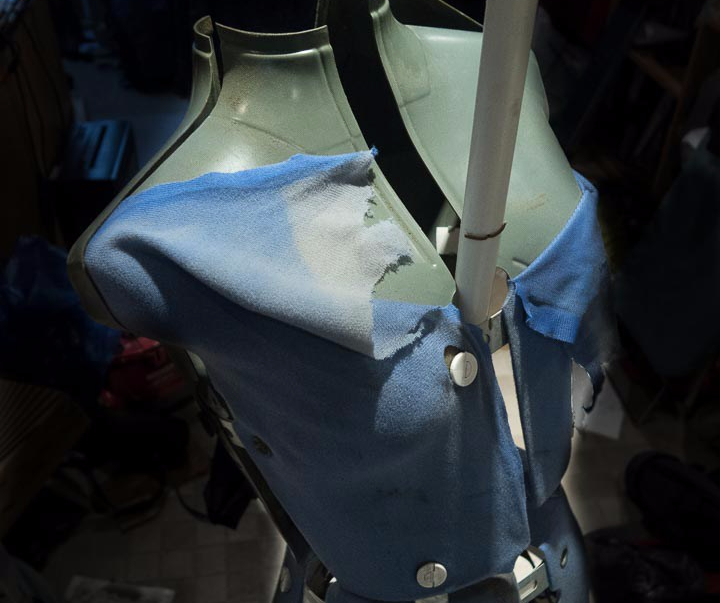
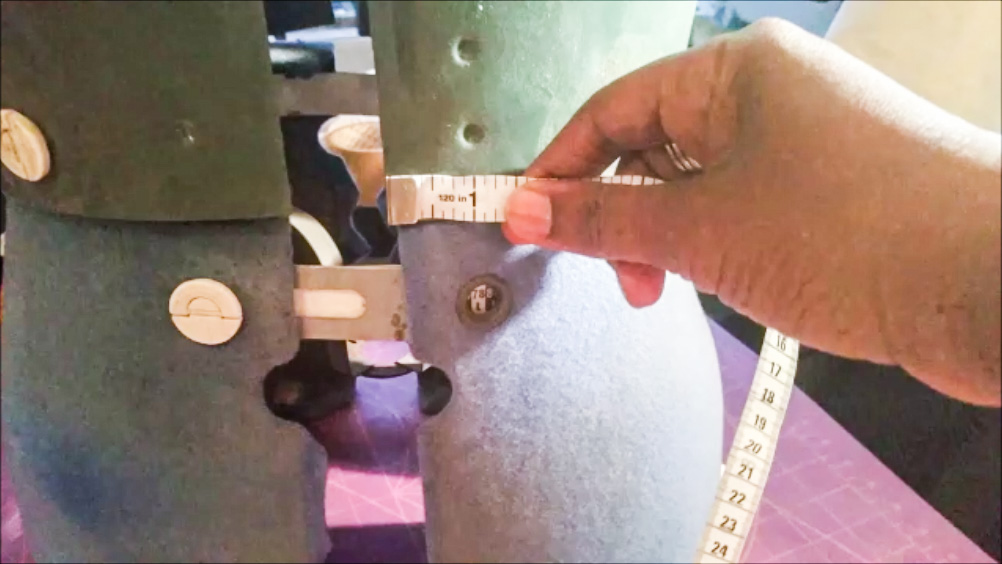
She stands upright and steady, the dials are exposed and therefore work as intended and she still sort of fits me. So I’m going to chalk this up as mission accomplished.
Ladies and gentlemen, I give you Venus, ready to rock all my soon to be made new garments.


Does your dressform need some TLC? Share your #mannequinnightmares.

One thought on “Resurrection and revamping: the mannequin dossier – part three.”