
Well didn’t we all go crazy for jumpsuits! Sewtogetherforsummer19 has really started something this year. More than 700 jumpsuits and I added 5 to that total. I’ve shared one, the Cherry jumpsuit from Mood Sewciety but that just whetted my appetite. Always one to ramp up the challenge level, I really wanted to do a self-drafted one so this offering is a bit of a Franken-pattern and a bit of a self-draft.
As soon as I committed to making jumpsuits I then found I couldn’t decide on which style so I knew I would make more than one. But which ones? So now I had the fabric dilemma and a style dilemma.

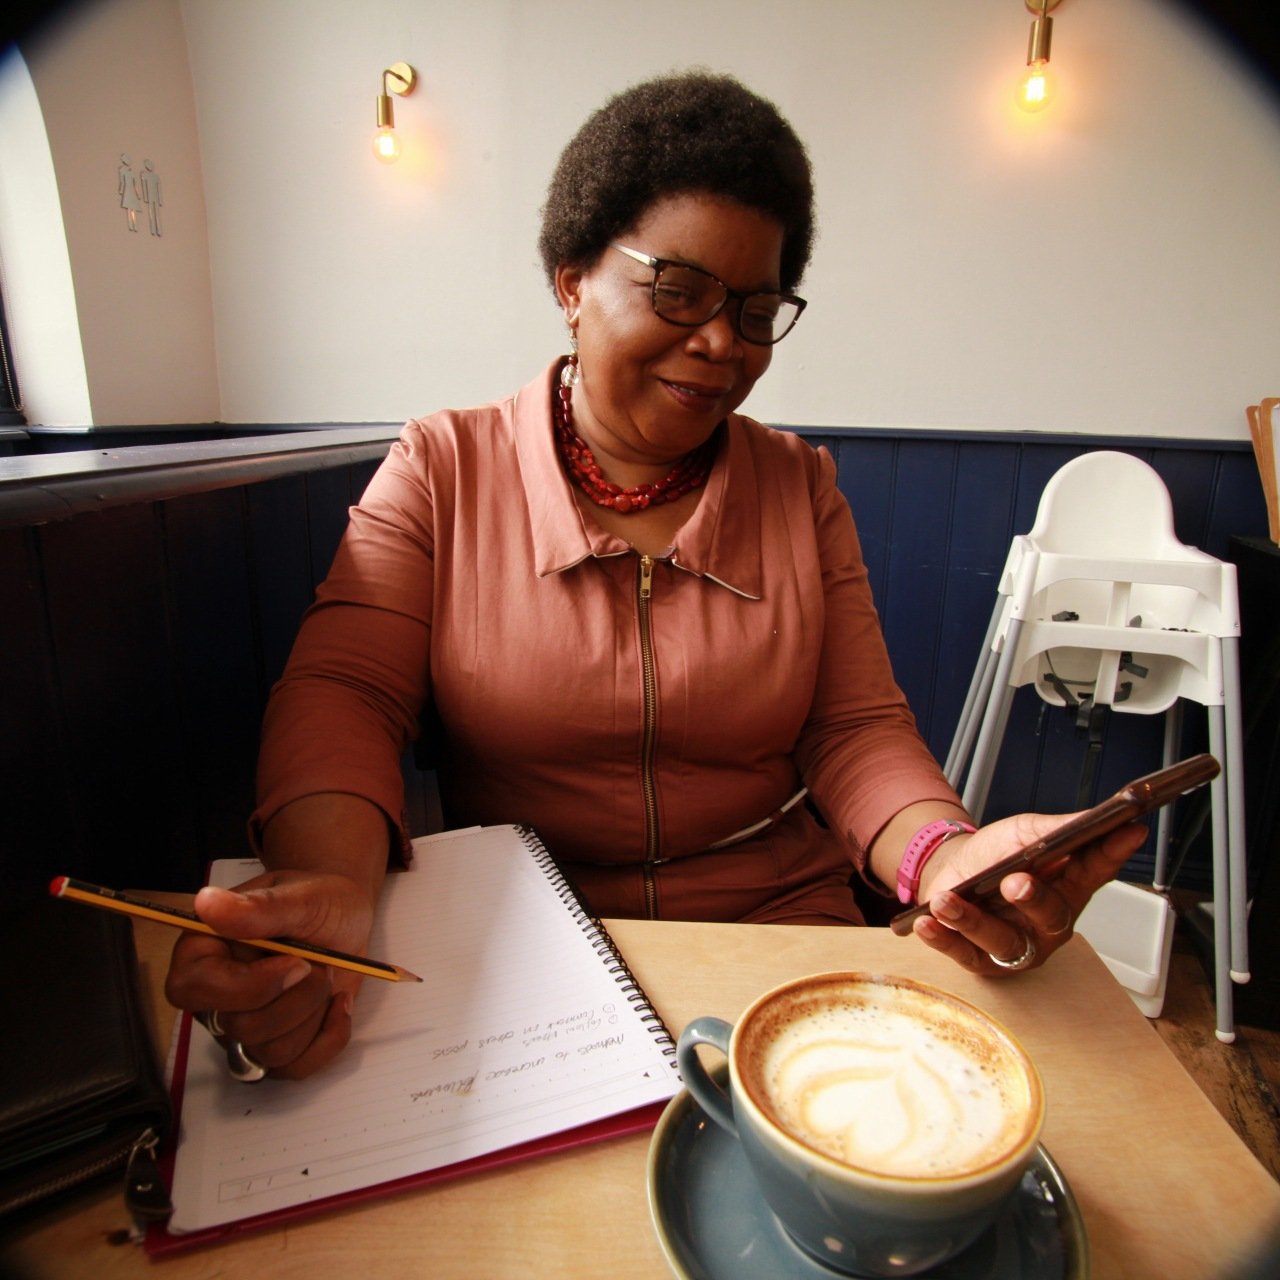
My second #sewtogetherforsummer19 piece was more of a boiler suit in style. I had some pinky-brown stretch twill that I ordered last year but can’t remember where from (!) I’m asking myself when will I make that fabric/pattern database?
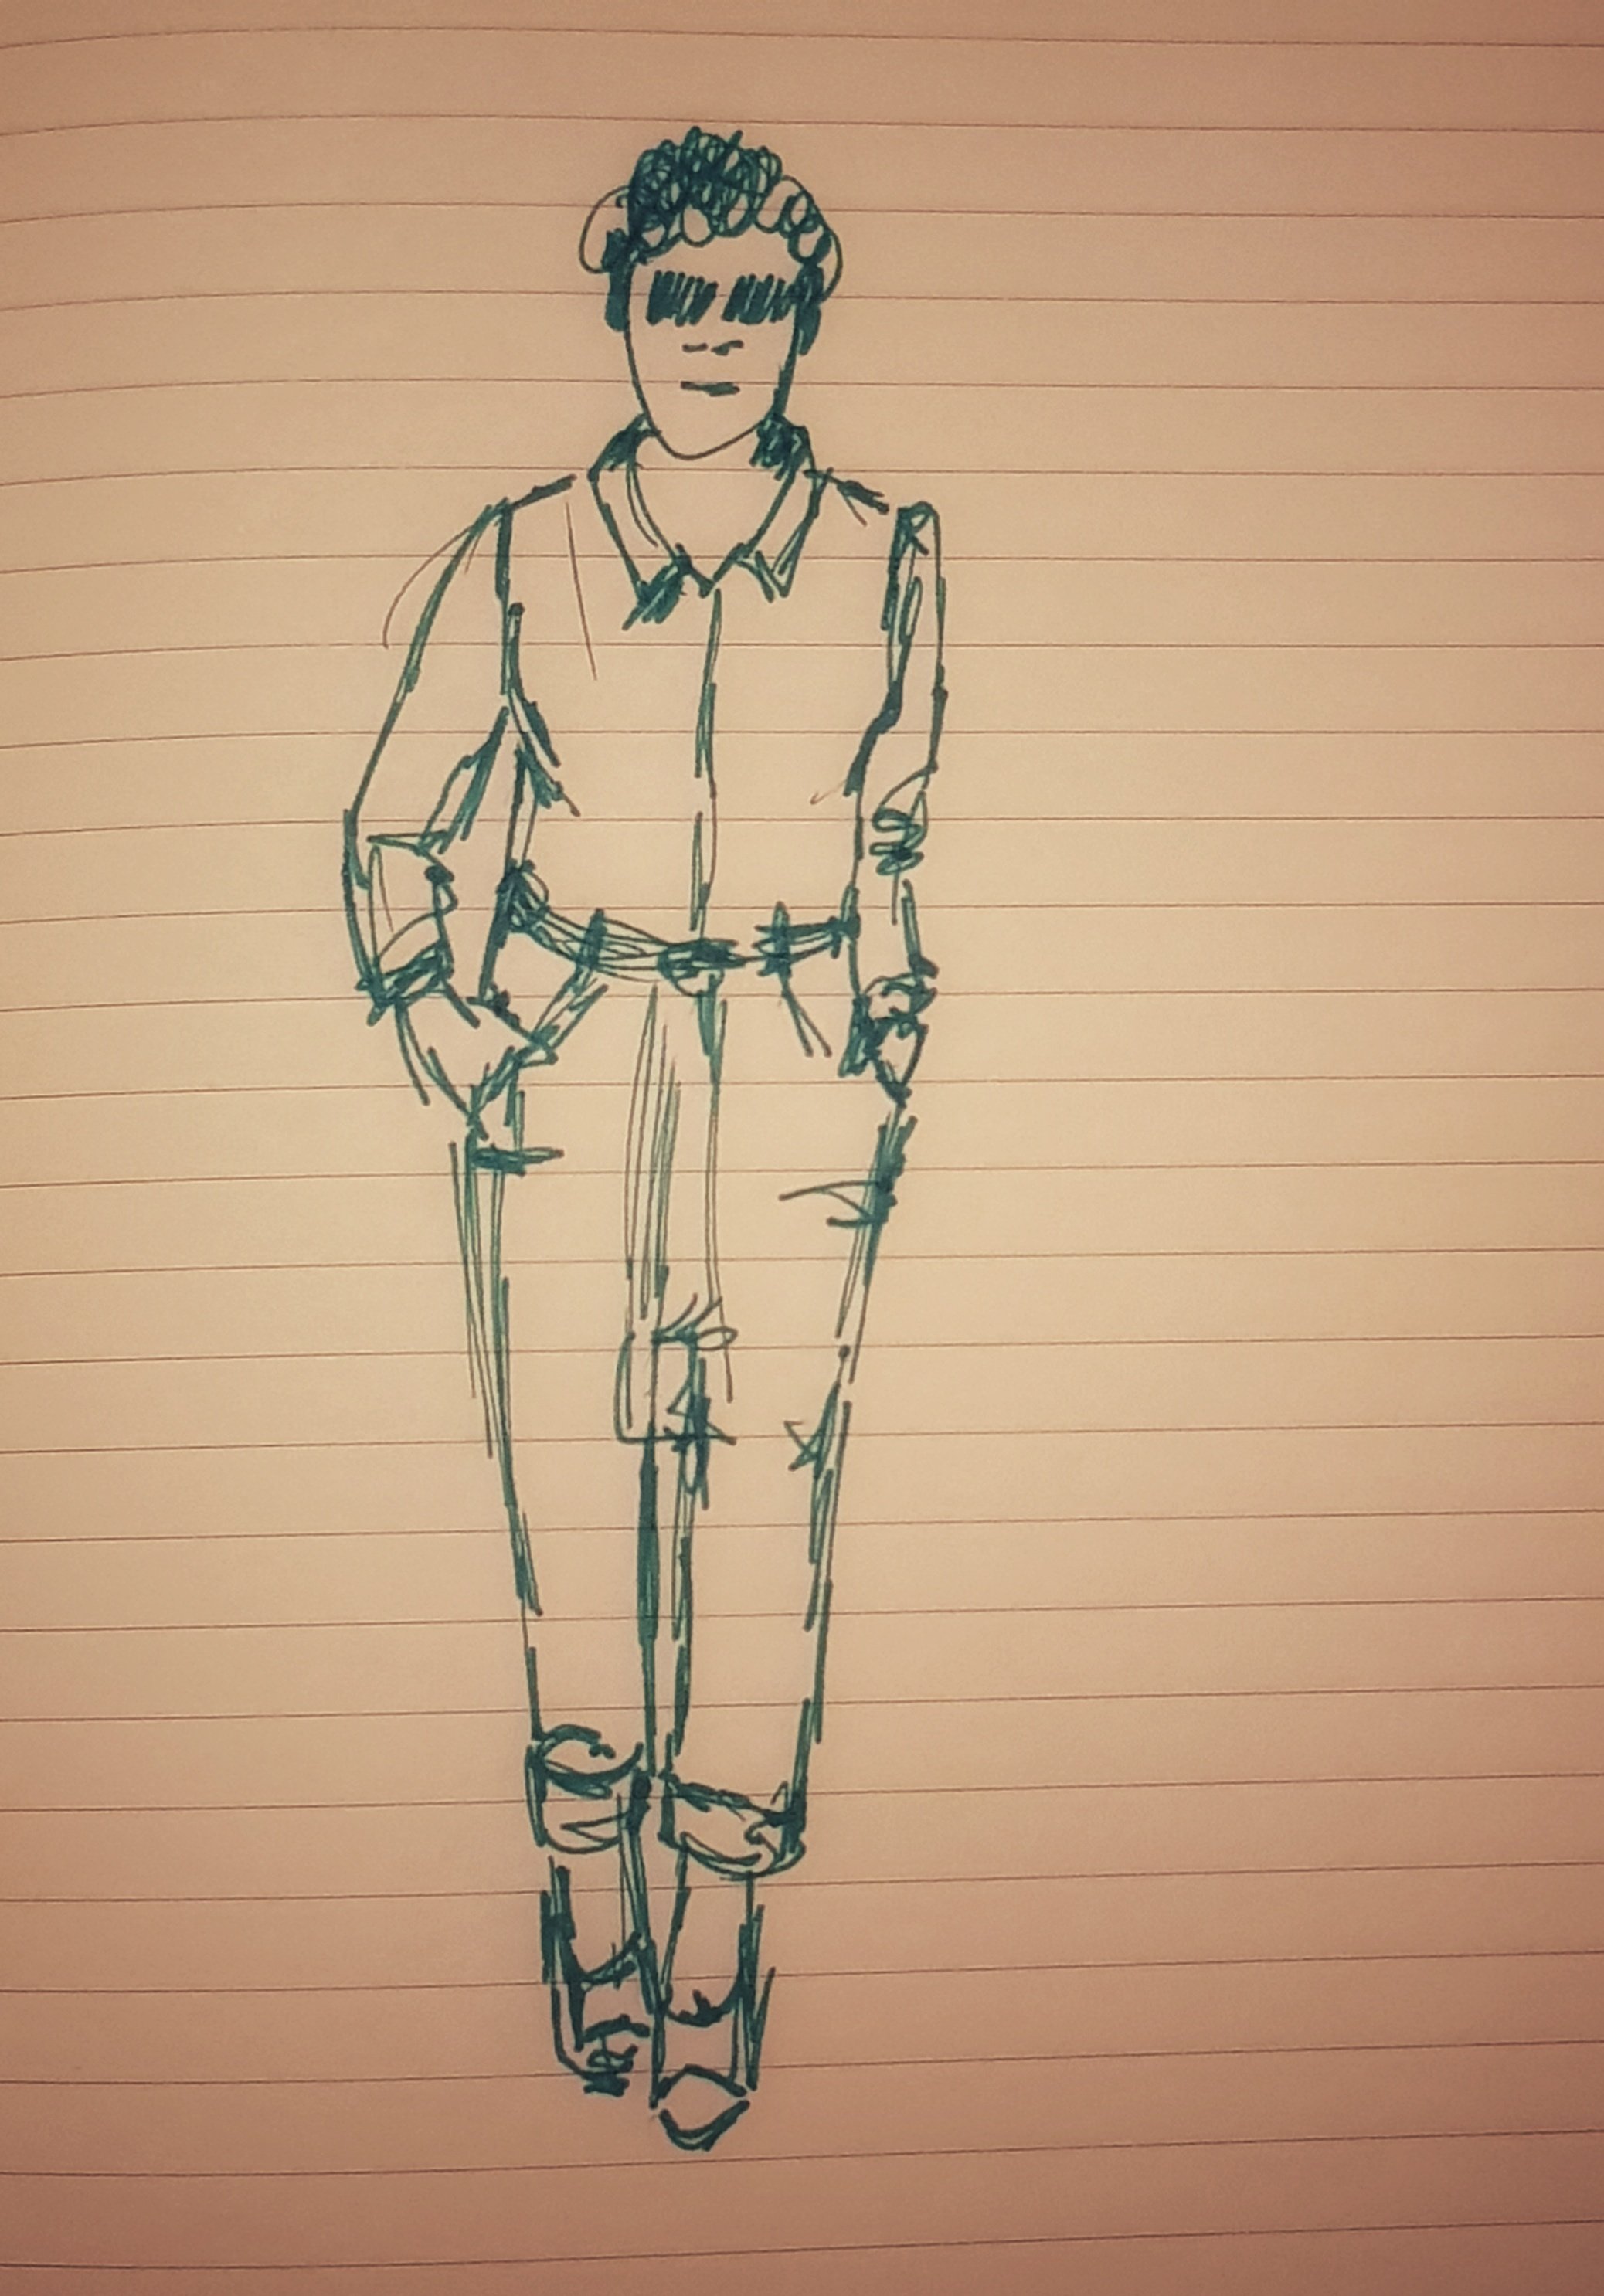
The overalls were a combination of a princess seam bodice and tapered trousers from blocks I made while trying to learn to draft. I put together the two pieces and decided that I wanted a zipper in the front and slanted patch pockets. I wanted to topstitch to make the elements stand out and I wanted it fairly fitted. As it’s a woven fabric I’m going to overlock all the edges in case it frays.
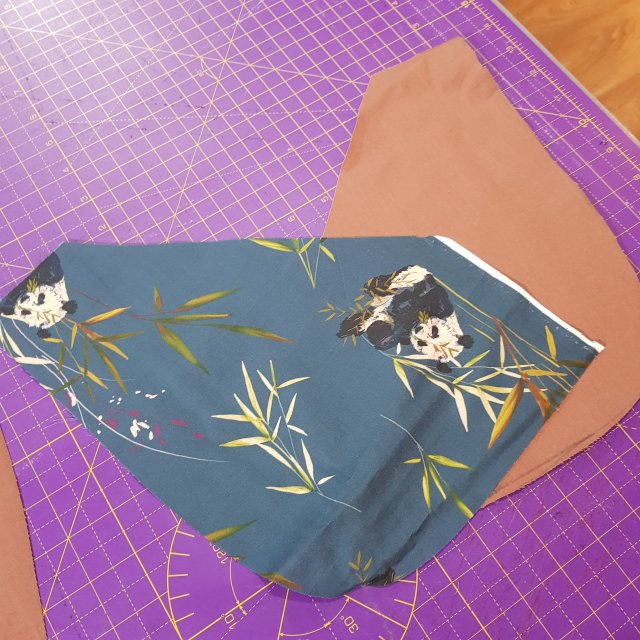
I find trousers are relatively easy to sew, if not fit and so I started with them. I have made adjustments to my block to cater for my short front rise and long back rise, I seem to have got it about right on this one. I made a template for my front patch pockets based on the trousers – slanted so that I could actually get my hands in and then curved around the edge. The side will be stitched into the side seam of the pants. I cut lining from some printed cotton I won in a giveaway last year – it was a pandas print which was from Minervadotcom originally. When it came to assembling them I realised I had cut the fabric upside down, but well, only you and I will ever know!
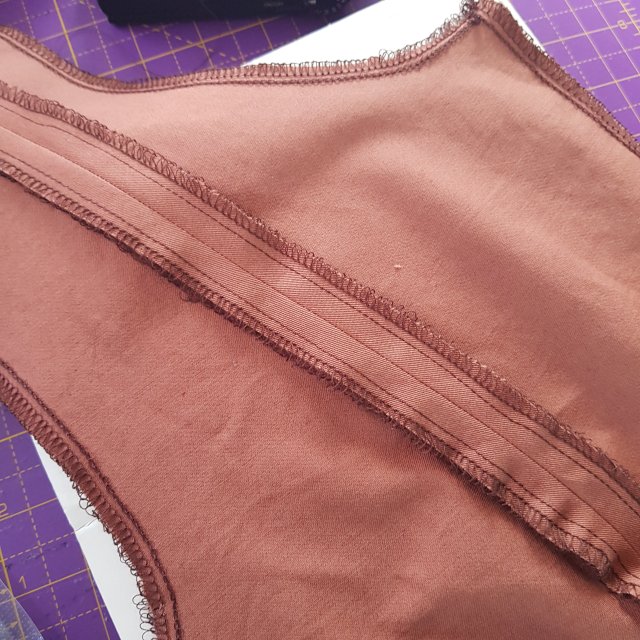
To make up pockets like these, place the lining and pocket right sides together and stitch, leaving the side open for turning. Clip the corners and turn out and press the pockets neatly. Close the dart in the trouser front, then position the pocket on the trouser front, lining up the sides with the trouser sides and the top goes in line with the dart, pin and topstitch.

Make up the trousers as follows
- Make the back darts
- Join the back rise and topstitch
- Join the front rise to the point where the zip will end, topstitch
- Join the inseams and topstitch
- Join the side seams making sure to sandwich the side of the pockets between the trouser front and back
Then I moved on to the bodice, again finish the edges of all pieces. To save a little time I sew all the long seams in one continuous line before I piece them together so that’s the front and back princess seams and the long sleeve seams.

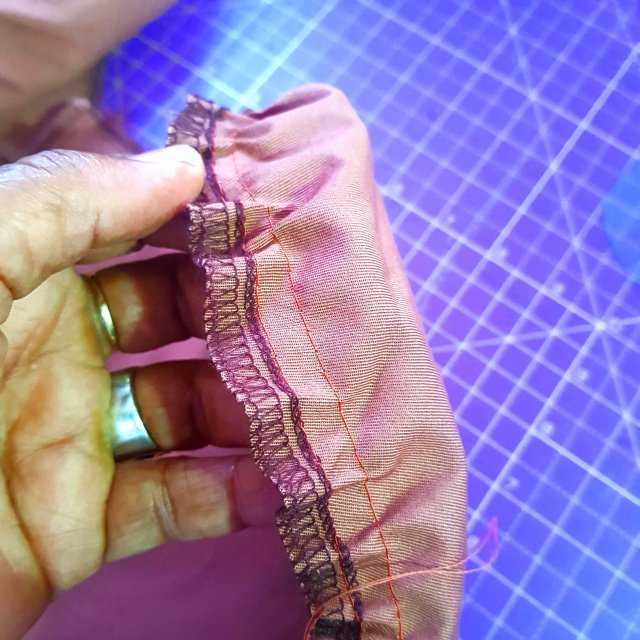
The sleeves were made from the same set of pattern blocks and seem to have worked reasonably well. Sleeve heads are formed using the gathering method – two lines of loose stitches are put in between the notches and pulled to gather the sleeve head and create some fullness. Spread evenly then pressed this makes the lovely shoulder shape which is then inserted into the armhole. Although I find this method not as easy as attaching a sleeve on the flat, for woven fabrics this is the more elegant solution.
The bodice and trousers are joined by matching seams and notches and rejoice – it fit! Then it was time to insert the zip. This was the most challenging part of this make as I couldn’t quite figure out a neat insertion. I created a kind of placket by making two vertical bands to which I attached the zip and then inserted the whole thing into the front seam. The metal zip is a bit longer than the opening I wanted and I didn’t want the agony of trying to shorten it, so I put it in as it is leaving some extra inside. It also meant that the bottom of the zip was awkward to sew too. This finish seems a bit ‘bodge it and scarper’ so I may have to revisit when I have come up with a better method. Still, I’m going with it for now. Strangely I don’t have any photos of this bit I must have been so wound up in finding a solution that I forgot to take pics.
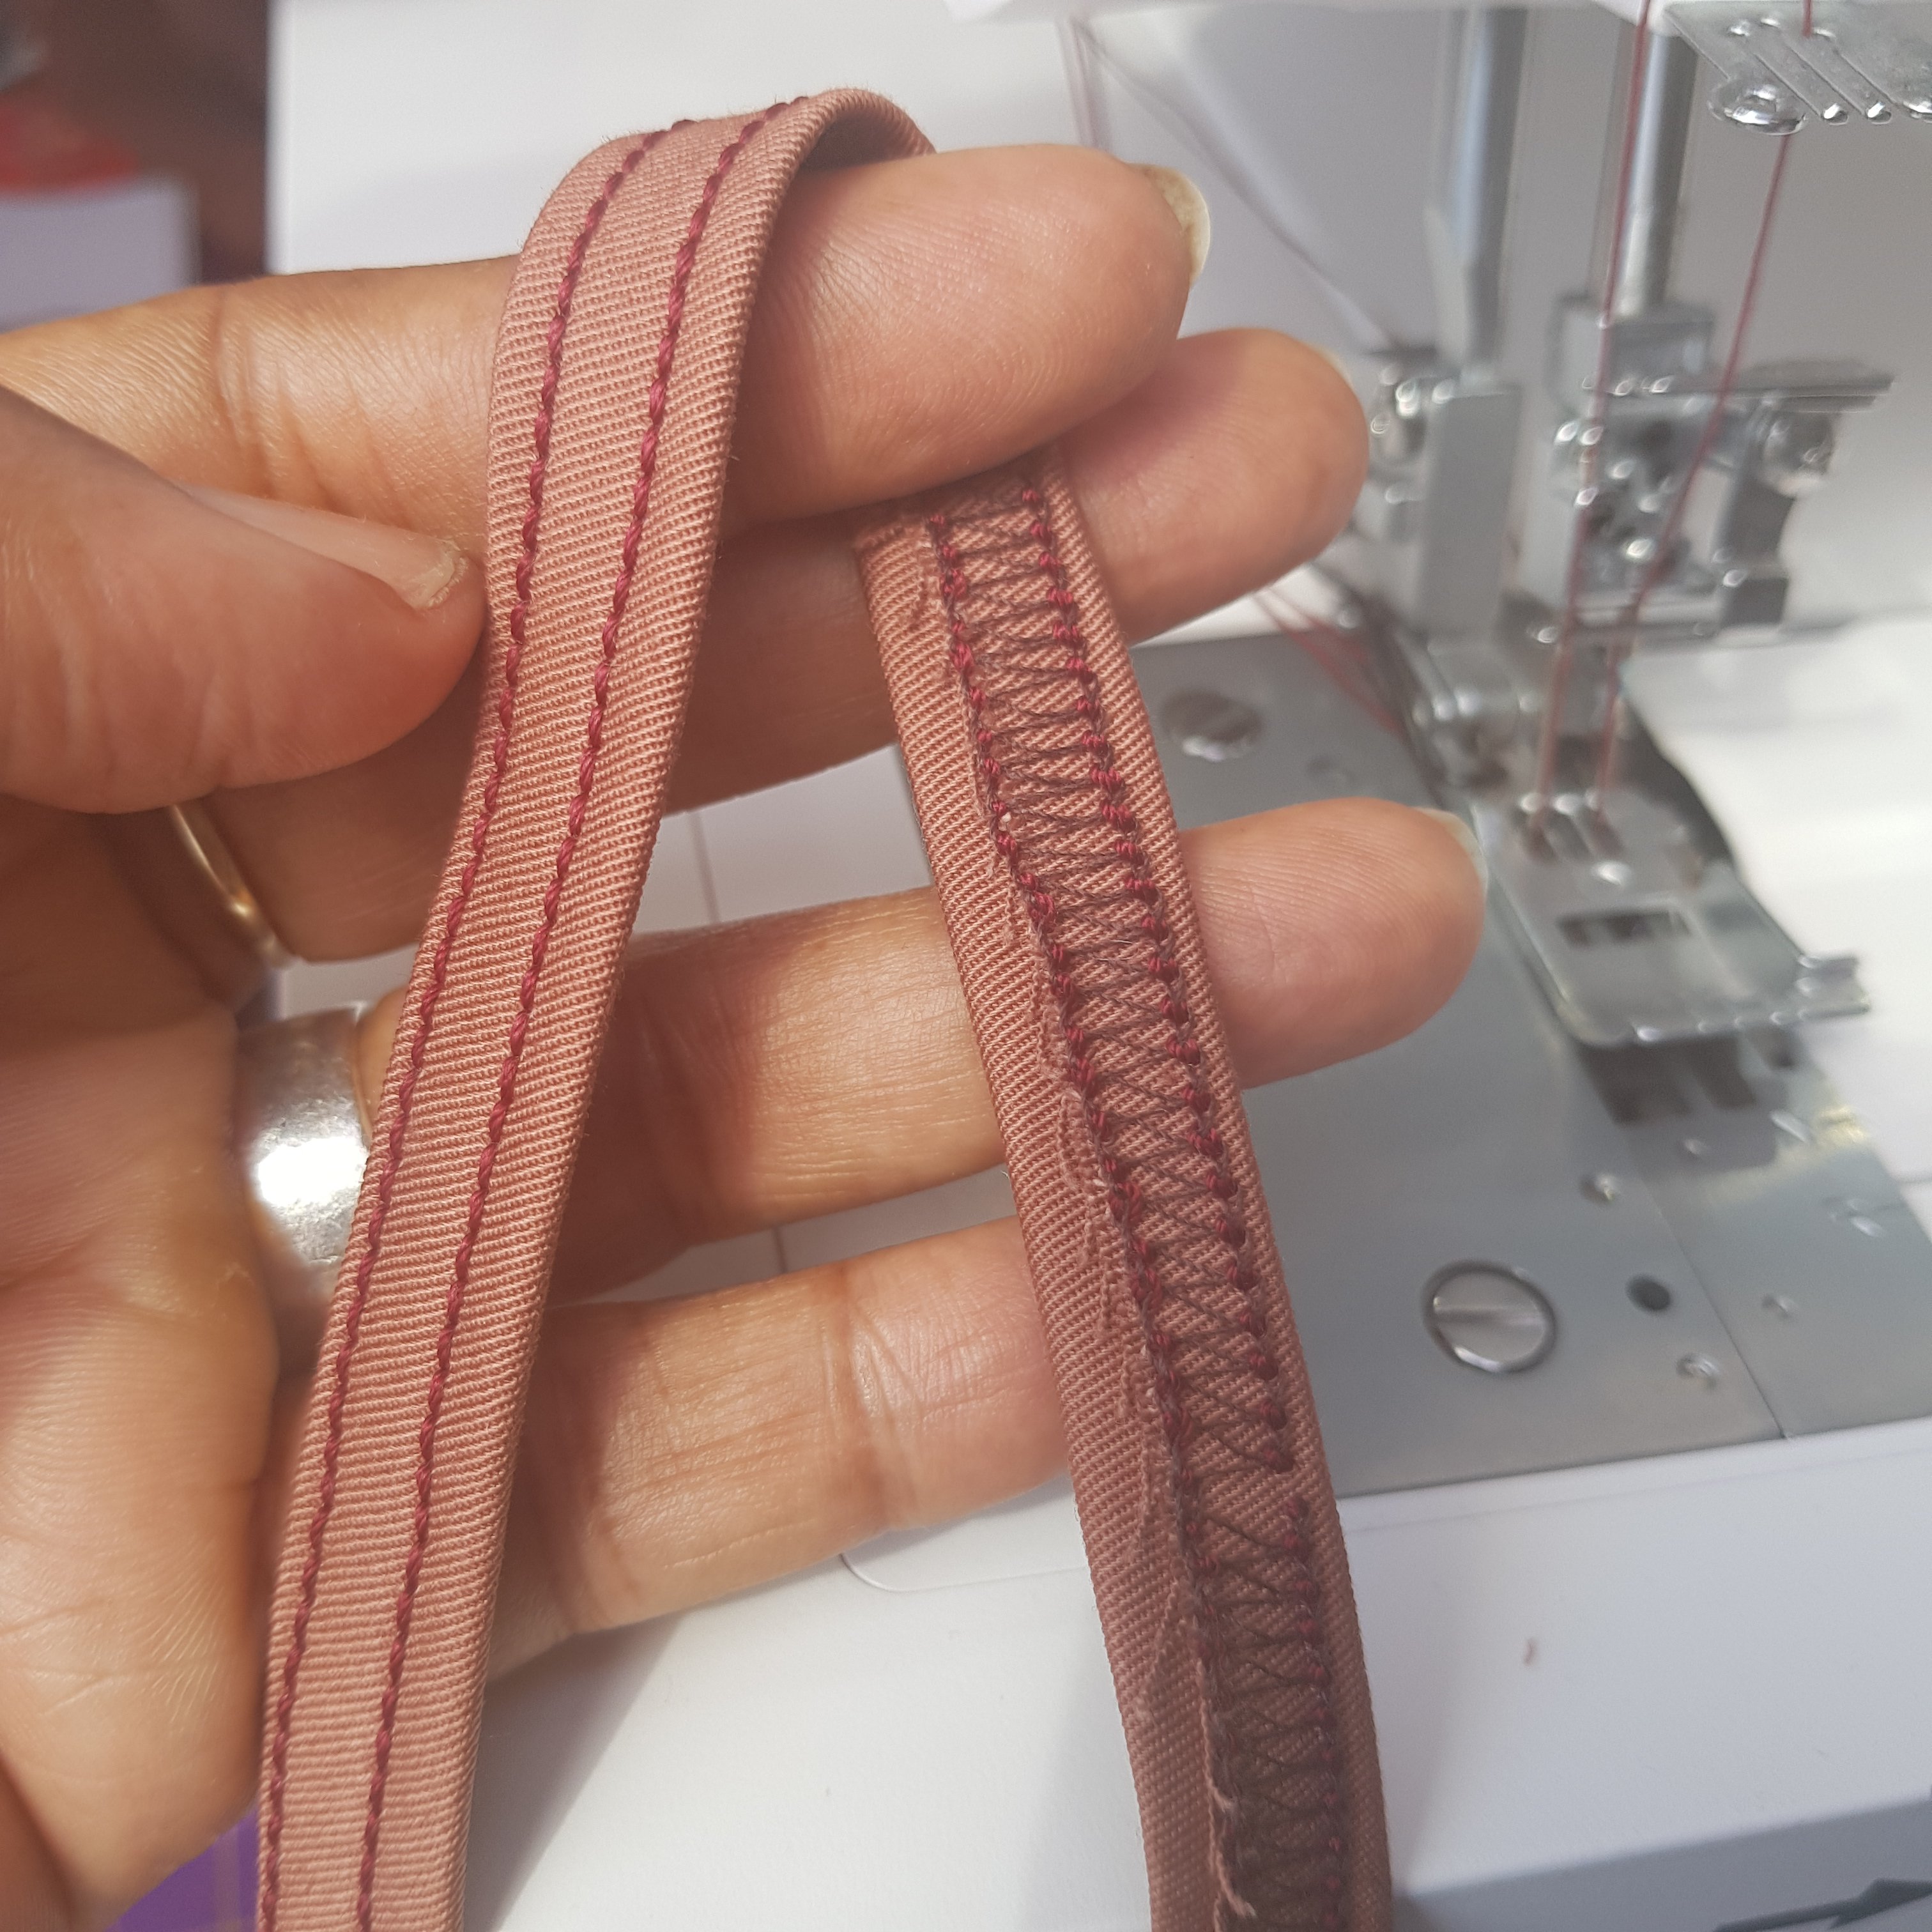
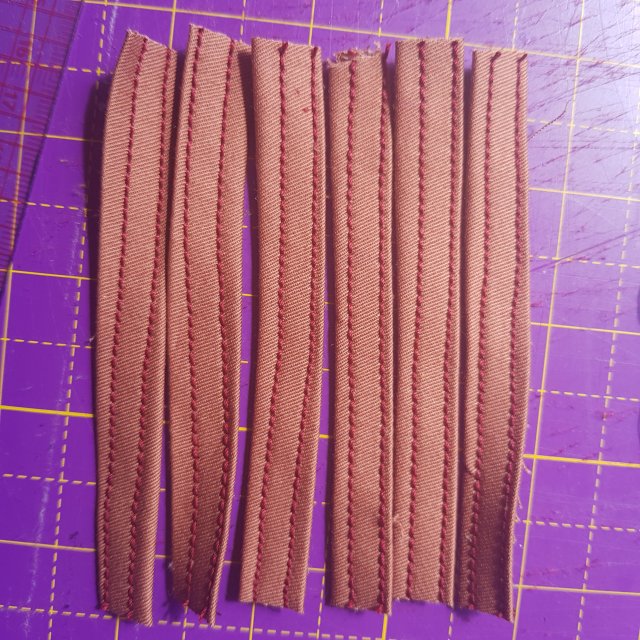
I made belt carriers by cutting a strip of fabric 80cm long and 3 cm wide. I wanted each loop to be about 10 cm long so that I could wear a wide belt if I wanted to. The length gave me enough for 6 loops – two front, two side and a pair crossed at the back – and allowed a little margin for error. I turned over and pressed the fabric 1 cm in and then folded and pressed again to form a strip approximately 1 cm in width. Using the coverstitch machine, I stitched the belt loop from the right side, width a 5 thread coverstitch. This is the way I will make belt loops henceforth!
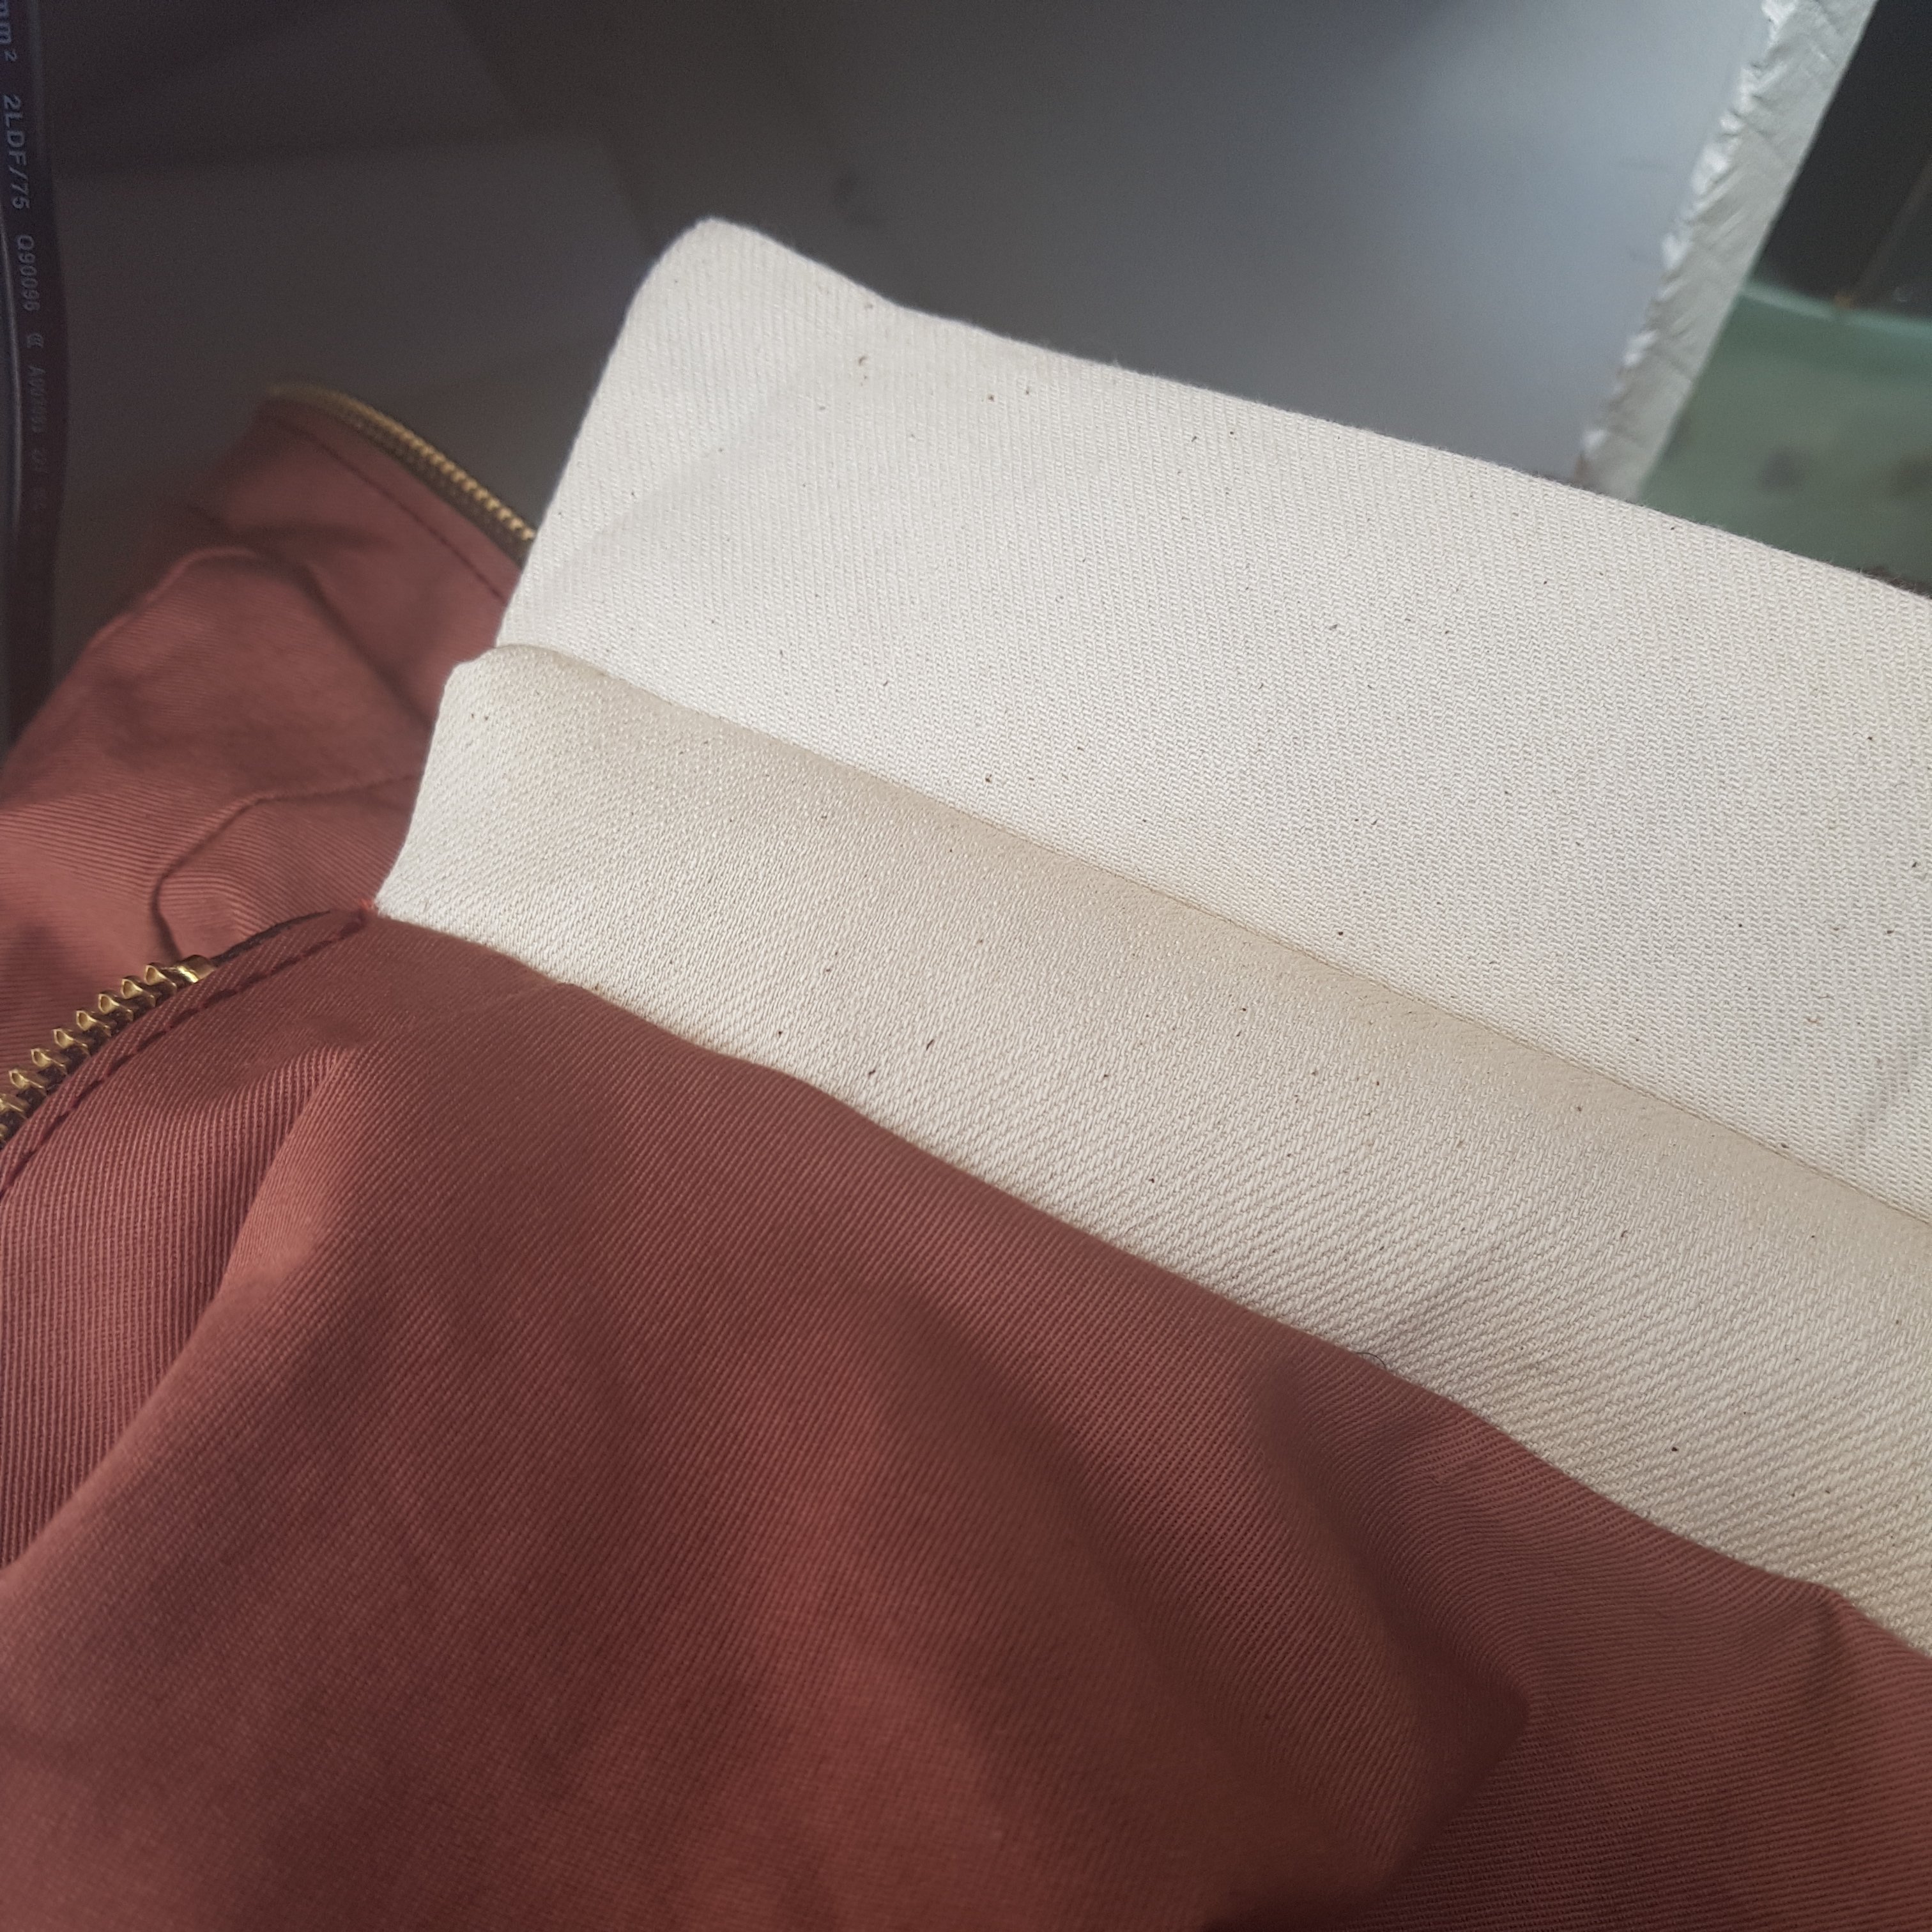
When it came to finishing the collar, I realised I had made a cutting error, and I did not have enough fabric to recut. I replaced the underside of the collar with some natural coloured denim from my stash and was pleasantly surprised to have a nice contrast element which I really like.

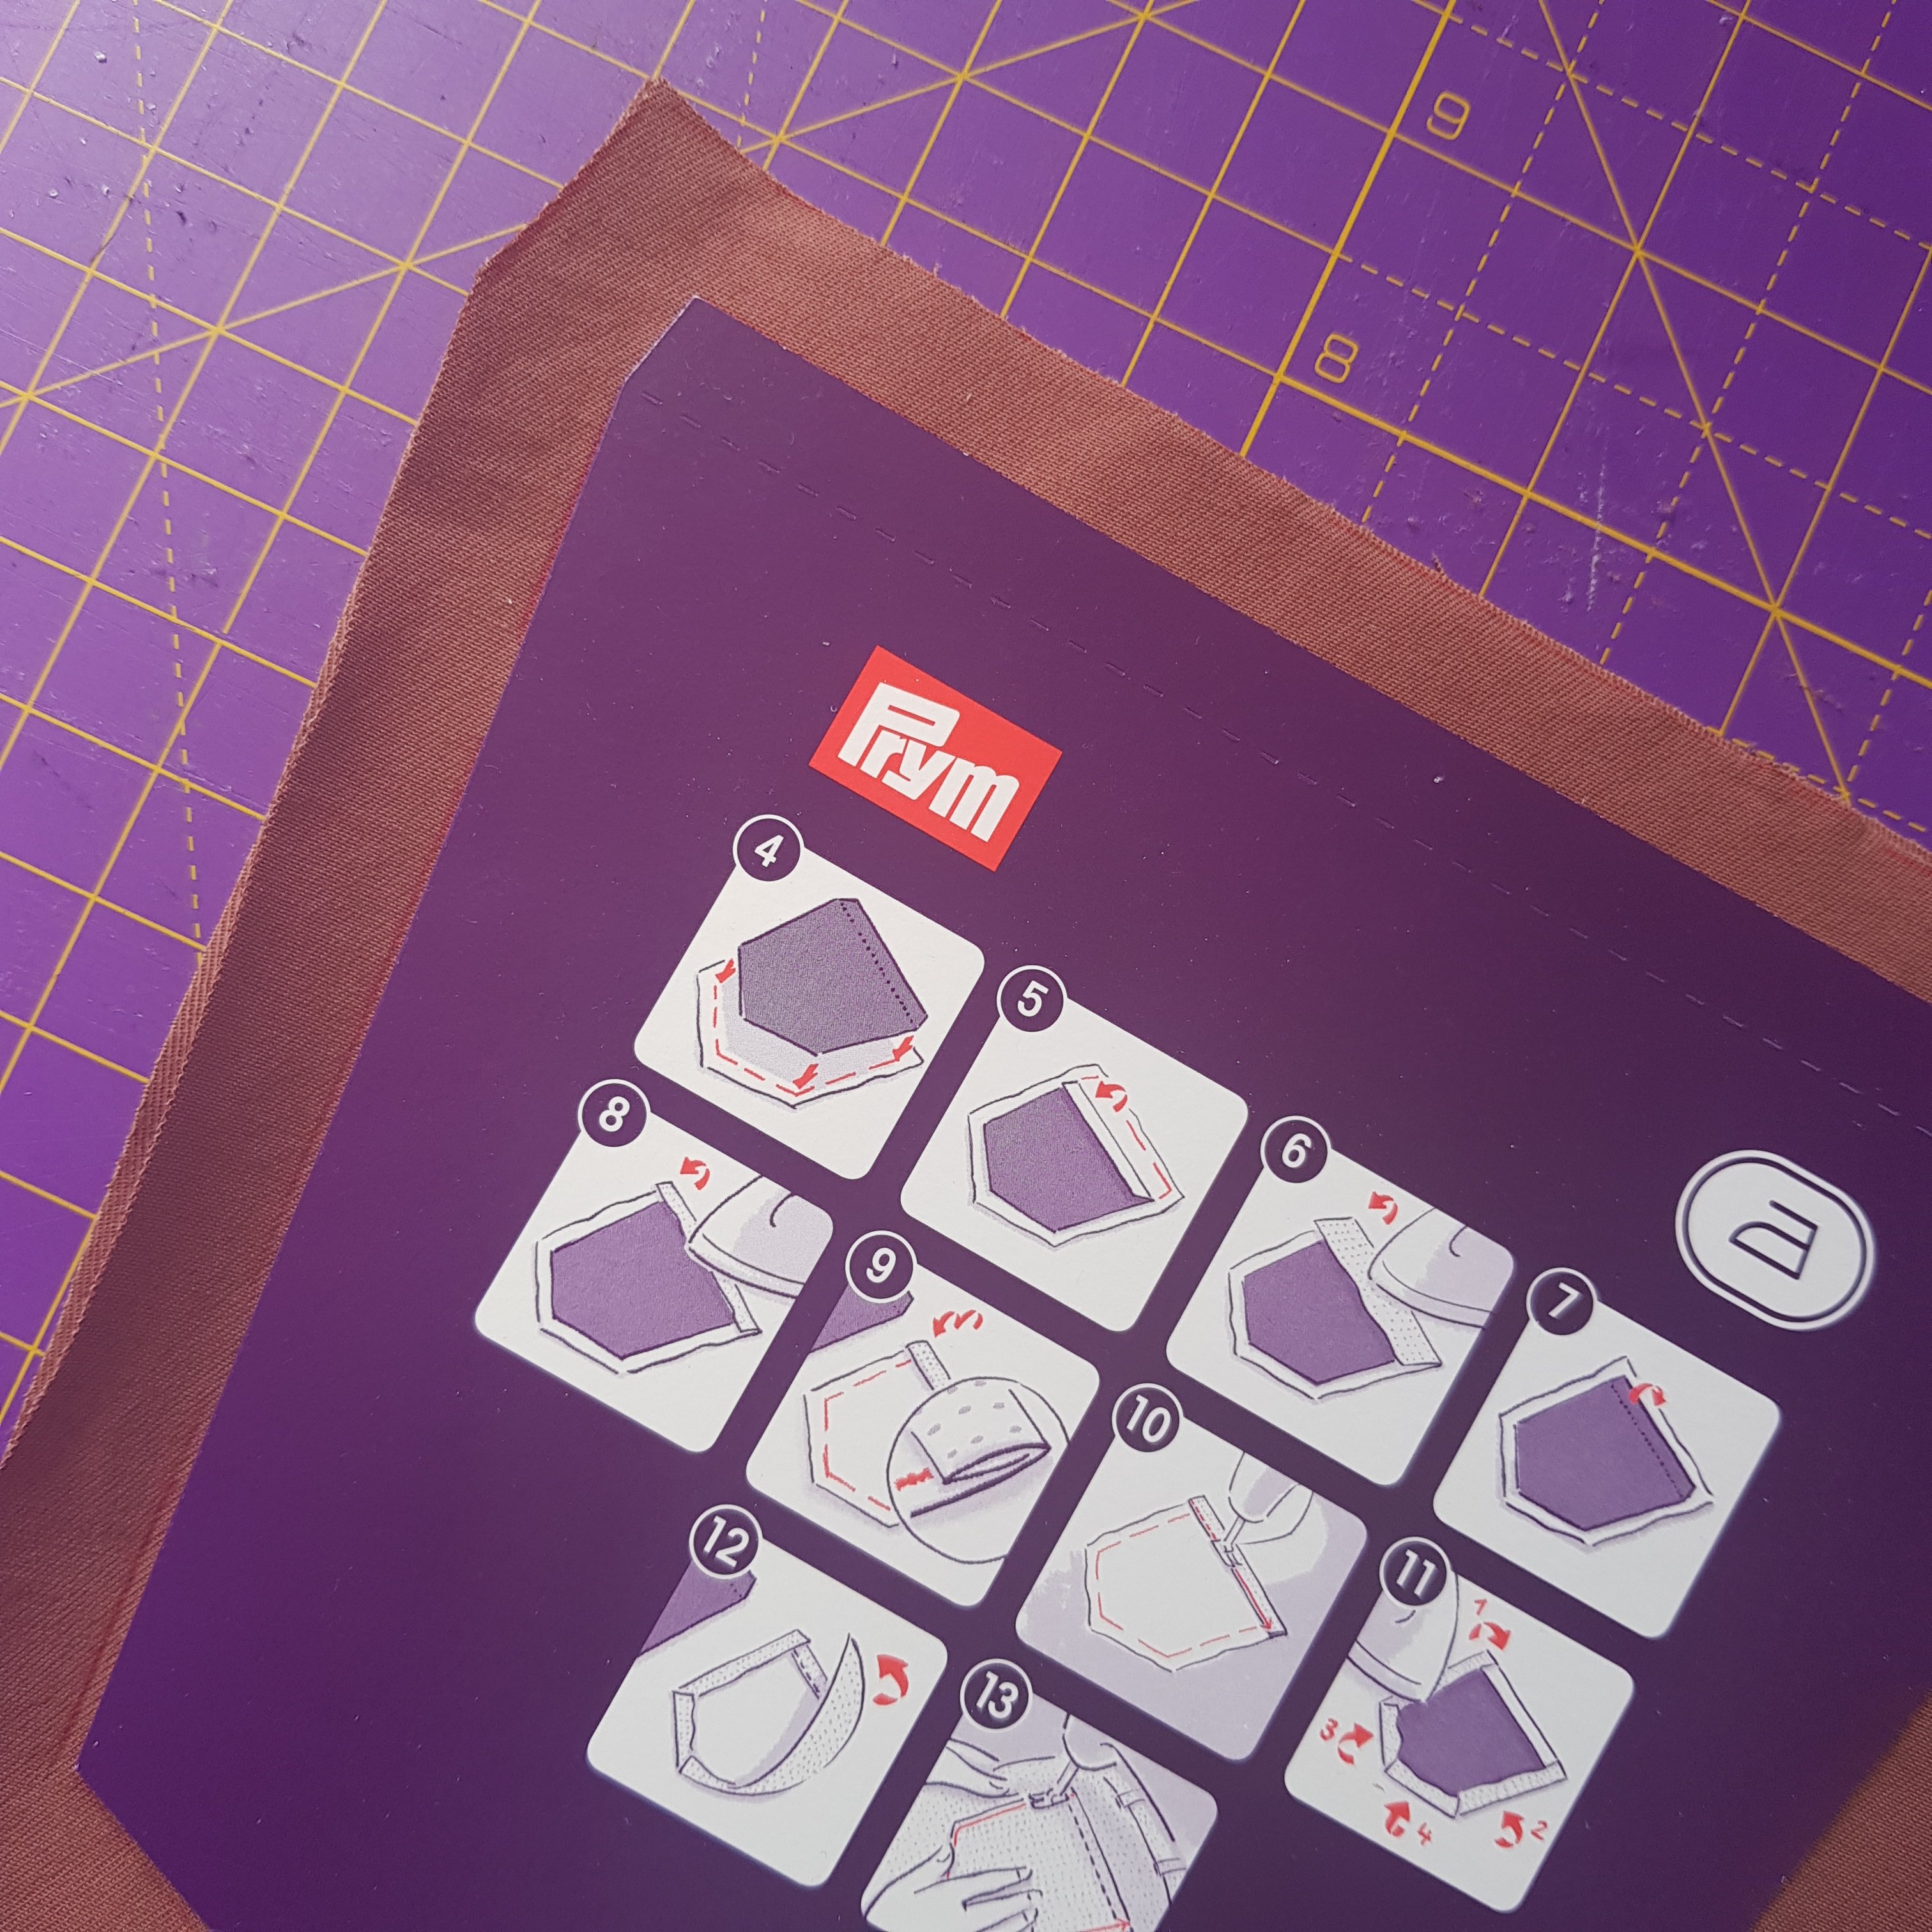
The final touch was adding the rear pockets. I used my Prym pocket template that I received from Minervadotcom to review a couple of years ago and with them produced a perfect pair of rear patch pockets.
Finally I turned up the cuffs on the sleeves and legs and called it finished. There are a few imperfections on this garment but as it is completely self drafted I am more than happy with what I have achieved. I will work on perfecting this model, for a start I will work out how to insert that zip better. I also need a zip guard as the metal teeth do bite a bit at my tummy. However, I can’t look at these pictures or in the mirror without breaking into a big grin.


Notes to self – I’m actually very pleased with how this self-drafted creation turned out but there are some things that need improving. The zip insertion is the major thing. The overall fit was good but a little snug. I’ve either made some errors or gained a bit of weight so I would add a couple of centimetres to the sleeve width for sure and bodice as well.
Drafted your own jumpsuit? Good for you! What were your biggest challenges?
Thanks for dropping by.


One thought on “Jumpsuit fever”