I’ve got a new obsession. I visited Mood Fabrics in New York on my holiday last Autumn, the warehouse is a cornucopia of fabric and you could spend days in there. It was more a pilgrimage than a shopping spree as I didn’t buy anything because my bags were full and I had no more baggage allowance. Anyway, later at home I was browsing the website and I discovered Mood Sewciety.
This section on the site is an equally bountiful treasure trove as it contains dozens of free patterns created by Mood’s in house designers on their custom pattern block. I’ve had a go at a couple and I am smitten.
The patterns are exciting styles, well drafted and relatively easy to make. You do have to use a bit of guess work to fill some gaps in the instructions, but, hey, these are FREE patterns.

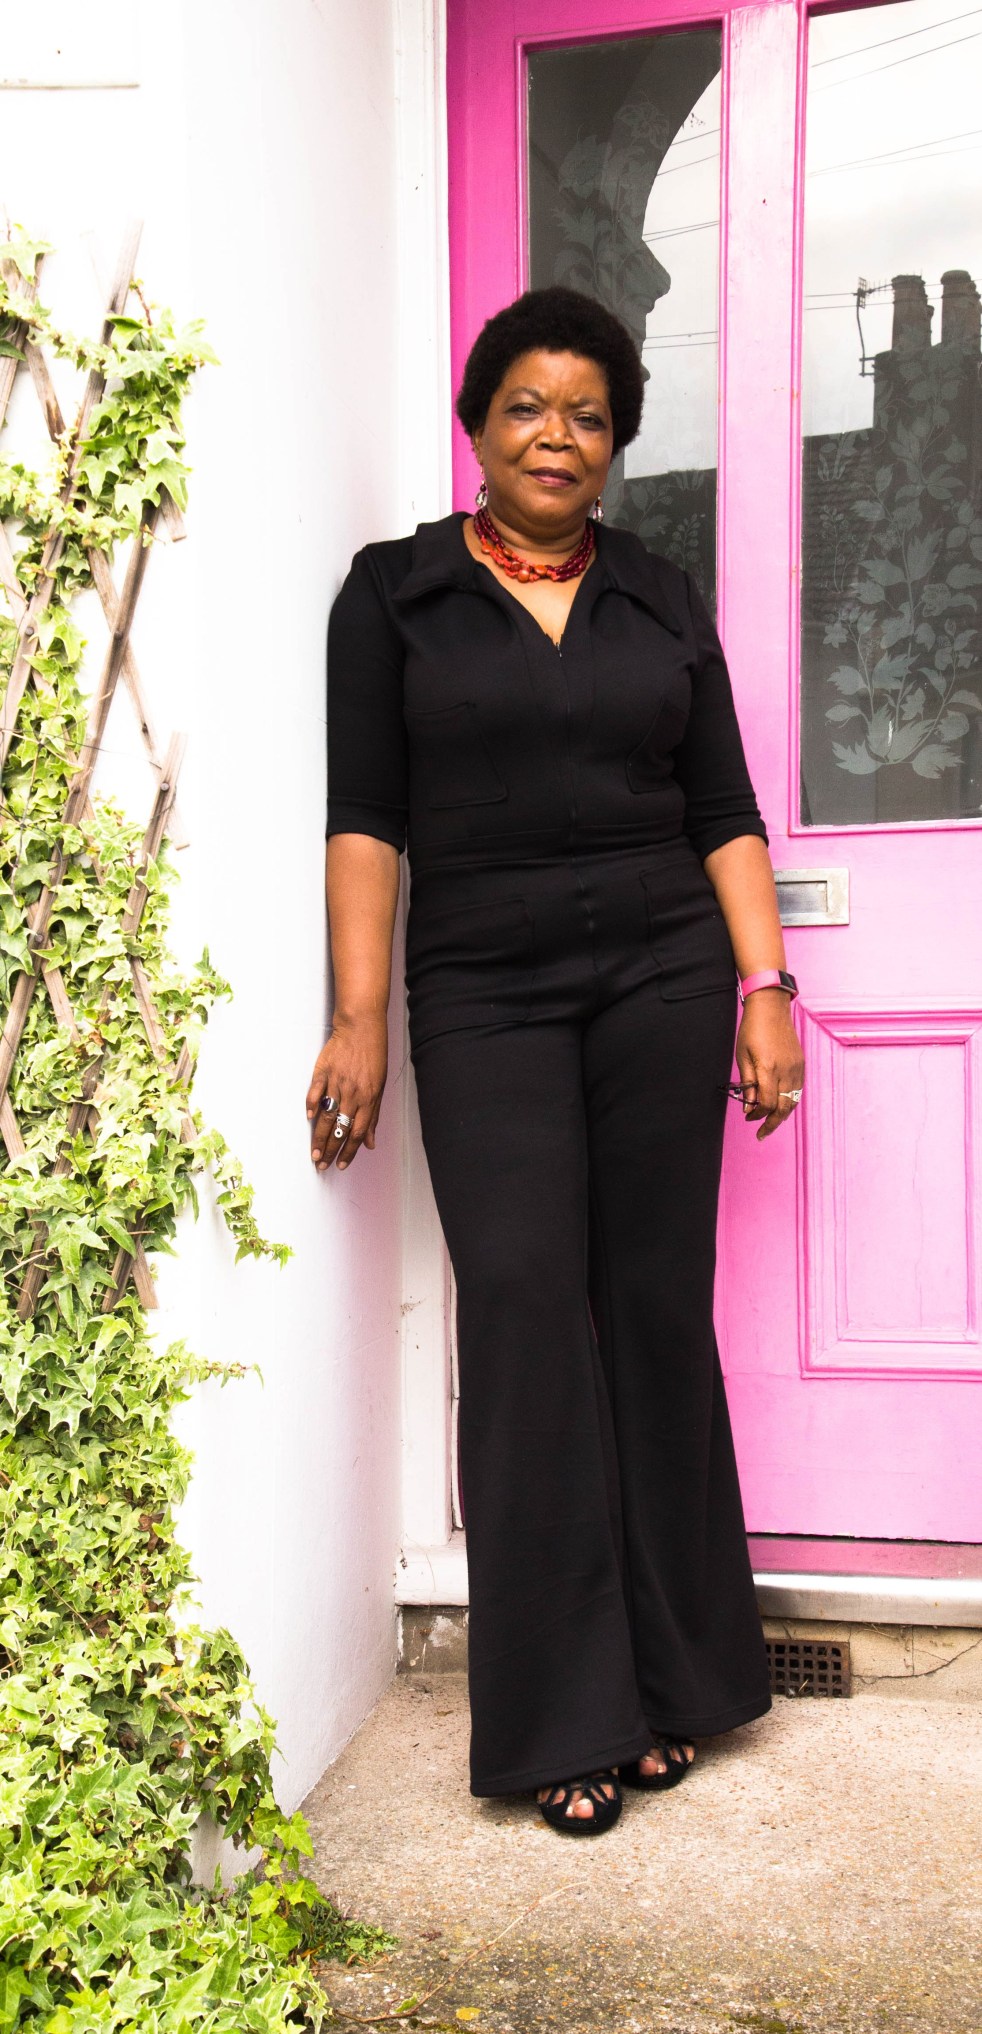
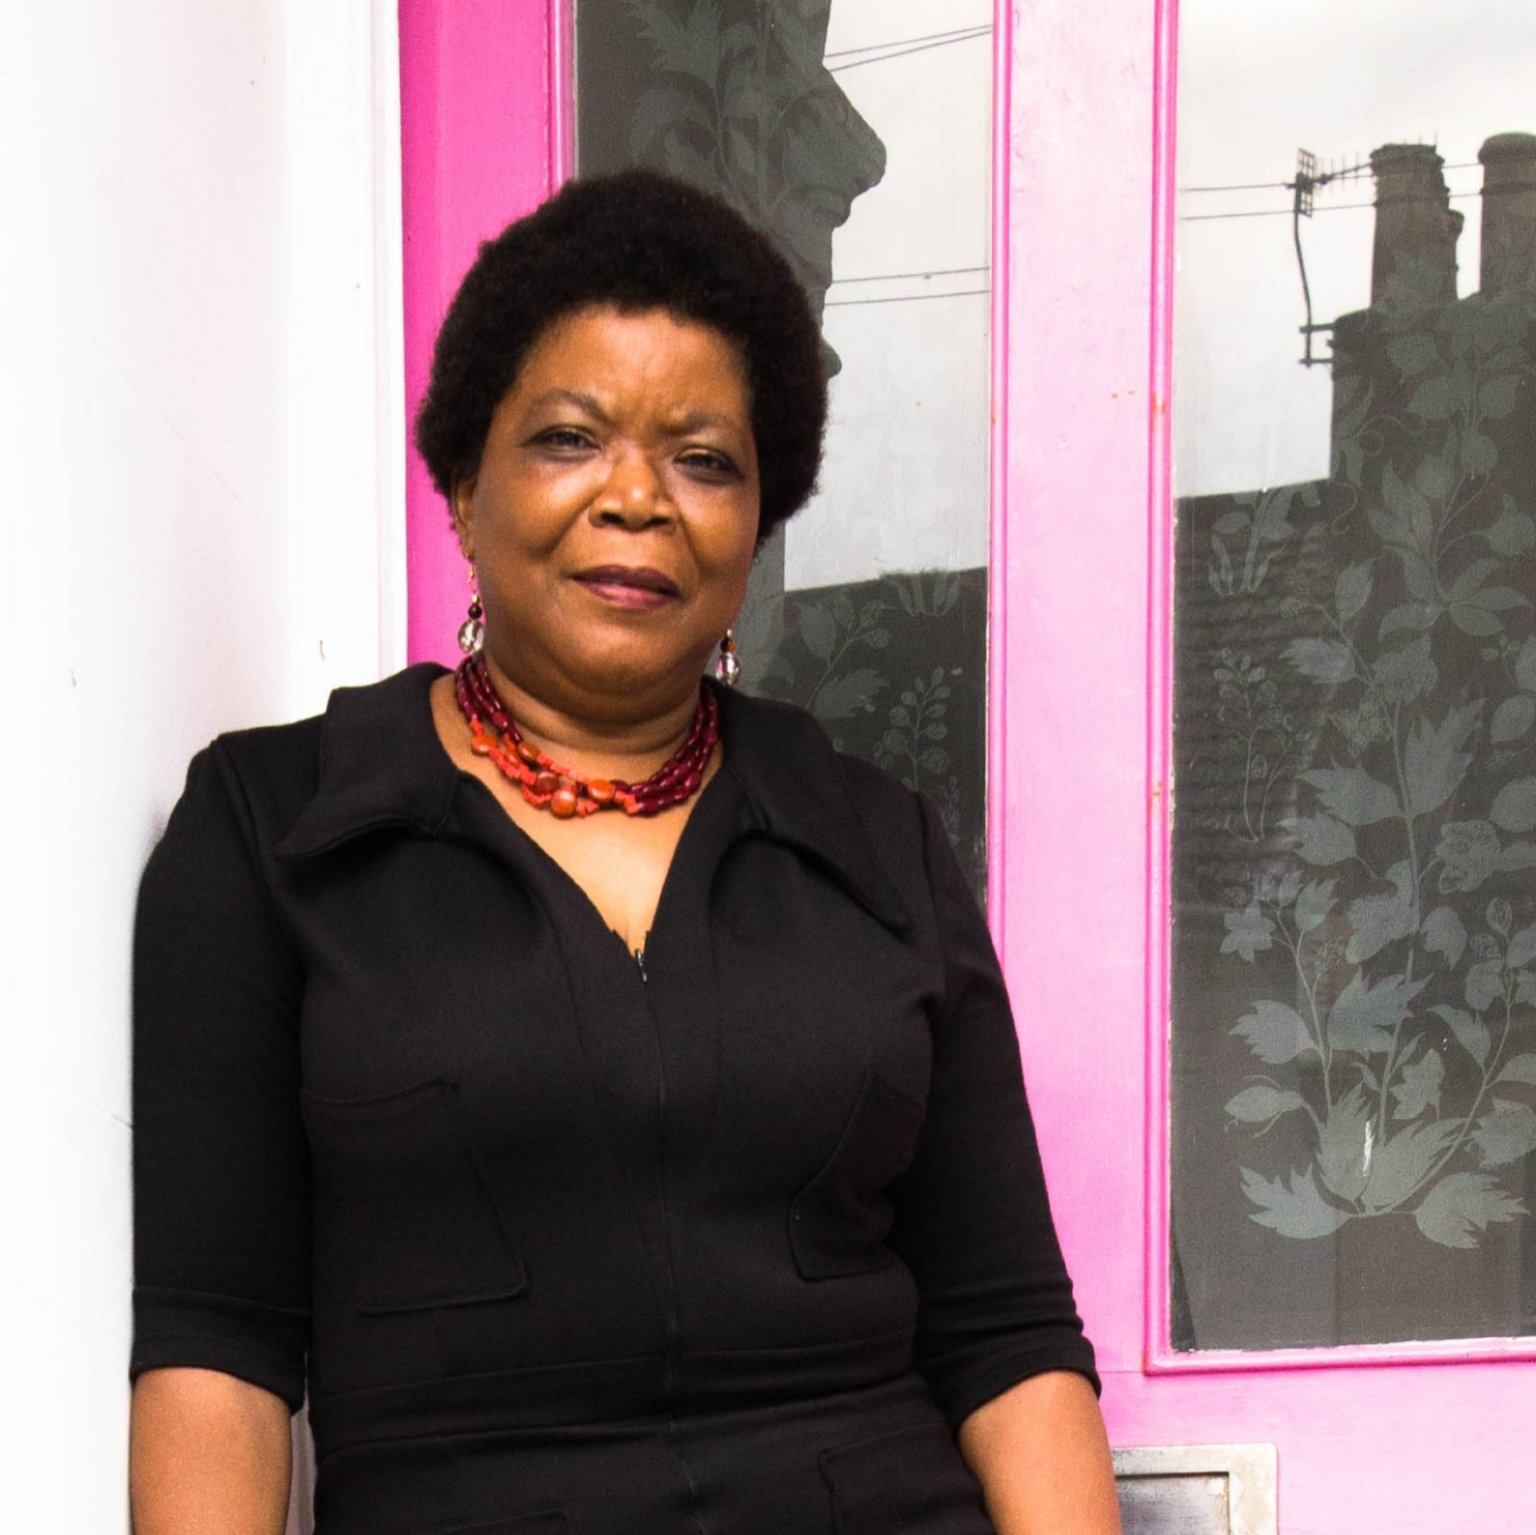
My first finished article from Mood is this Cherry Jumpsuit. I’m joining in #sewtogetherforsummer again this year – thank you @sewsarahsmith, @rocco_sienna and @sewing_in_spain – and amazingly I’ve already started work on my challenge garments (note that’s plural). The last two years were definitely a bit ‘lastminute dot com’ but I’m being a bit more organised this year.
I have avoided jump suits like the plague for, well forever – the last time I remember wearing one was at the beginning the eighties when boiler suits were all the rage. I had two, one in baby pink and one in baby blue – I used to do that a lot. Although I sadly have no photographic evidence (oh why did we not know that it was important to document every breath????) I can remember an outfit where I was dressed head to toe in bubble gum pink (who was that girl?)
The Cherry jumpsuit can be downloaded free from Mood’s website. It comes in PDF format only, so if you don’t like those, well see ya! I like the layout of the PDFs as they seem to be spread so that you don’t have to join all the pieces before cutting out e.g. the pants part seem to be in one section and the top in another. This just made it easier to handle when assembling the PDF.
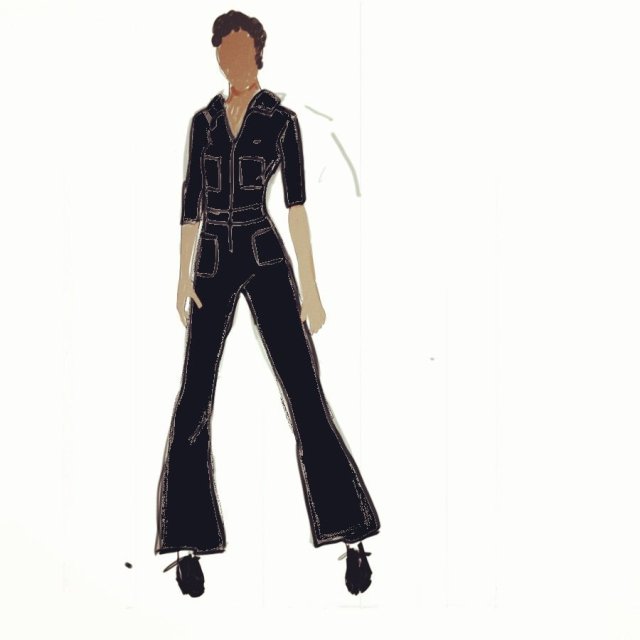
The pattern is a boiler suit type with patch pockets on the breast and the trousers. It closes with a zip up the back and is meant to be close fitting.
The example on Mood’s website is made in peachskin fabric but according to their guidance, you can use a variety of fabrics as long as you have a bit of stretch; I ended up making mine in black Ponte.
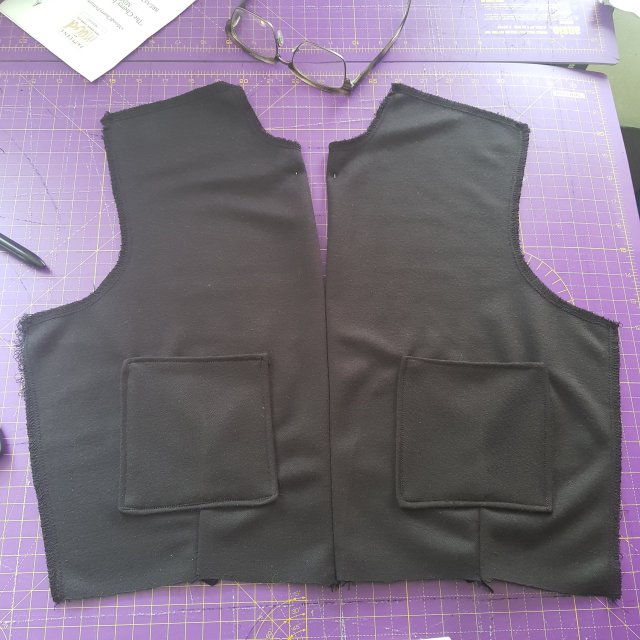
The instructions suggest a self lined front bodice, they cut 4 pieces and join them however with the weight of this Ponte, I decided I didn’t need the double layer so I only cut one pair of front bodices and one pair of back as per the instructions.
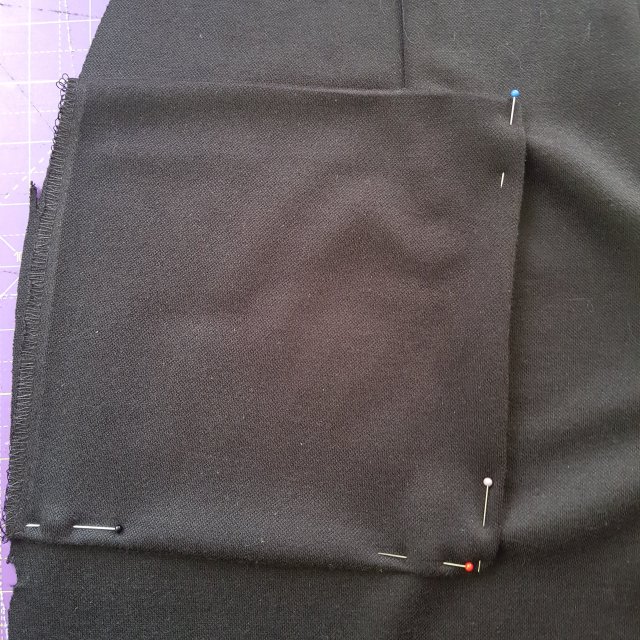
I joined the front after closing the darts and then added the patch pockets which I prepared by folding over and pressing and then stitching over the edges in place on the bodice.

I used the overlocking setting on my Necchi Pro coverlock for most of the assembly of this just using the coverstitch function for the hems on the sleeves and the legs.
After joining the front trouser pieces together and completing the darts, it’s time to attach the pockets. They are sewn into the side seam so only the bottom and centre needs to be the topstitched, I think that in another version I would make these patch pockets a bit bigger and actually have a slanted side so that you can put your hands in more easily, it’s cute but I can’t see me using them much.
Then sew the trouser back darts before joining the legs. According to the pattern you leave the back rise seam open, however I joined to where the zip would end to make it easier to fit together with the front pieces. When I’m making trousers, I like to join the front to the back by matching the crotch seam just in case there’s a discrepancy in the length of the legs. So my pants fronts and backs are sewn together now and ready to join to the top.

Once I got to the point of attaching the top to the bottom, I decided that I preferred to have a front closure. I’m thinking that back zip would be so difficult to do and undo so that’s what I did.
Now it was time to attach the waistband. I found that the instructions at some points leave a bit to be desired, and this was one of those points, but I figured, it’s a free pattern, so it’s to be expected. I had to do a bit of guesswork as there wasn’t really a clear description in the instructions. The way I interpreted it is that I sandwich the waist of the pants portion between the two waistband pieces, then stitch that and then attach the inner waistband to the top.
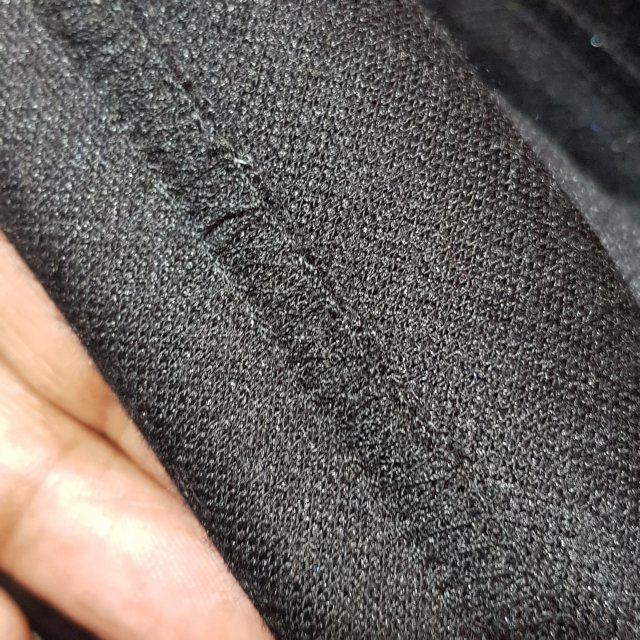
Then I moved on to inserting an invisible zip in the front closure, despite having three different invisible zipper feet I’m still not great at keeping them invisible. I had to admit defeat because even though I went over them several times it still shows a little bit when its on, I also had a little problem with the bulk of the waistband seams which end up at five layers – a little difficult to get the zip past it.
At this point I tried it on and you guessed it, it didn’t fit. I had used their size 14 as it’s a US sized pattern. I think my waist is outside their range and I should have taken into account that my top is a size bigger than my lower half. I have a FULL BUST. Anyway the moral of this story is always check your measurements. It meant I had to add a little ‘cheats FBA’ as I’m calling it. I inserted a V shaped panel in the centre front to allow the top to zip up while keeping the waistband intact.

The final portion was the collar. The original jumpsuit had a back zipper, so the collar is split in two. Now that I have changed to a front closure, I really should have made the collar into a one piece. I still might as it was a little raggedy because with a closed back seam, it was difficult to attach the two piece collar.
The finished jumpsuit is not perfect (the FBA thingy) but the fit, the Flares I. AM. STOKED.


Overall I think this is a stunning resource from Mood, great designs, great patterns and although I think an absolute beginner might need more complete instructions I think Mood have shared a wonderful gift.
Have you ever used Mood’s patterns, how did it go? Where do you find the best free patterns?
Thanks for dropping by…

P.S. Regrettably I am not affiliated to Mood in anyway, this isn’t an advert and I’m not being paid to promote them.

Im trying to make this, but having issues connecting the collar. Could you offer any advice?
Ps. This looks AMAZING on you
LikeLiked by 1 person
Hi Liz, you may get this message twice! It’s a while now since I finished this but what issues are you having?
LikeLike
Wow! You look like an absolute movie star. I was on the fence about this pattern but now I’m sold. So glad you mentioned putting the zip in front, cuz that’s definitely what I want to do. No idea how anyone zips up a back zip on their own unless it has one of those attached lanyards like a wetsuit.
LikeLike
Hi Meg, thanks for visiting! I do hope you have a go at this pattern it’s really great. No regrets about the front zipper, I really can’t see how I’d do with a back zip!
LikeLike
You look so fabulous–and thank you for such a great and delightful description of your process. Love that you used the ponte! Looks amazing!!
LikeLiked by 1 person
Thank you so much, I’m currently loving knits for comfort and ease, they are a bit more forgiving on fit. 🙂
LikeLiked by 1 person