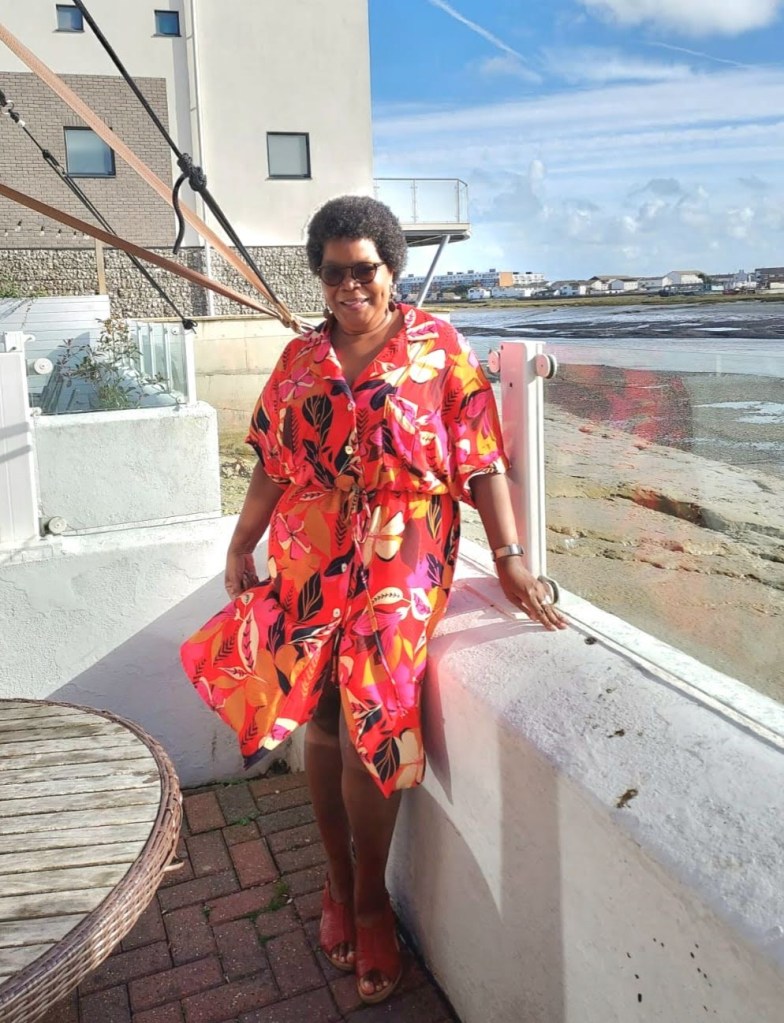
I wanted to make a medium-length shirt dress which could be worn on its own or as a duster over trousers. The image in my head was something loose-fitting with a gathered waist and full enough so that it would work as a dress but also open over my white linen trousers.
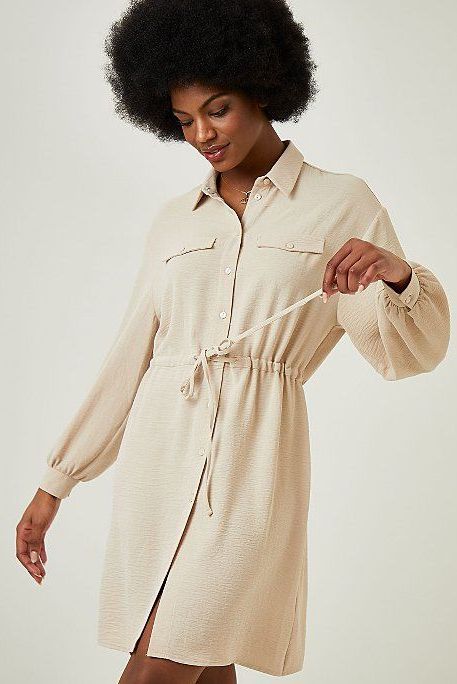


I saw a couple of patterns with a drawstring waist like the Named Reeta dress, but I instinctively knew that I must have something in my stash or if I didn’t, that I must be able to draft something as simple as this.
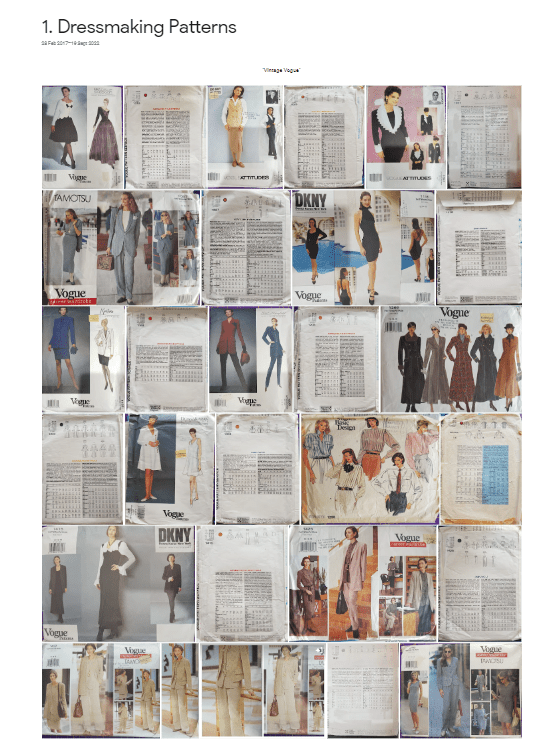
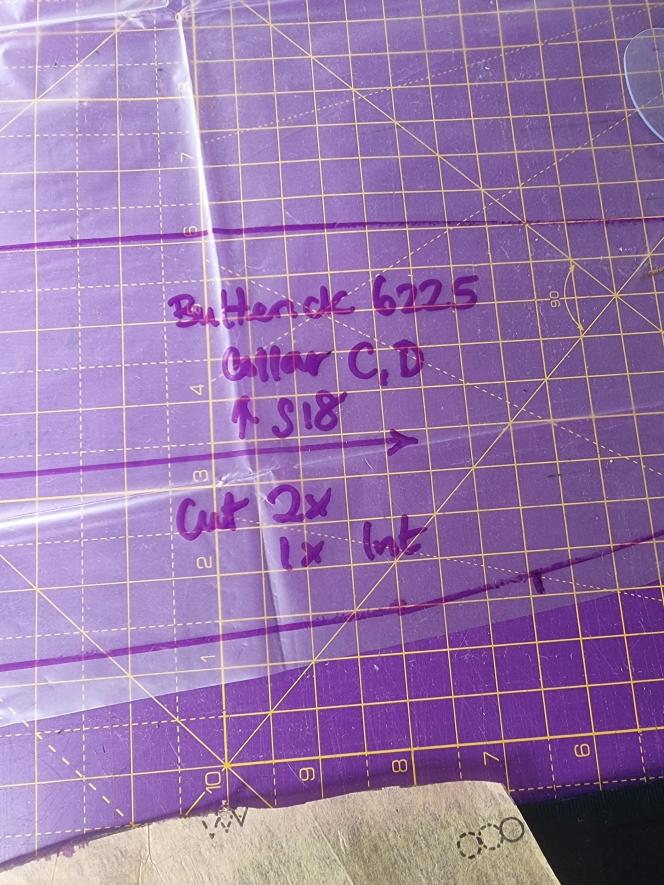
Fortunately, by scanning my Google photo album of dressmaking patterns, way down in Butterick, I saw this Fast And Easy pattern from who knows when.
So here we go.
Have you ever opened an old sewing pattern which shows clear signs that you’ve used it before i.e. pieces are all cut, it even has additional pieces made with your handwriting all over it, yet you have absolutely no memory of ever making this garment?
Well, this is how it was when I opened the envelope of Butterick 6225, it reminded me once more how I wish I had taken photos of my makes in my previous sewing life.
I’ve had the pattern for ages, I must have bought it in Brighton since it has a C and H fabrics stamp on it. It’s still going to be something I picked up in the 90s before the “Big Sewing Hiatus”.
Initially, I got excited because the pattern is in sizes 14 to 18 and so I thought I wouldn’t have to grade it, but when I opened it up I saw I’d cut out all the pieces in size 14 which means I will have to grade it.

So I began the process of ironing out all the decades-old creases so I could begin to work on the pattern. I’m starting from view C above. There are a couple of things I need to do before it’s ready to cut out the fabric. I need to lengthen it obviously, but I’m also going to make it slightly A-shaped so that I’ve got room for the derriere. I also want to adapt the pocket to add a pleat to give it a safari-style finish. Those changes are in addition to grading it up to 2 sizes to an 18.
It looks like I already did an adaptation to add a yoke, those are the extra pieces with my handwriting, so thanks “Past me”. Inspecting the new pieces it did look like I omitted to add the seam allowance on the yoke and lower back so I’ve made changes to that effect but I need to do a slash and spread on both the front and back pieces to give the A shape to the dress.
I decided to trace new pieces as I had so many alterations to make, and then I realised I haven’t any tracing paper. In the spirit of using what I have, I unearthed an old packet of tracing film which I bought many years ago. I didn’t really like using it hence it’s still in my stash, but I figured it could do the job.

The 1st adjustment I made was to lengthen the sleeve by 5cm because I wanted it to have a deep turn up and also add on the 2 sizes to bring it back to the size 18
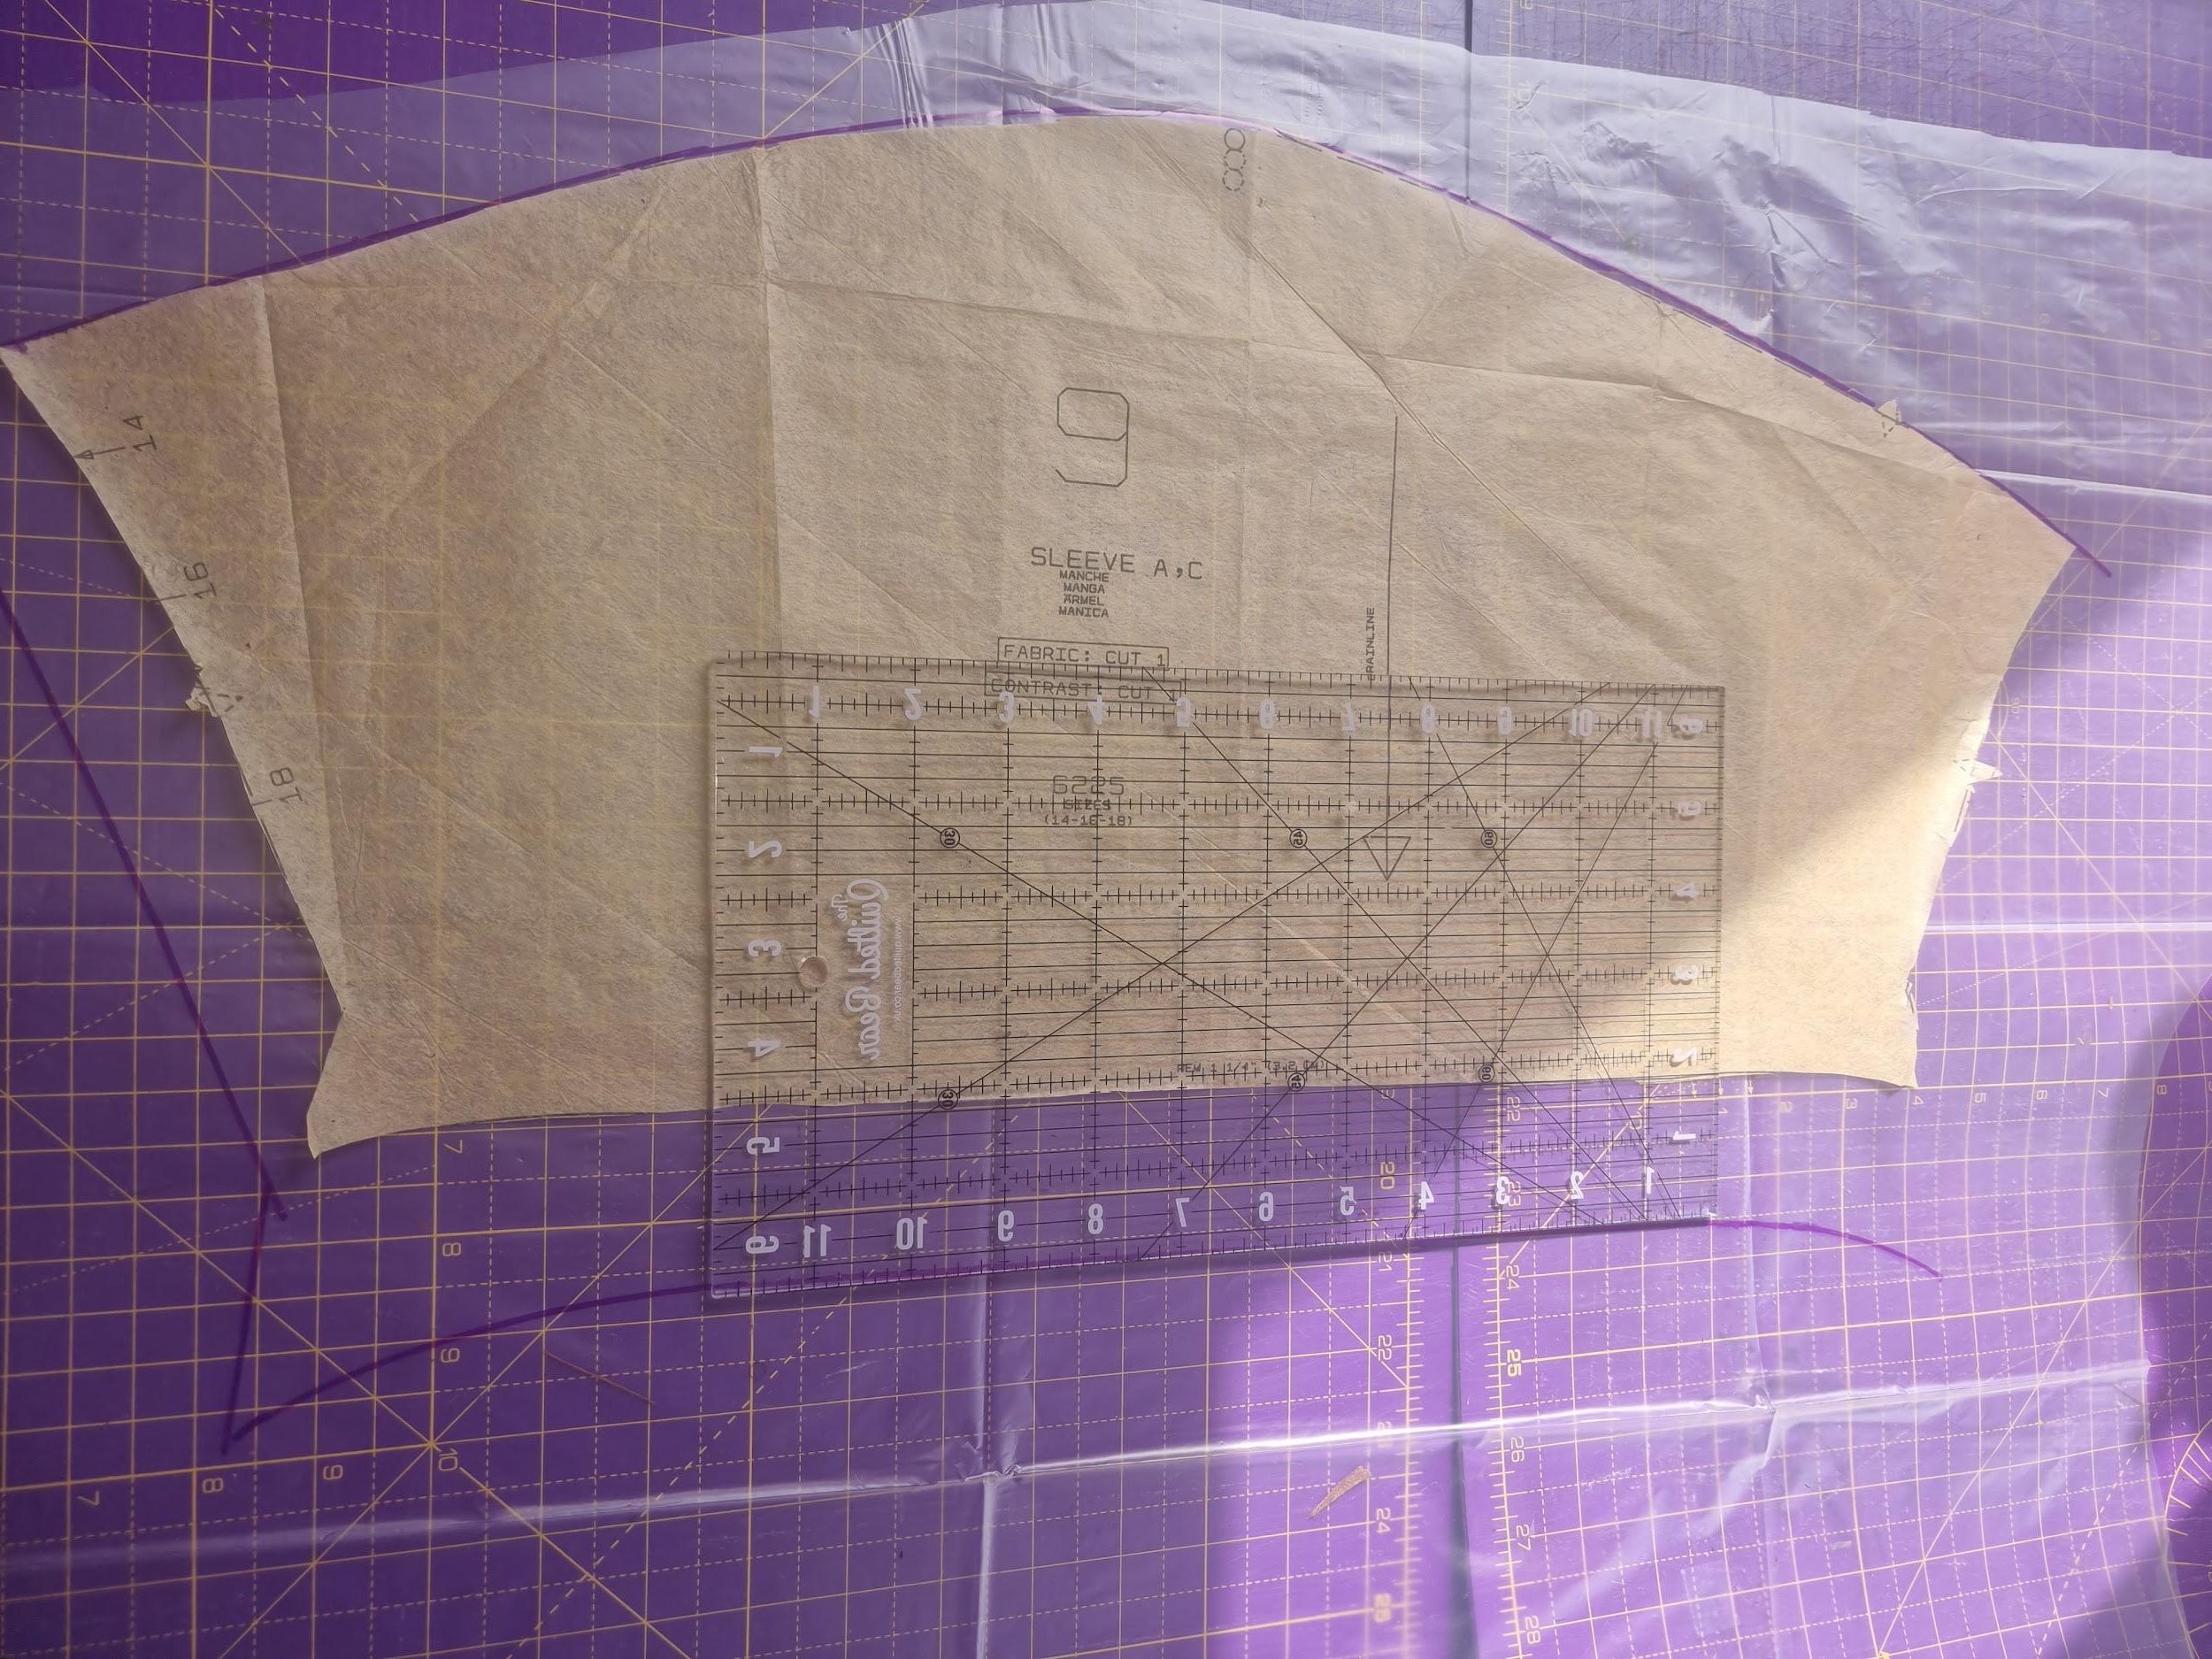
When it came to cutting out the pieces, I remembered why I didn’t like this film. It’s really transparent, you can barely see the film at all and so even though I put markings onto it, when I put it on the fabric it virtually disappeared so when it came to cutting out, it made it really difficult. For example, I’ve written on my lower back piece that I needed to add seam allowance, unfortunately, when I came to cut it out, the writing had blended in with the fabric and so I forgot about it. It’s things like this which led me to abandon this tracing film and although I’m determined to use up the pack I’ve got, it will be with gritted teeth.
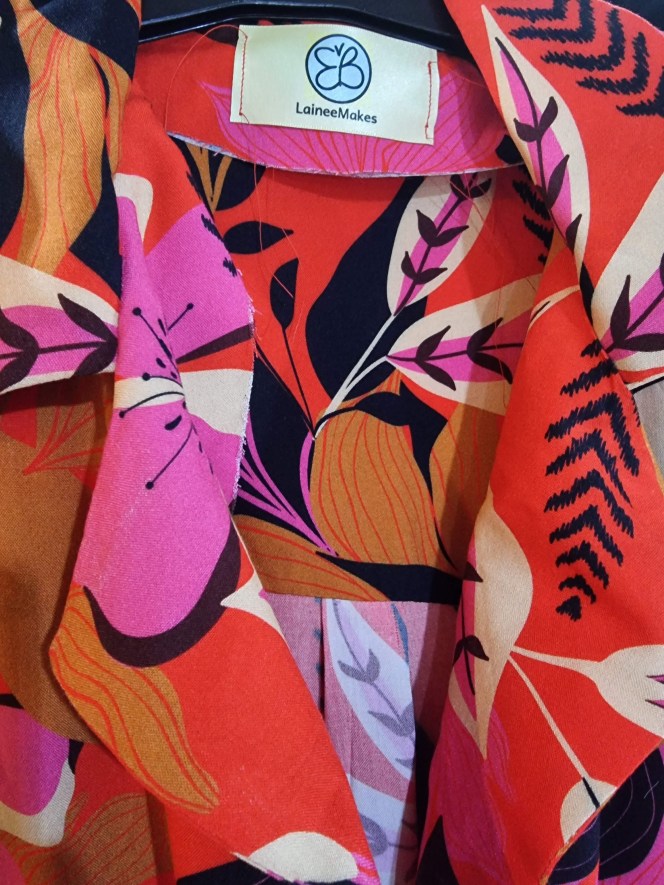
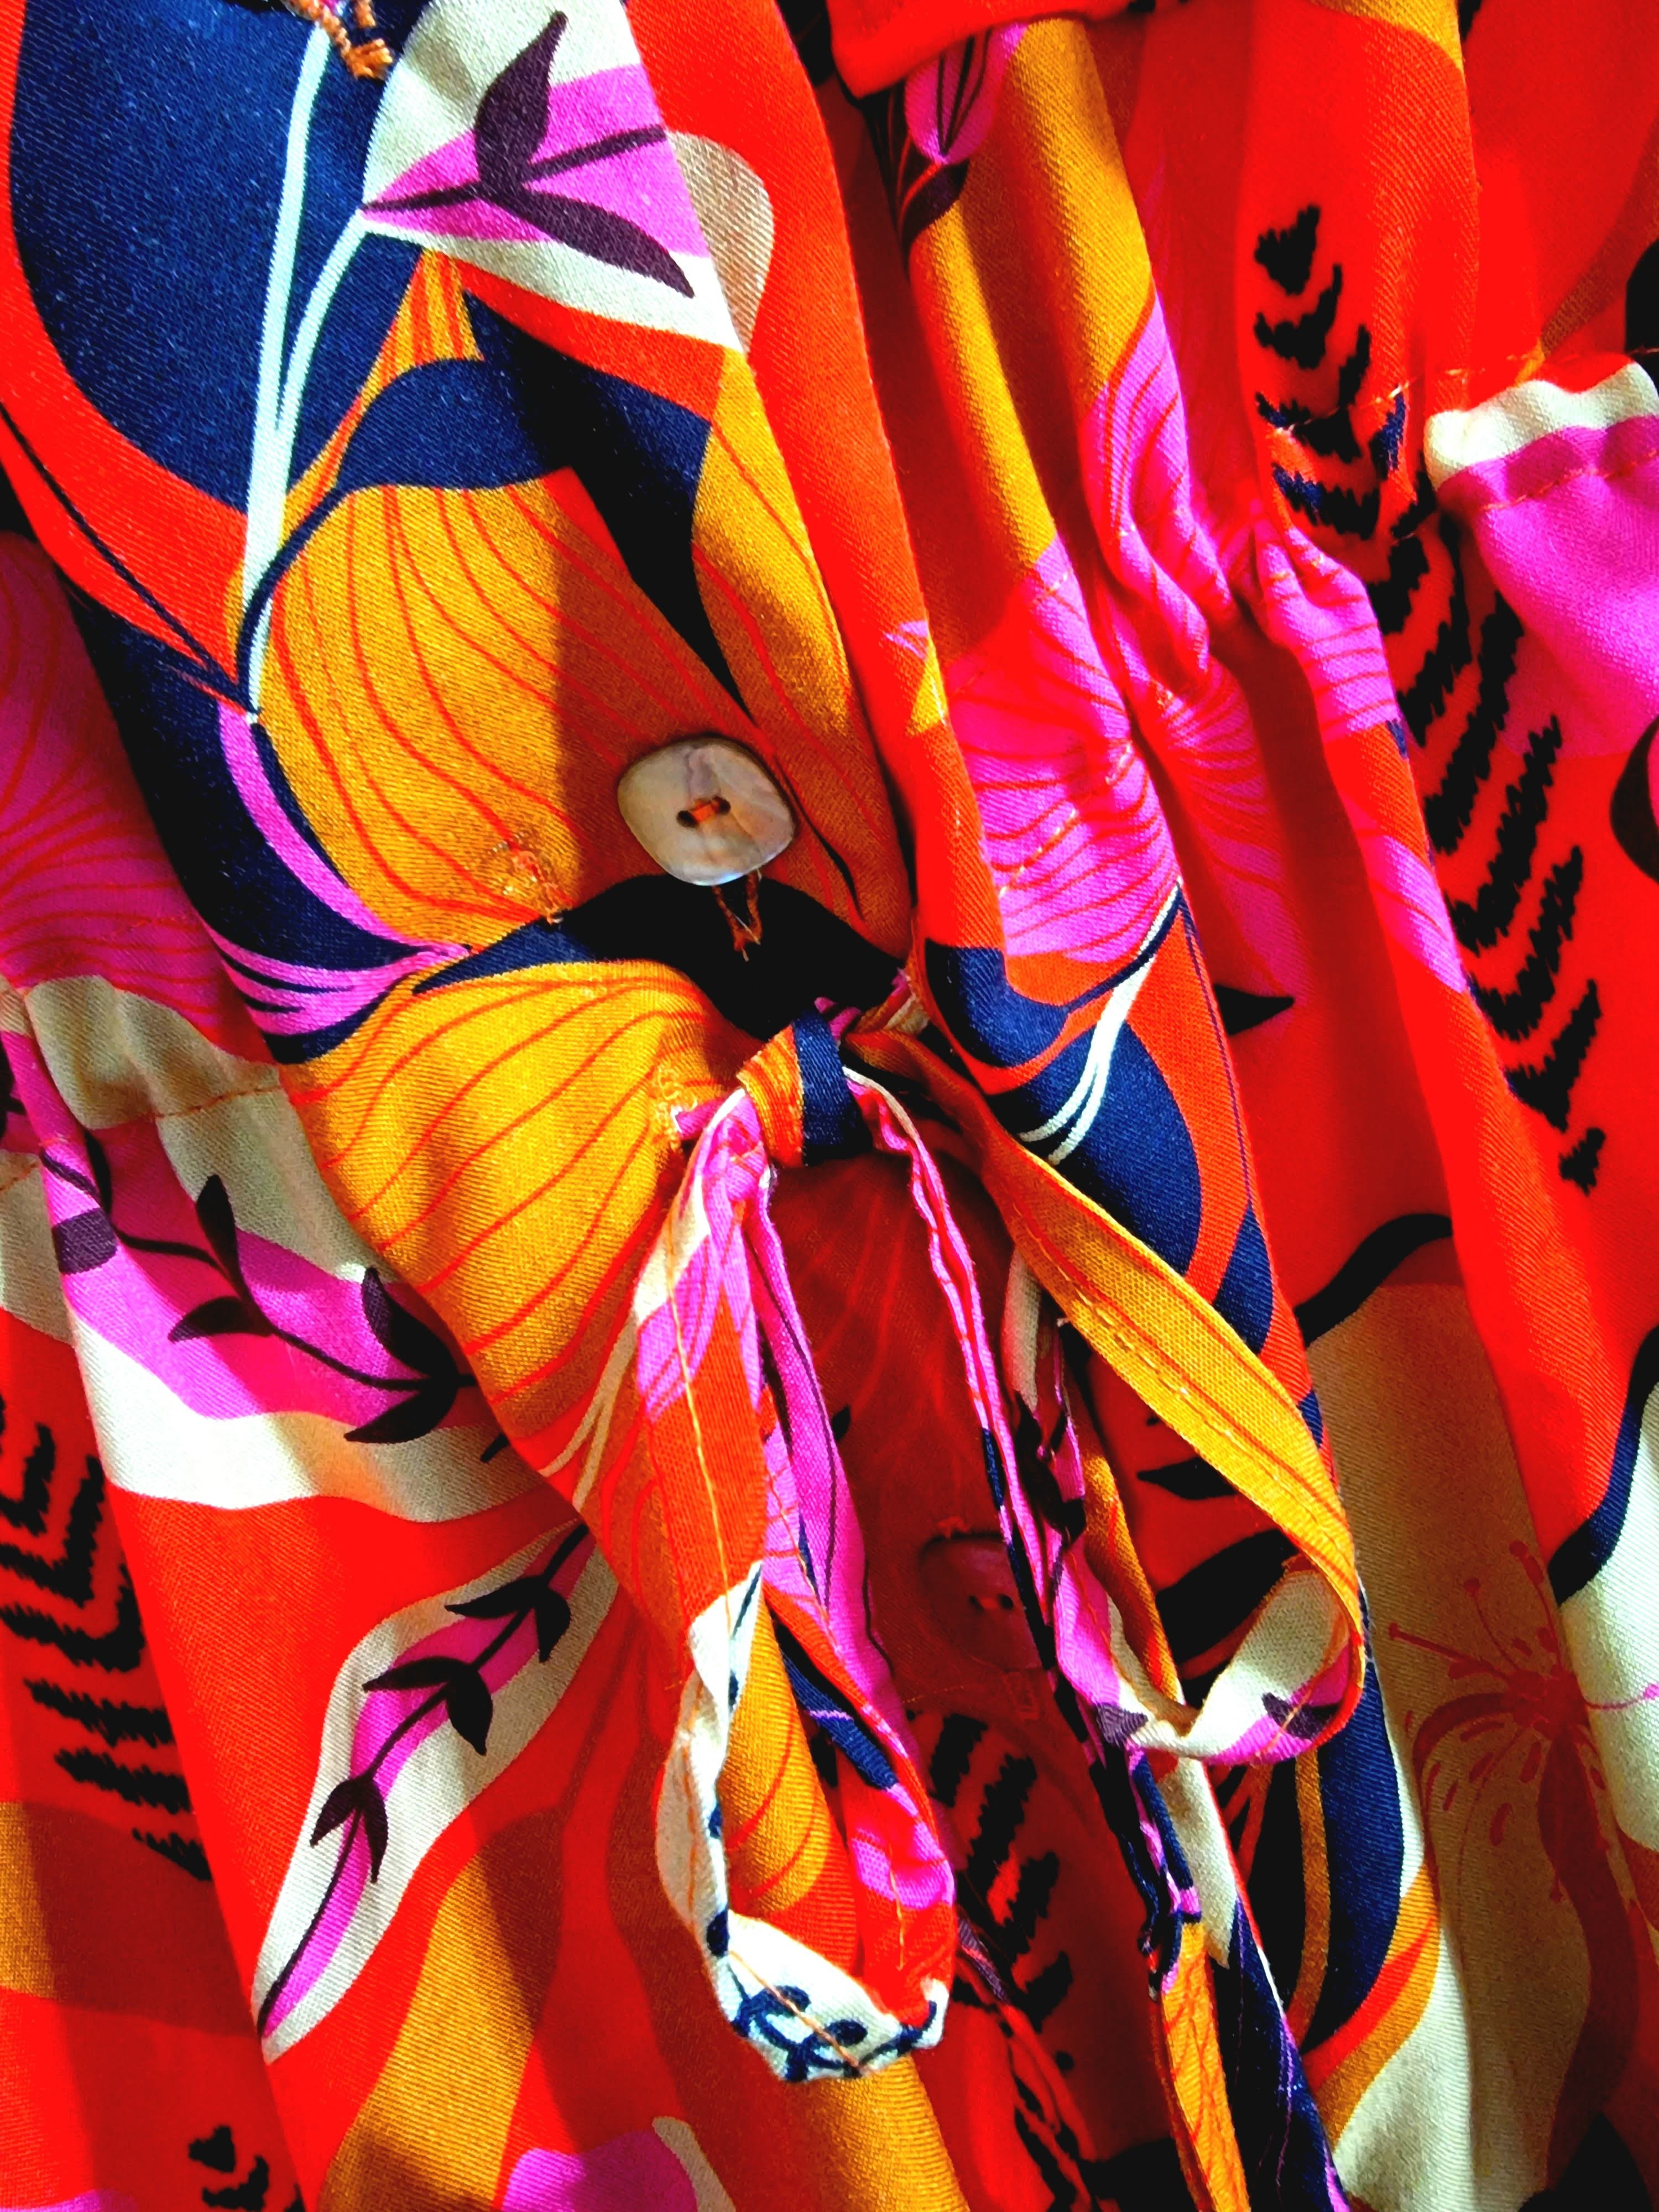
However, let’s take a moment to appreciate this fabric is from Minerva’s new exclusive print range. I have to say when I opened the packet to get this fabric out I squealed. It’s so gorgeous, it was in the washing machine within 5 minutes of receiving the delivery. They have created this new brand of fabrics with their own designs I guess and I was lucky enough as part of my Minerva brand ambassador role to receive a piece to work with.
It’s a viscose challis which is light and drapey. Like all woven viscose, it needs a bit of TLC. You definitely need to wash it before use – no skipping this as it will shrink significantly. Plus it’s a wee bit shifty when cutting out so be careful.

I started with the facing and fronts as these need to be done before you can make the yoke. When creating the facing it’s usual to understitch the facing to the seam allowance on the inside, but it’s important to remember as it’s a lapel, the top of the facing will be folded so the “inside” will be on show. So stop understitching at the roll point, switch over and understitch to secure the front pieces and make sure it rolls the right way.
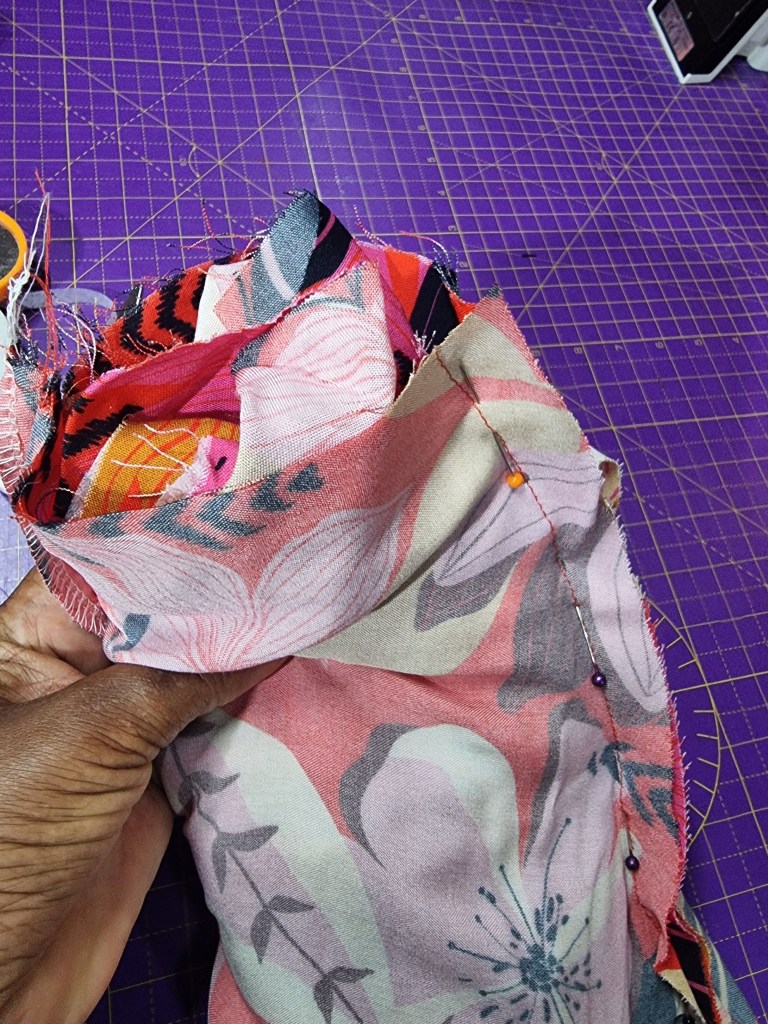
The most complicated construction technique is the yoke. I cut two pieces for this and I’m going to do a burrito-style yoke to ensure that all raw edges are enclosed.
The Burrito method is a technique in which the sewing is done with the item inside out before turning the garment through itself to the outside. This gives a clean finish as there are no raw edges or even sewn edges visible.
Now I still haven’t managed to satisfactorily photograph or film this process so I’m going to refer you again to the tutorial that I used on Stitchless TV.
First, join the facing to the front pieces.
Sandwich the lower back between the two yoke pieces as follows:
- Lay the inside yoke wrong side down
- Place the lower back on top wrong side down matching notches
- Place the outer yoke right side down on top of the other two pieces
- Pin together through all pieces then sew them together
Once these two sections are done you can join them using the burrito method.
Press the seams towards the yoke. I overlocked mine as well as this fabric frays a lot.
Then join the back yoke (the outside) to the shirt front at the shoulders.
This is the magic bit…
- Lay the shirt on your work surface with the inside of the yoke on the table.
- Roll the front and back of the shirt onto the yoke.
- Join the front pieces and the yoke together at the shoulders around the rolled shirt. The right sides should be together. Stitch the shoulders together.
- Unroll the shirt through the armhole side of the yoke
Once the yoke is done the rest of the construction is straightforward.
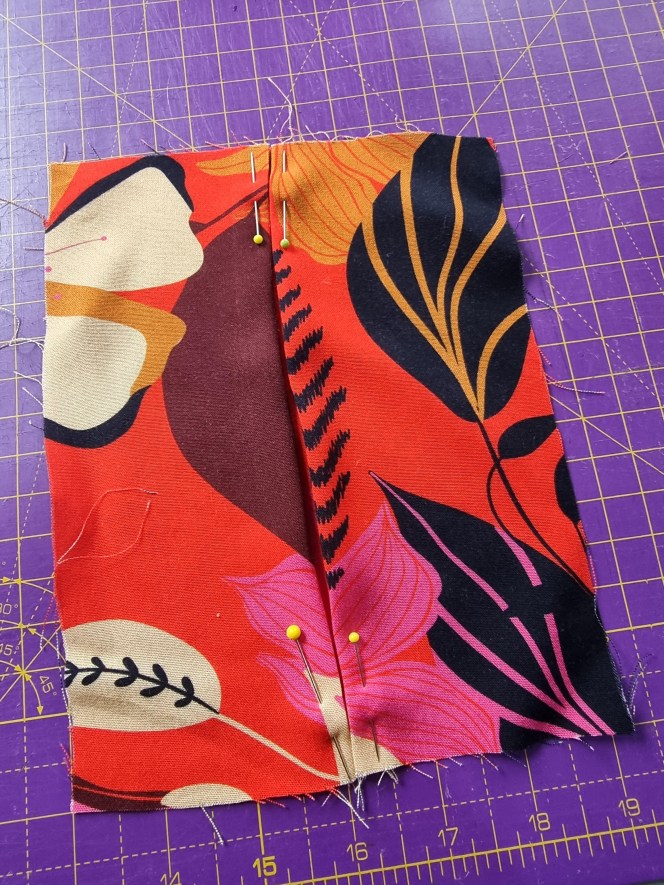
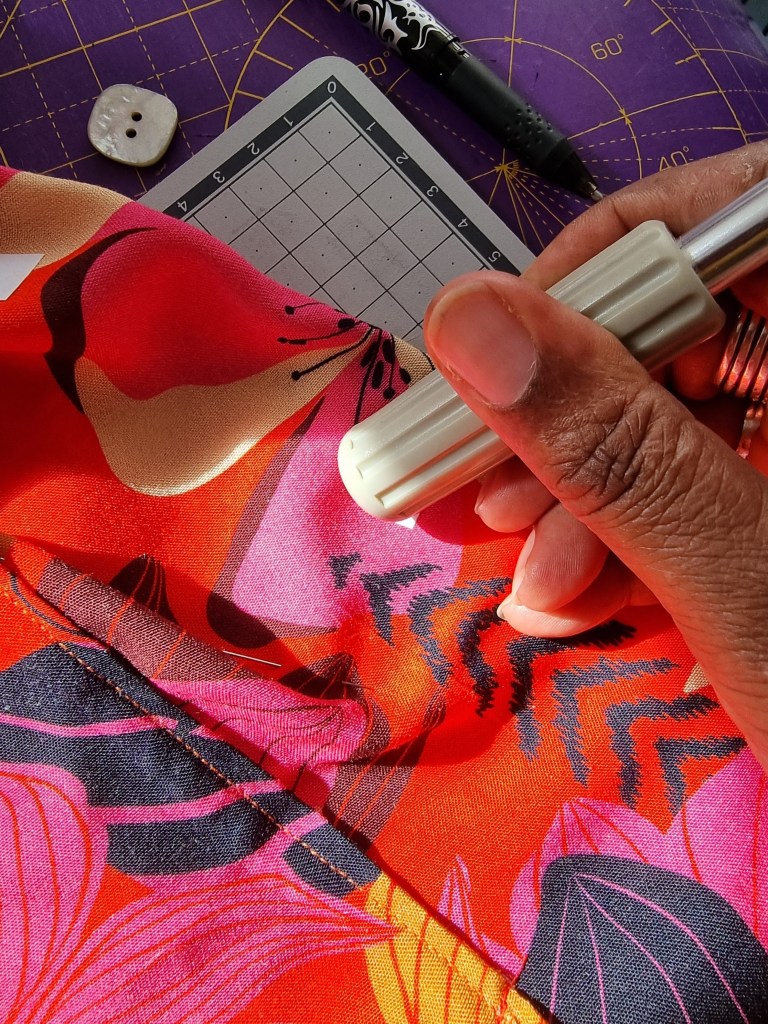
The pocket pleats are next. Folding the centre as a gauge then folding the 1cm pleats and pressing to fix.
A satisfyingly straightforward one-step installation of the collar makes the notched collar and rever really neat.
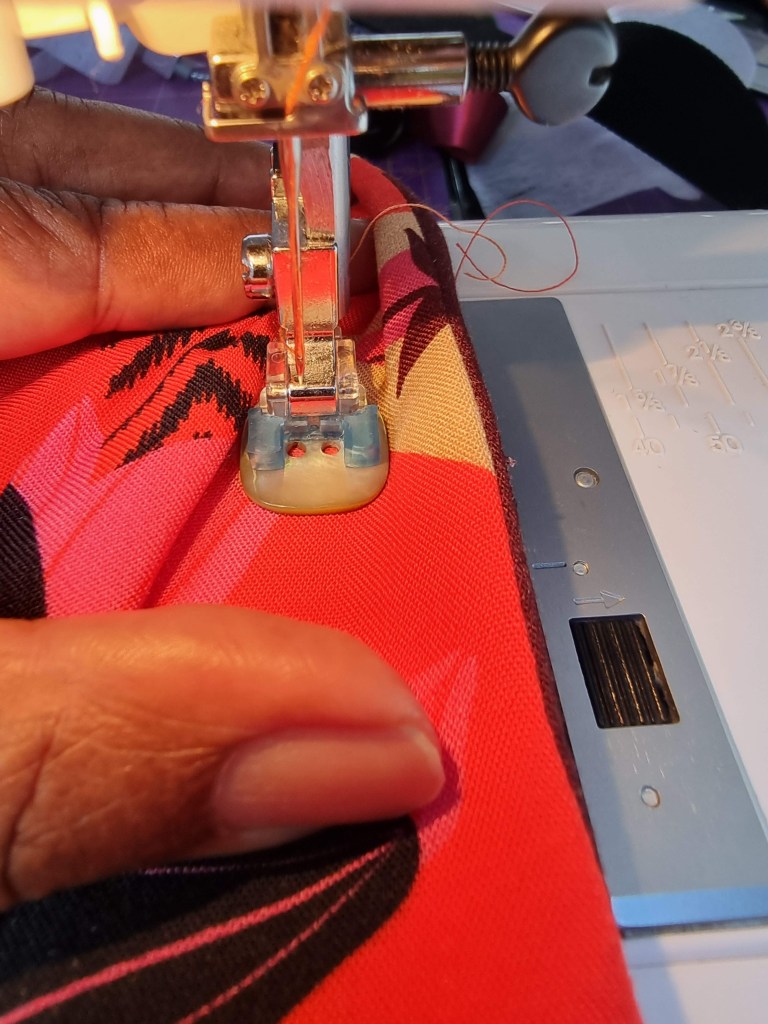
I’m not a great lover of hand sewing, mainly because I love speedy projects so I’ll use my machine whenever I can. I sew the buttons using a button foot with the shortest possible zigzag stitch. I use wash-away Wonda tape to secure my buttons in position while I sew them. I hand-crank the first few stitches to get the width right then sew at a slower speed.
An important step now was to install the drawstring casing and string. I went to and fro with this, I had seen people use eyelets for the entrance hole for the drawstring and I thought this looked cool but in the end, I settled for buttonholes as I felt less like to botch these. My buttonholes are fine but I have to admit this is my “I hope no one looks too closely” element. Despite lots of measuring my casing is extremely uneven but “If you can see that you’re too close mate!” When I tried it on it looked ‘orribleur (in Fren-glish accent) so I undid it and went back to the sewing table. It was worth it.
To finish the shirttail hem, I overlocked it then turned it up 1 cm and stitched over the hem.
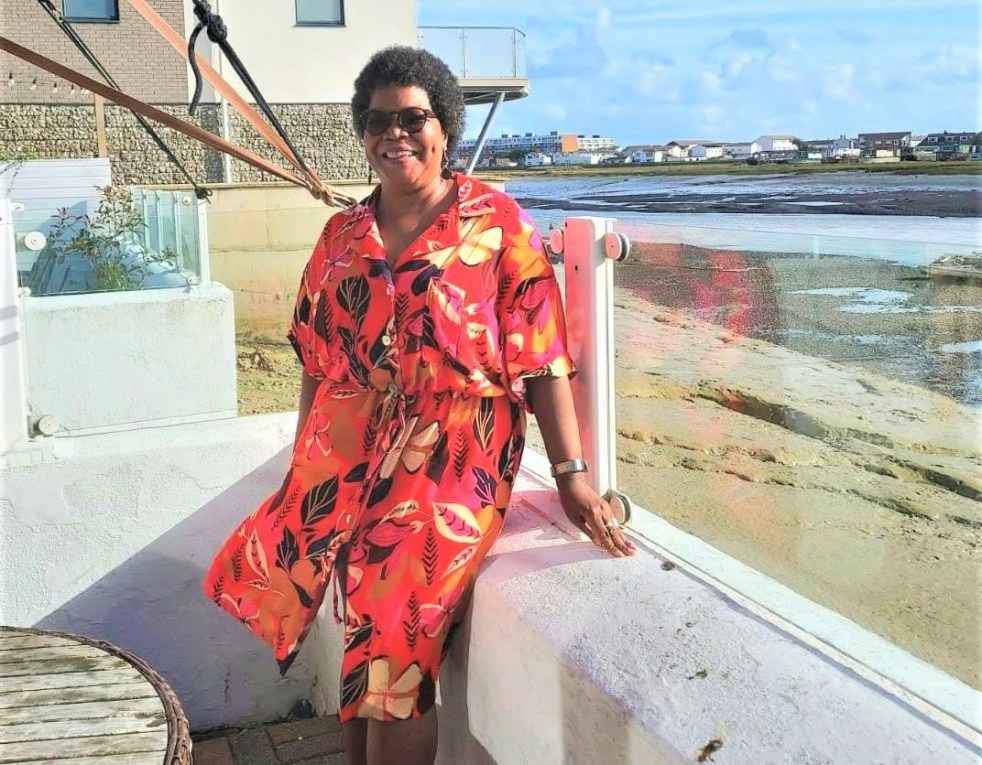
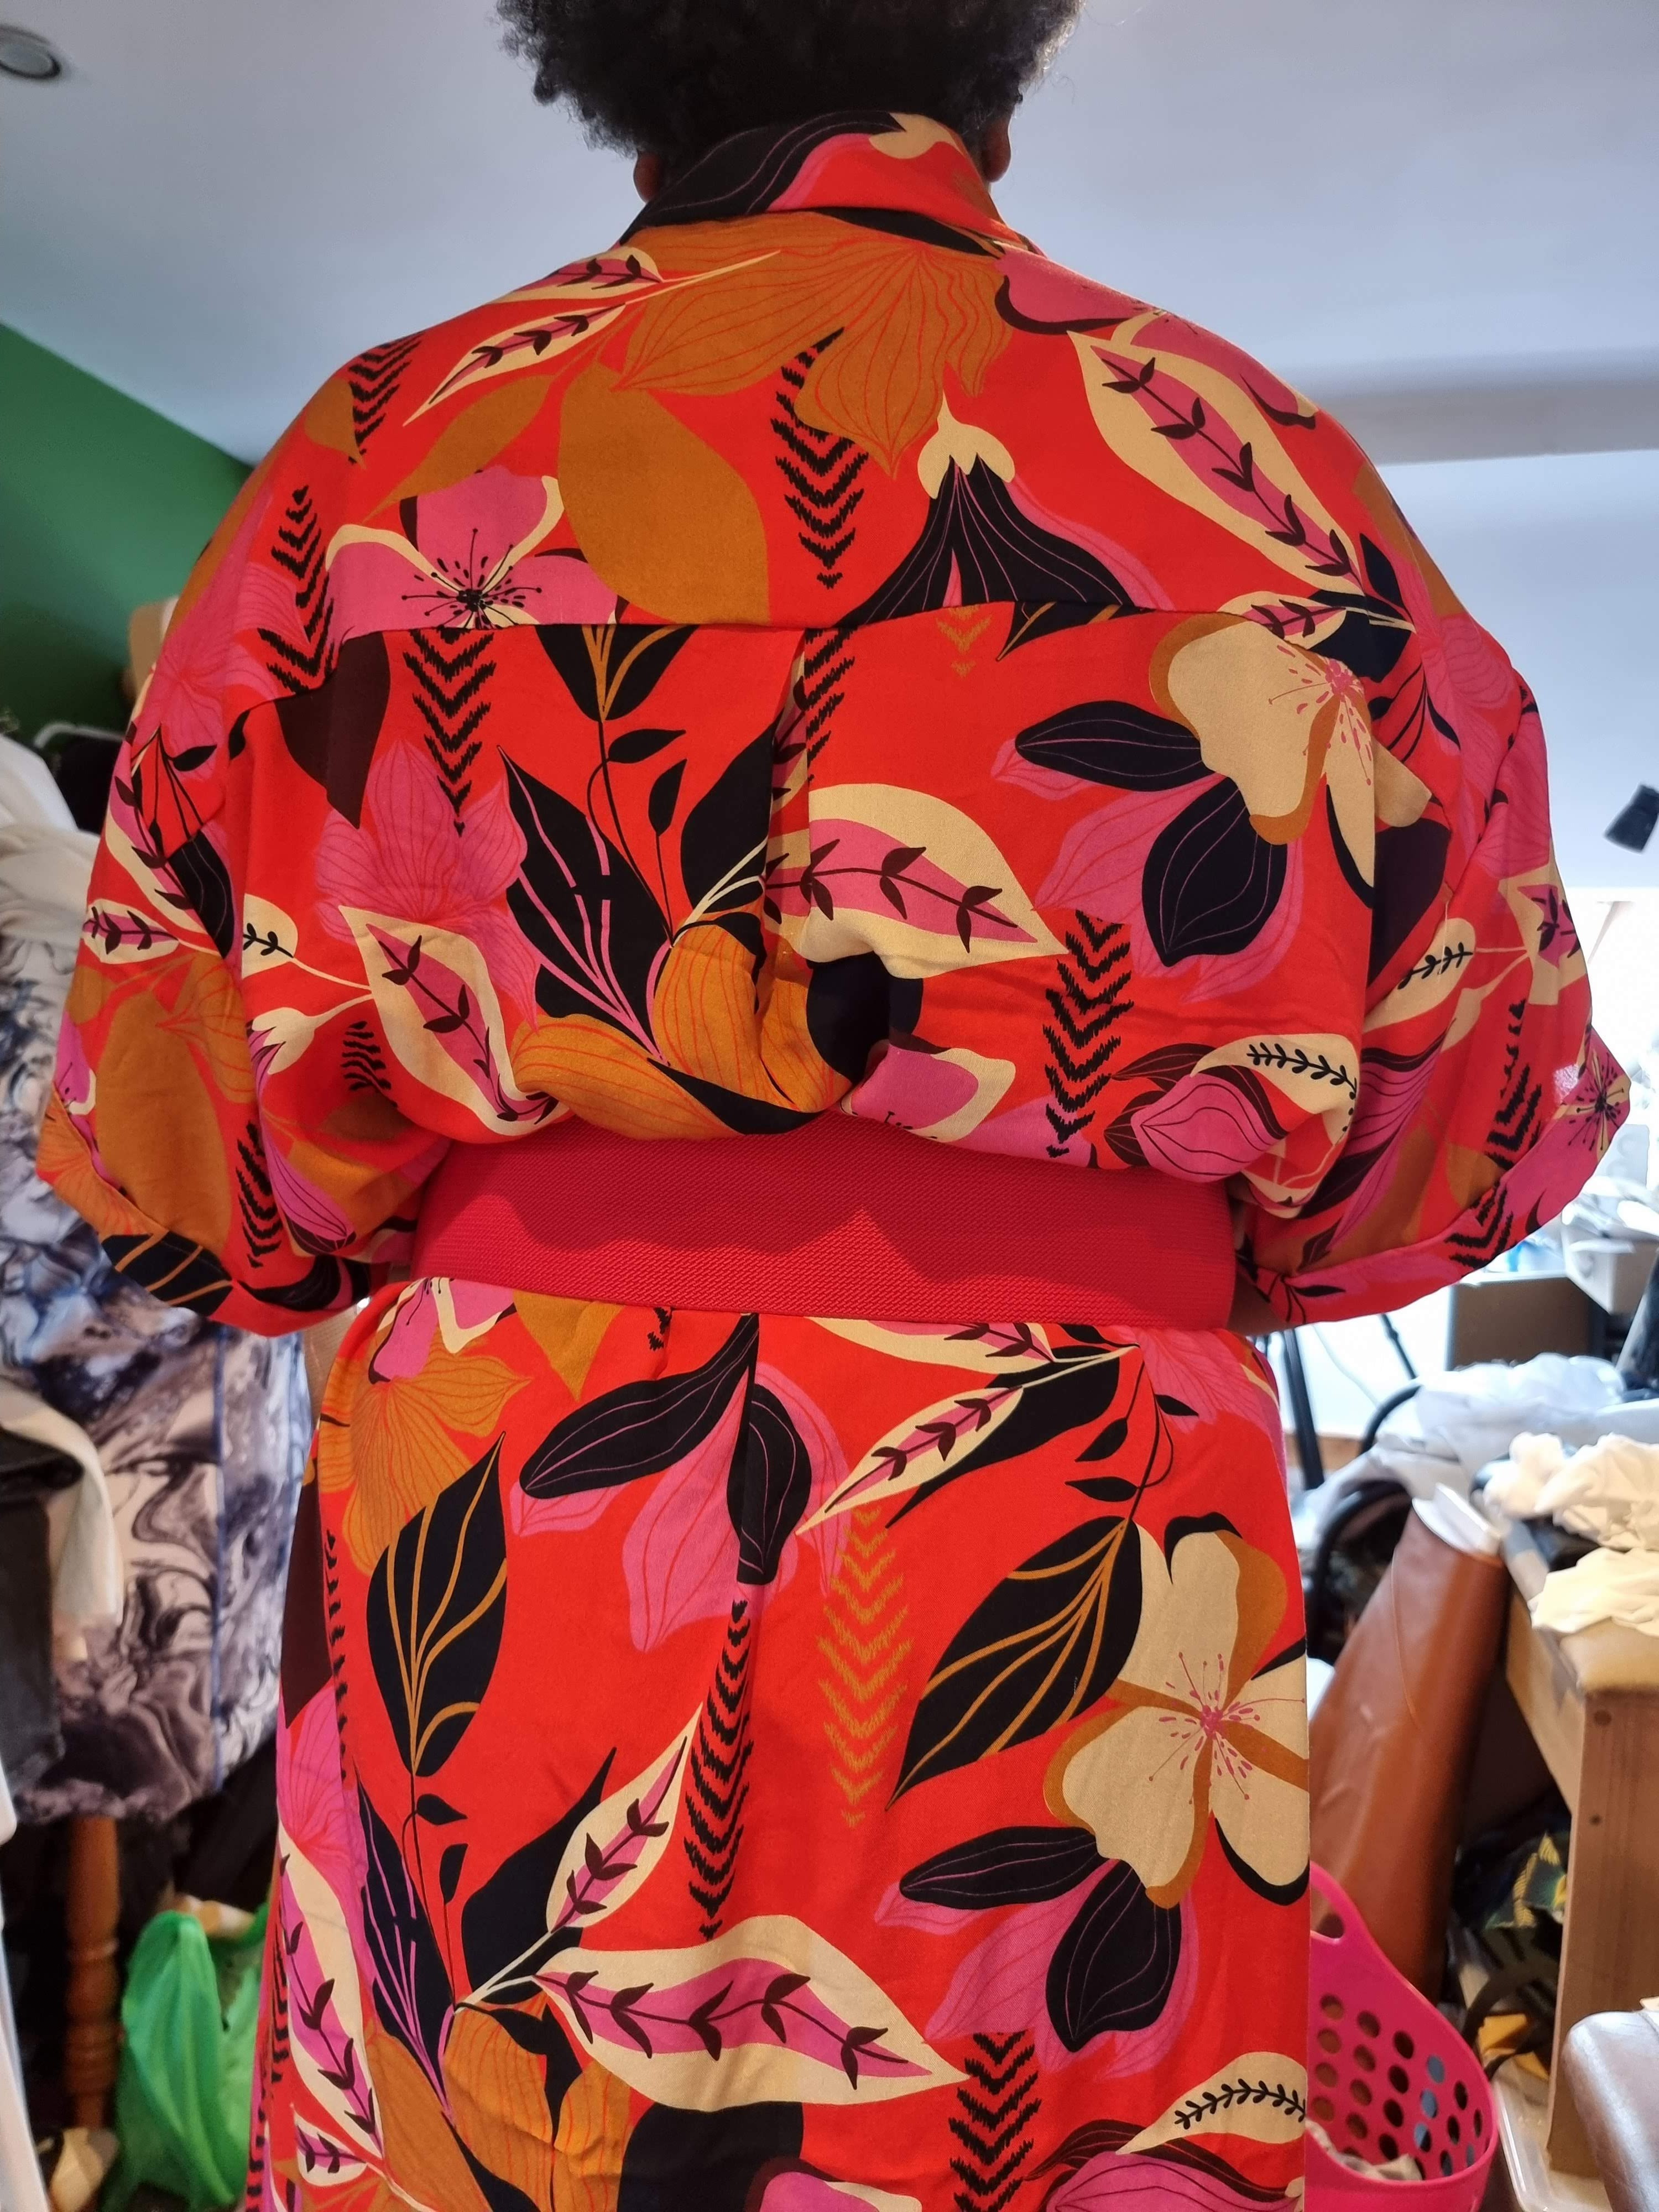
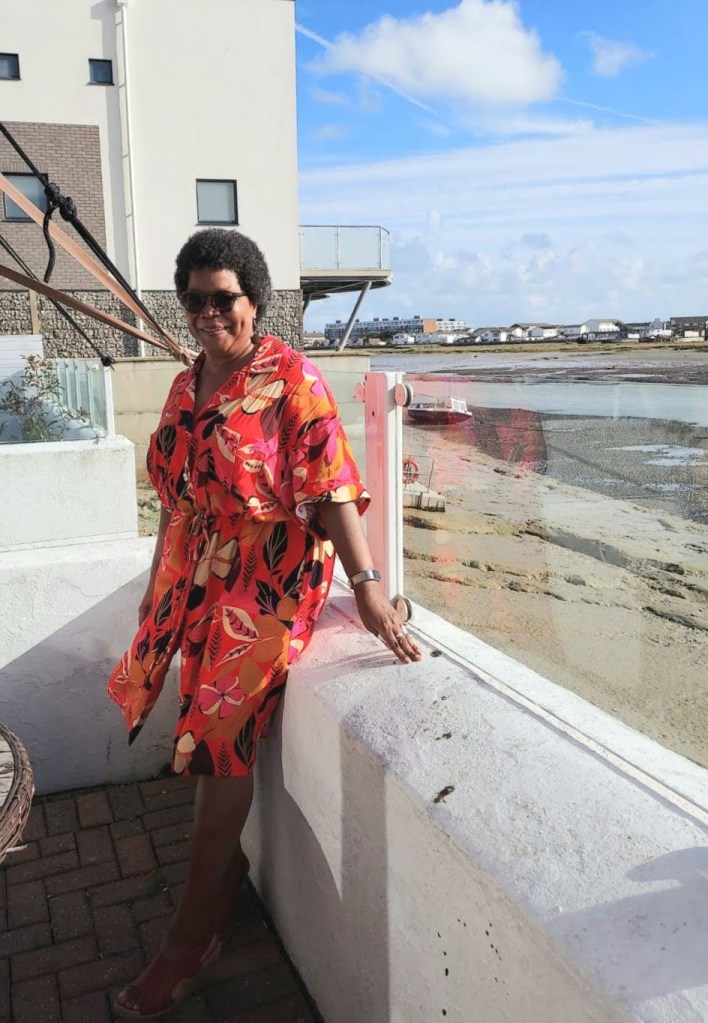
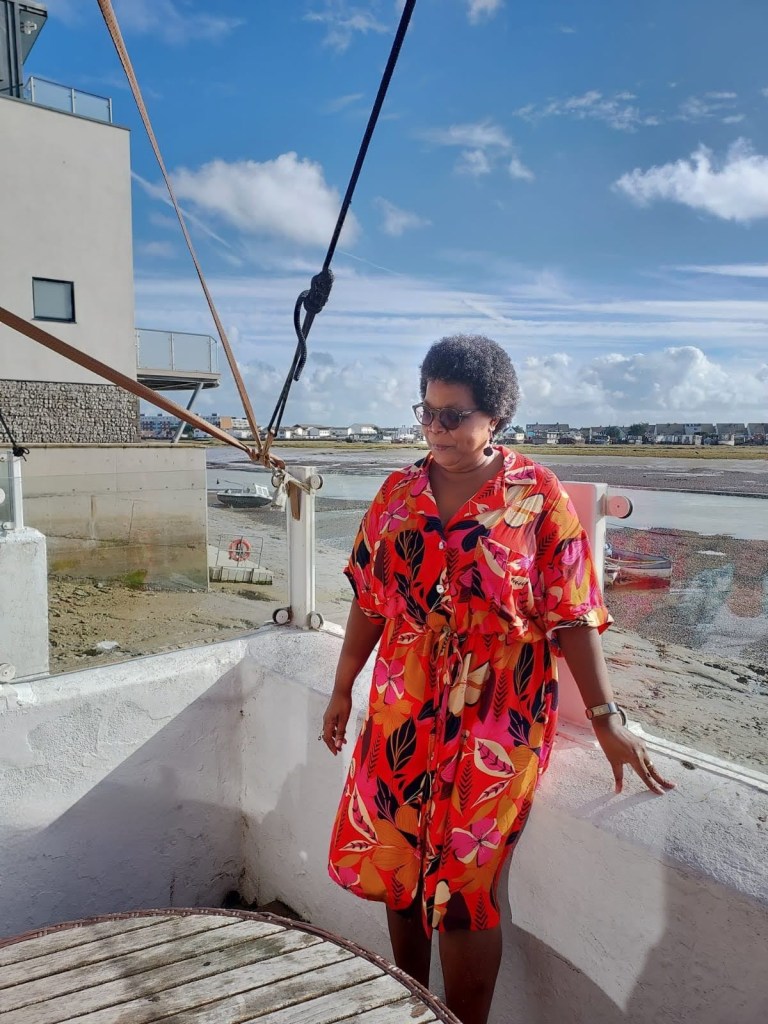
Then it’s done! The fabric looks fantastic sewn up. I’m so delighted with it. It can do double duty as I wanted – as a dress it’s a wafty delight. It will also look cool open floating over my white linen trousers.
Another vintage pattern hack success I think.
Do you have a stash of classic patterns waiting to be sewn or hacked? Will they ever see the light of day? Oh and BTW does anyone have a failsafe method of sewing drawstring casings? Asking for a friend.
Thanks for dropping by,


In the past I’ve used ‘baking paper’ to trace from PDF patterns but it’s not very wide and it’s become harder to find old fashioned ‘greaseproof ‘ paper. I made the mistake of buying non-stick baking paper once. It boasts “Nothing sticks” and it’s true! It just won’t stick together with sellotape or glue stick! Also, it’s almost opaque! Anyway, I did some research and found a tracing paper roll, on Amazon inevitably, that’s 90cm x 20m. That’s a lot of pattern tracing! It’s not cheap at near enough £28 (£1.40 per metre) so I’ll have to be as economical as possible with its use. I’ve got three grandchildren, a couple of adult sons and myself to sew for. Commercial patterns are expensive and more so if you buy for multiple sizes i.e. children, skinny son, chunkier son etc. and I’d need three rolls of baking paper to get the same width. Free patterns are great though. Madly justifying…. 🤔
LikeLiked by 1 person
Isn’t it weird how seemingly simple things are often hard to get right. I’ve tried several types of tracing paper before finding a good one. It’s a bit like Goldilocks in that they can be too transparent like this film or too opaque or too stiff. Well done on finding a good one.
LikeLike
What glorious fabric! That tracing film sounds really odd. I use a huge roll of tracing paper I got from Morplan. It wasn’t cheap up front but the rolls are huge. My first one lasted me nearly ten years – and I trace EVERYTHING.
LikeLiked by 1 person
Thank you! I got it in my Burda days in the 90s, in fact I’m sure it was advertised in a Burda magazine. I thought it would make those multi pattern pages easier to trace but it’s just really horrible to work with. As a very small gesture to cut waste I feel like I have to use it now. I’ll look out for some that Morplan paper next.
LikeLiked by 1 person
Beautiful fabric and impressive pattern adaptation!
LikeLiked by 1 person
Thank you Tierney, I love the challenge of persuading it to be what I want.
LikeLiked by 1 person