
At the beginning of the year, I committed to joining in the Burdastyle challenge at the prompt of Hila @saturdaynightstitch. Now we are already in the second half of the year I better do something about honouring my pledge.
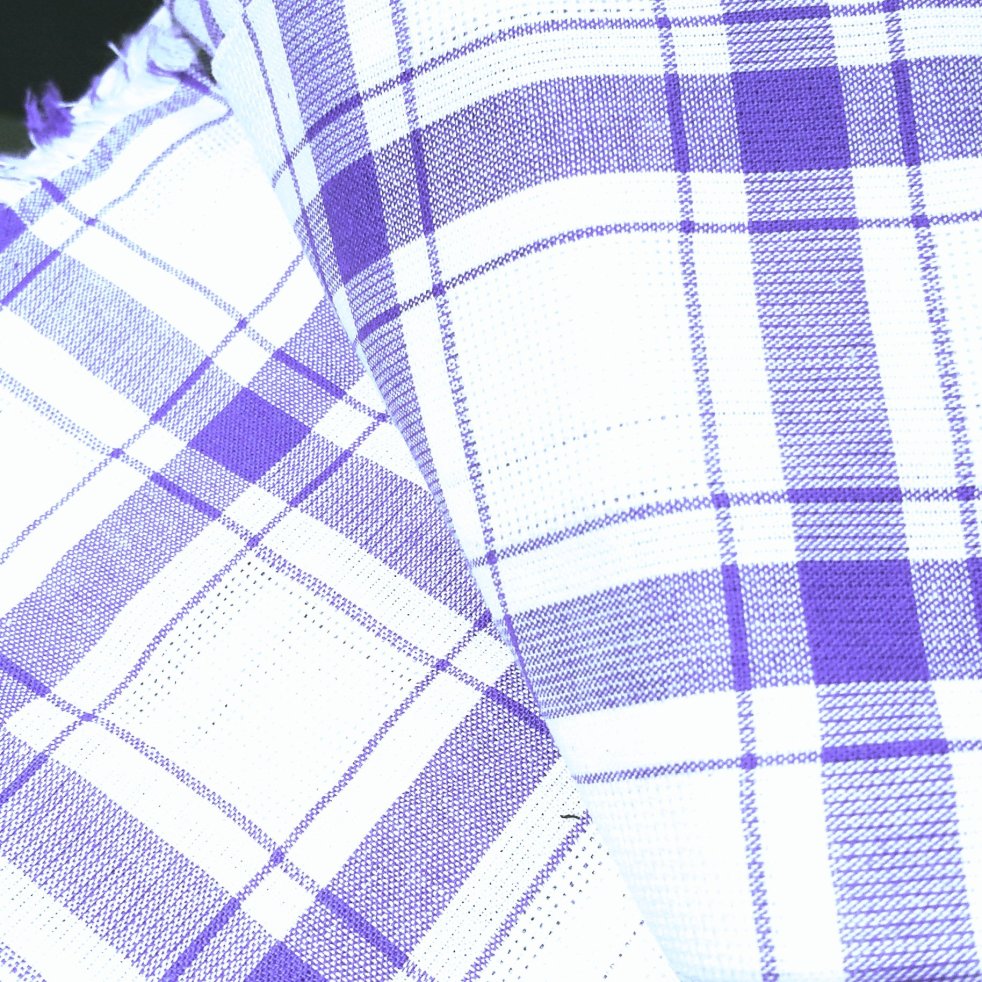
I have been nursing this piece of fabric in my stash for a long time, I know you have heard this before but I have a very big, old stash. Also, typically I can’t quite remember what it is or where it came from. Woven obviously, I think its a poly/cotton mix.
I realised that I needed a light dressing gown for my holiday as we were going away with my BIL and I wouldn’t be able to swan around in underwear or less. My regular robe is a huge plush velvet job which is way too much in the heat of summer.
I was convinced I had never bought a pattern for a dressing gown before and I was about to search for one to buy when, while browsing through my old Burda magazines, I found this one.

It’s a unisex style so Himself might get one too. The 21 years that have passed since I bought this magazine won’t be a problem fashion wise for this kimono style dressing gown.
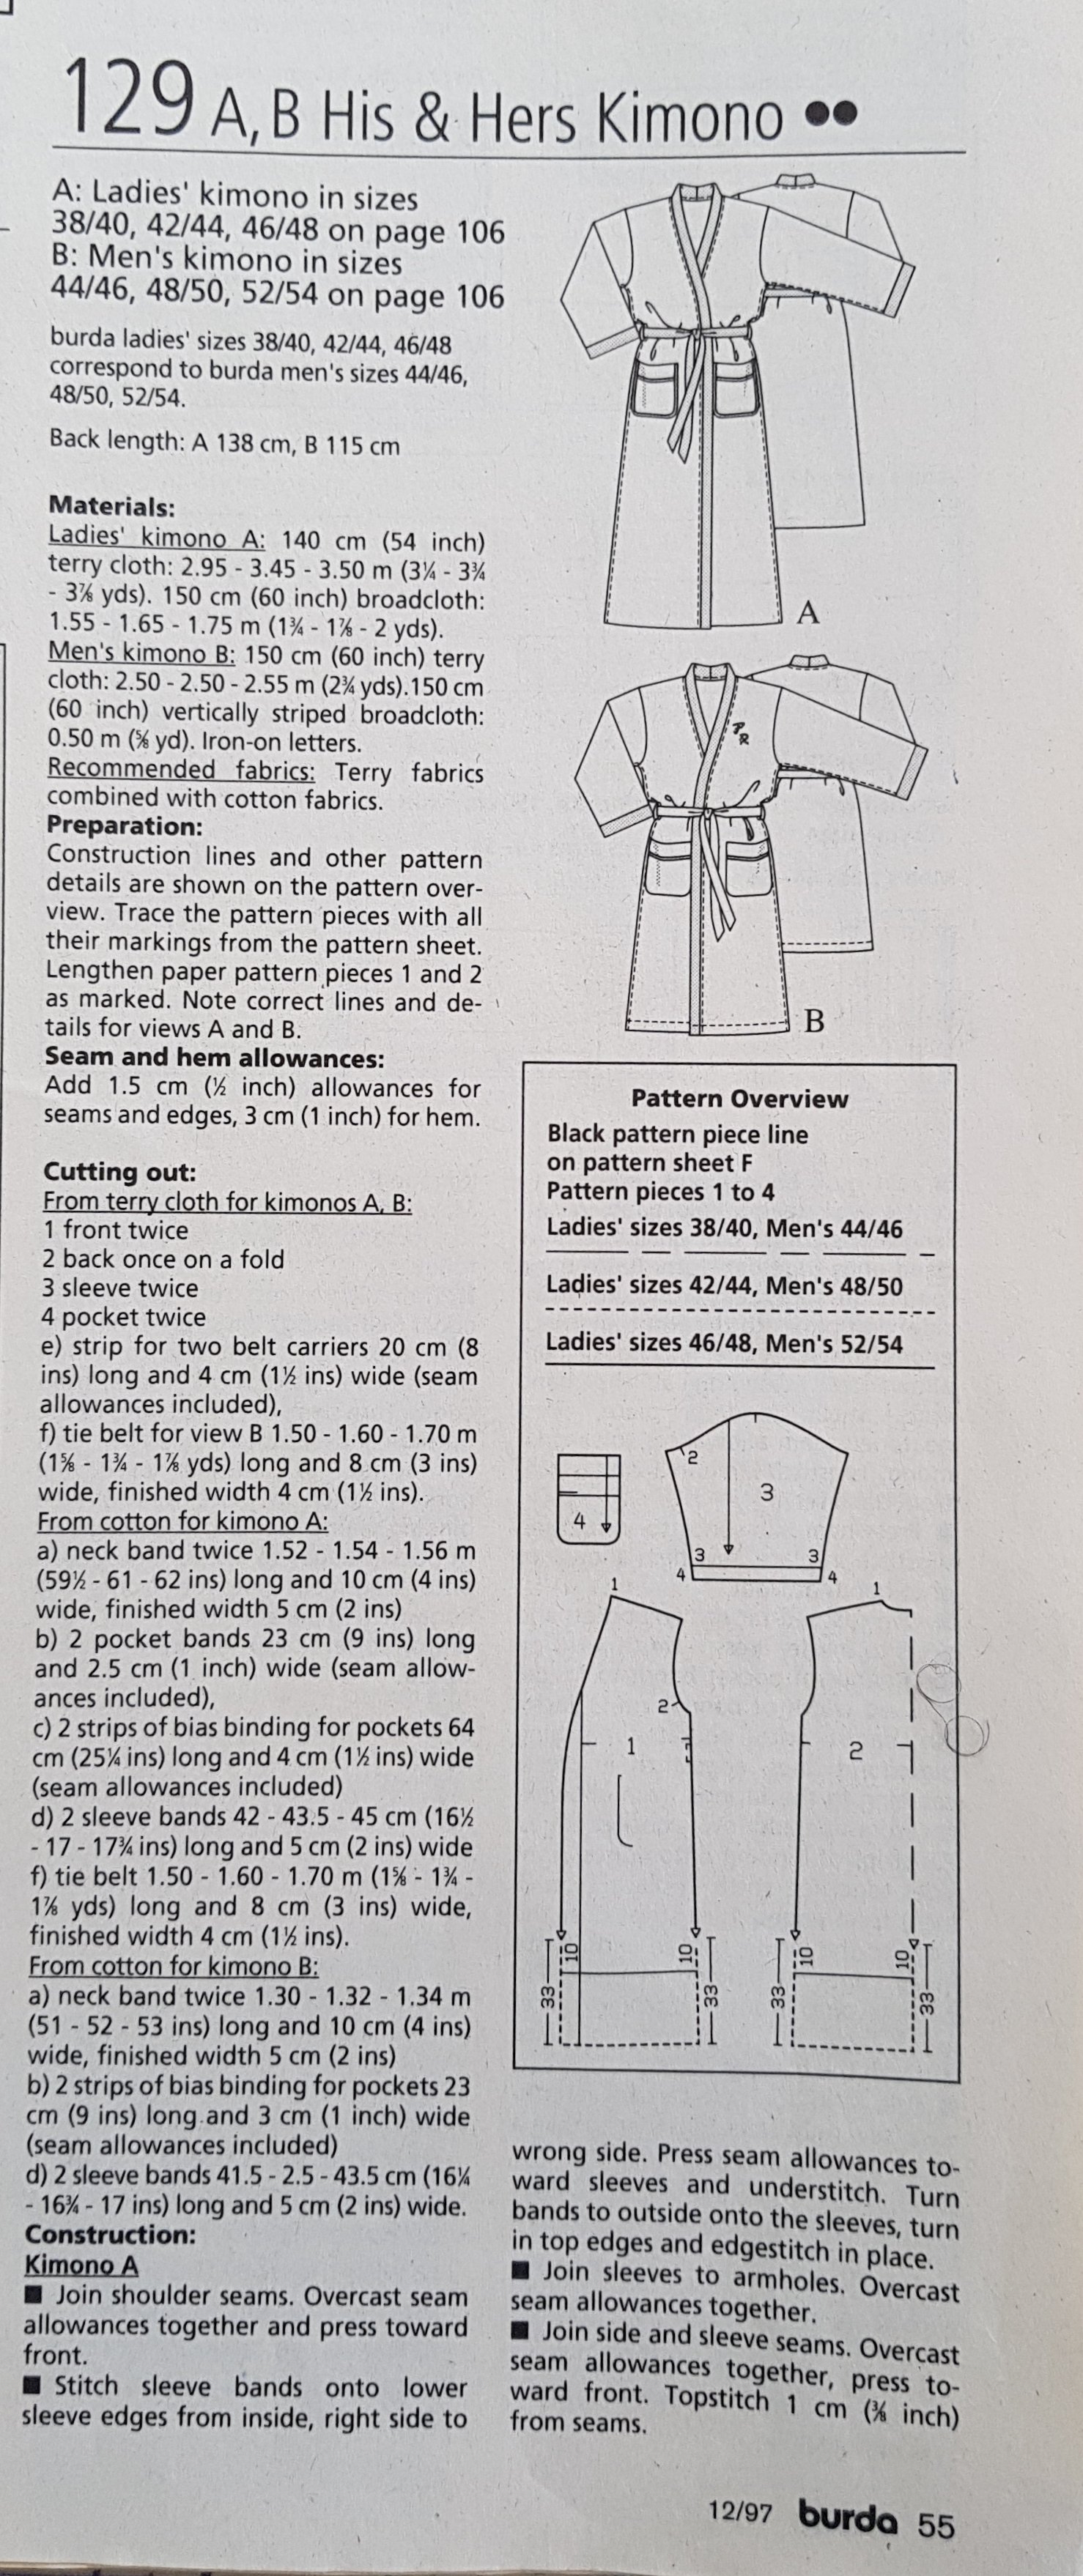
It’s a while since I used a burdastyle pattern so I had forgotten the process. It took me an age to read and re-read the magazine pages to find which page my pattern was printed on. Reminder: they give you a page and a colour code. Btw old Burda pages are not nearly as crowded as the ones you get nowadays. It was actually quite easy to pick out my pattern and trace it.
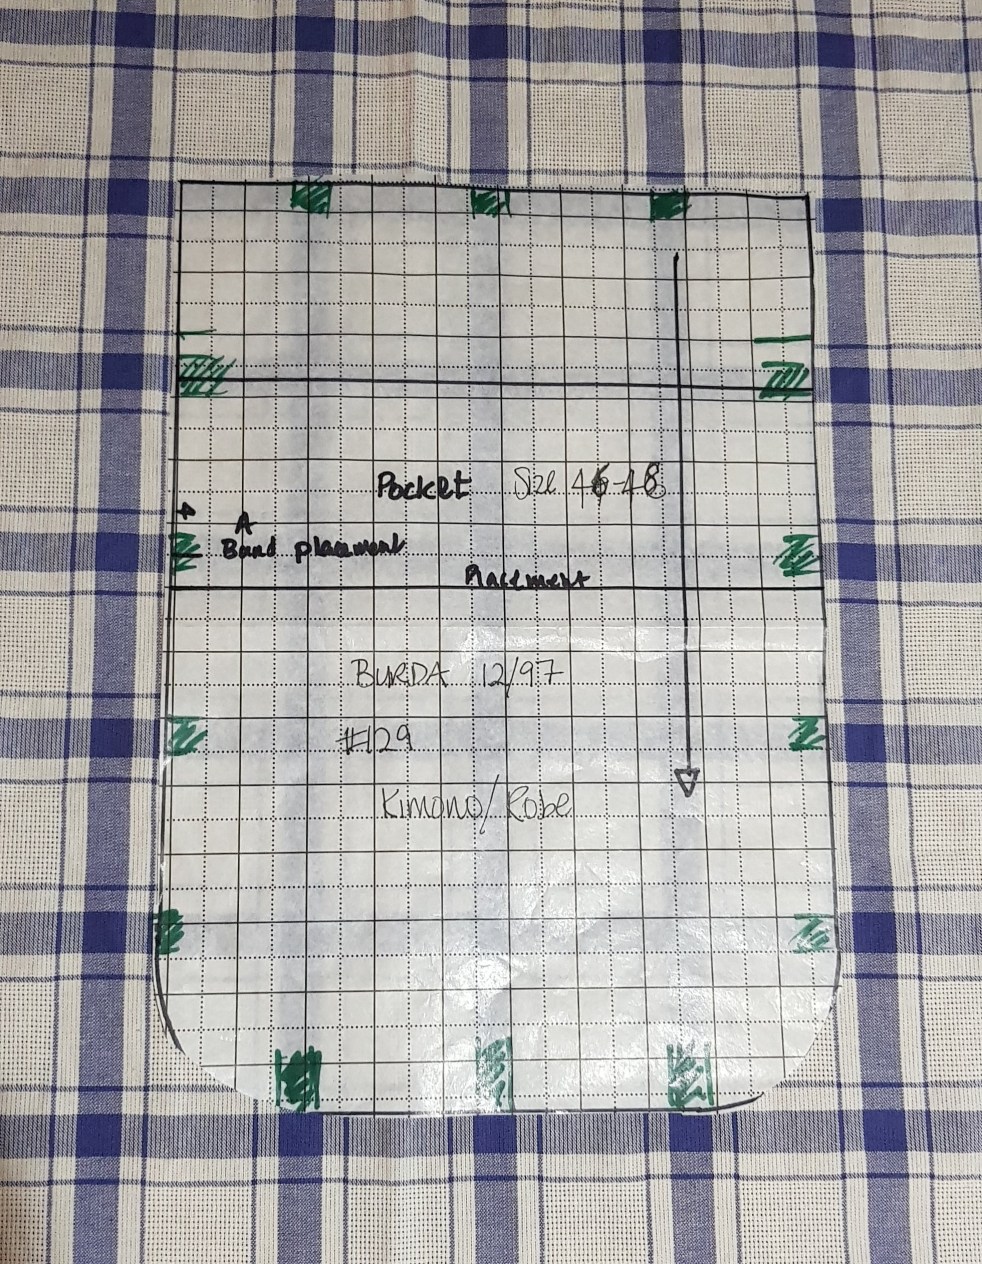
It’s quite straightforward, 4 pattern pieces and some rectangles for facing and the waist tie band. I wanted it full length so added on the extra.
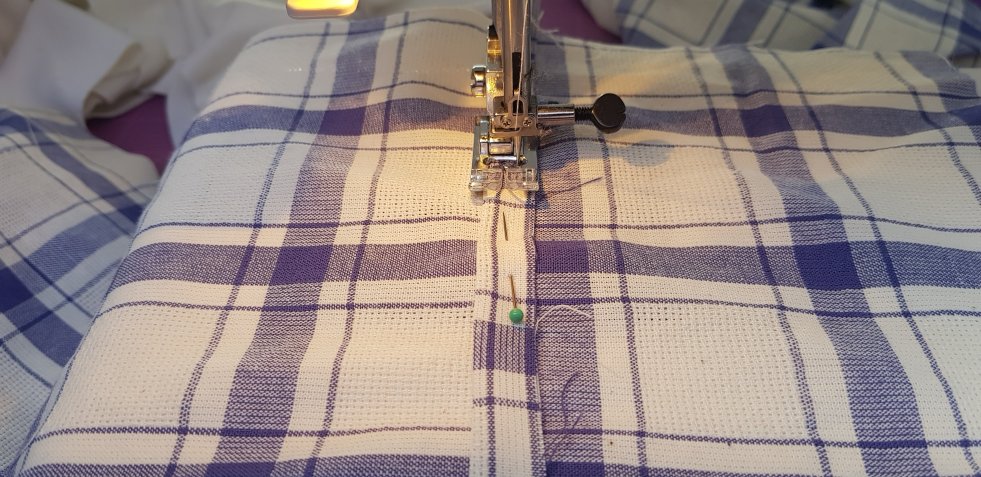
I’m not usually fussed about pattern matching but this check was crying out for it. I’m also usually tight for fabric but I have plenty spare for matching. I’m not entirely sure but I may have bought this fabric with just this garment in mind.

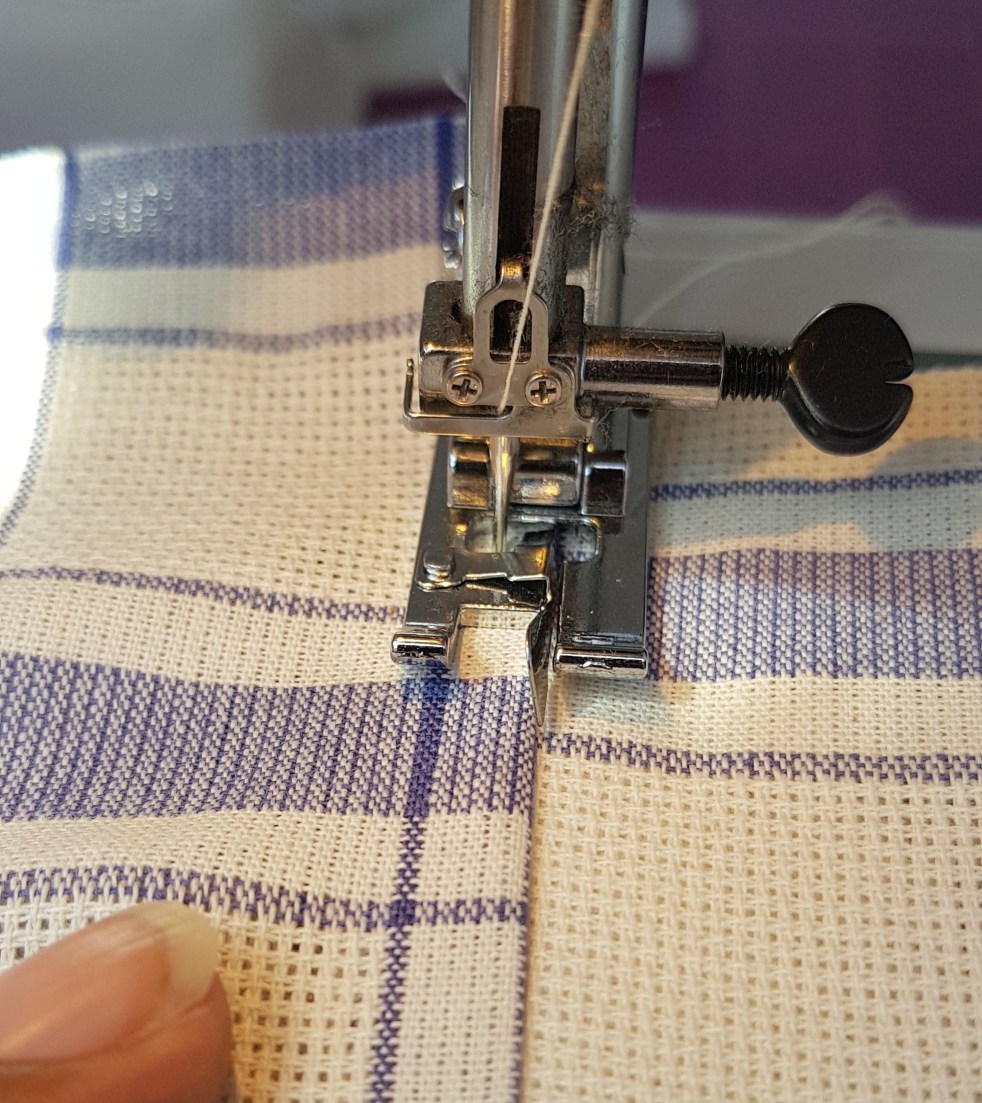
Assembly was pretty good too, long seams allowed me to go to town with my new coverstitch, I used a 5 thread safety stitch to join and finish the seams in one incredibly easy process. I find myself making racing car noises as I whizz through these seams.
- Join shoulders
- Attach sleeve cuff binding and join sleeves on the flat
- Join underarm and side in one
- One strip 10 cm wide and long enough for your neckband
- Attach pocket binding and attach patch pockets to front.
- Make self-fabric belt
It’s actually taken longer to write this blog than to make the robe.
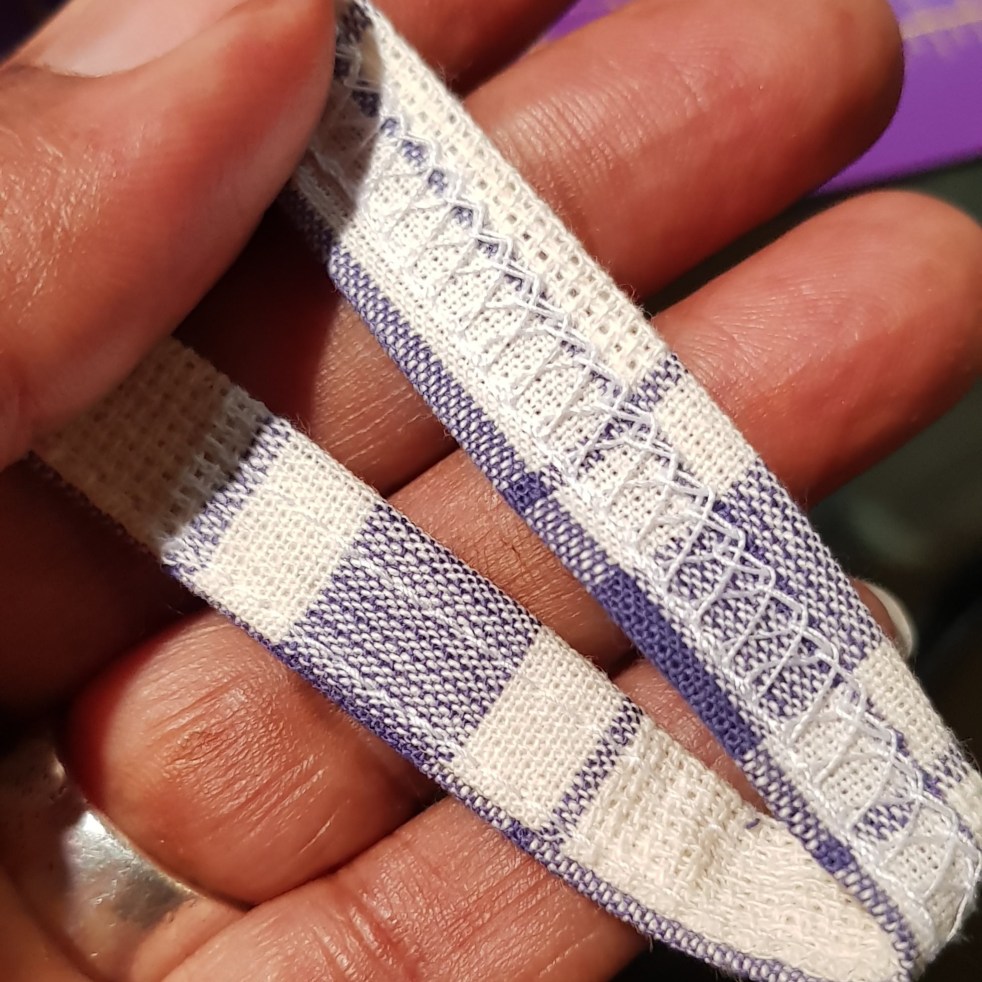
I read somewhere, I think it was by @bustersews about using the coverstitch to make belt loops. His were for jeans but I have embraced this technique and enjoyed it immensely.
Another trick is to mark the width of your hem before you turn it over to coverstitch from the other side.
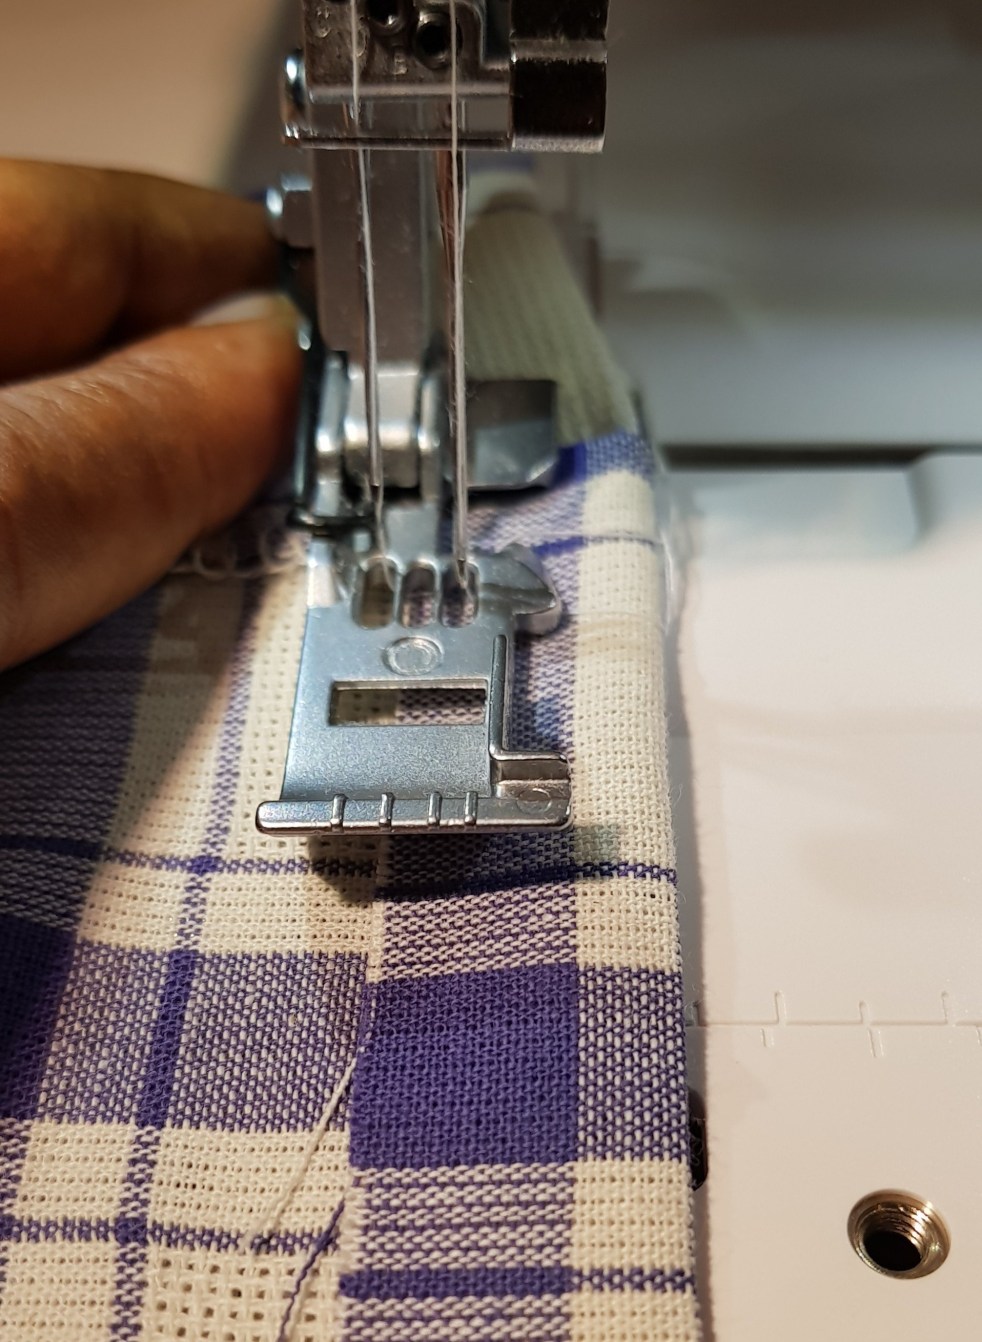
I then used the coverstitch to finish the all hems as well, as far as the coverstitch is concerned, I’m in love. End of story.
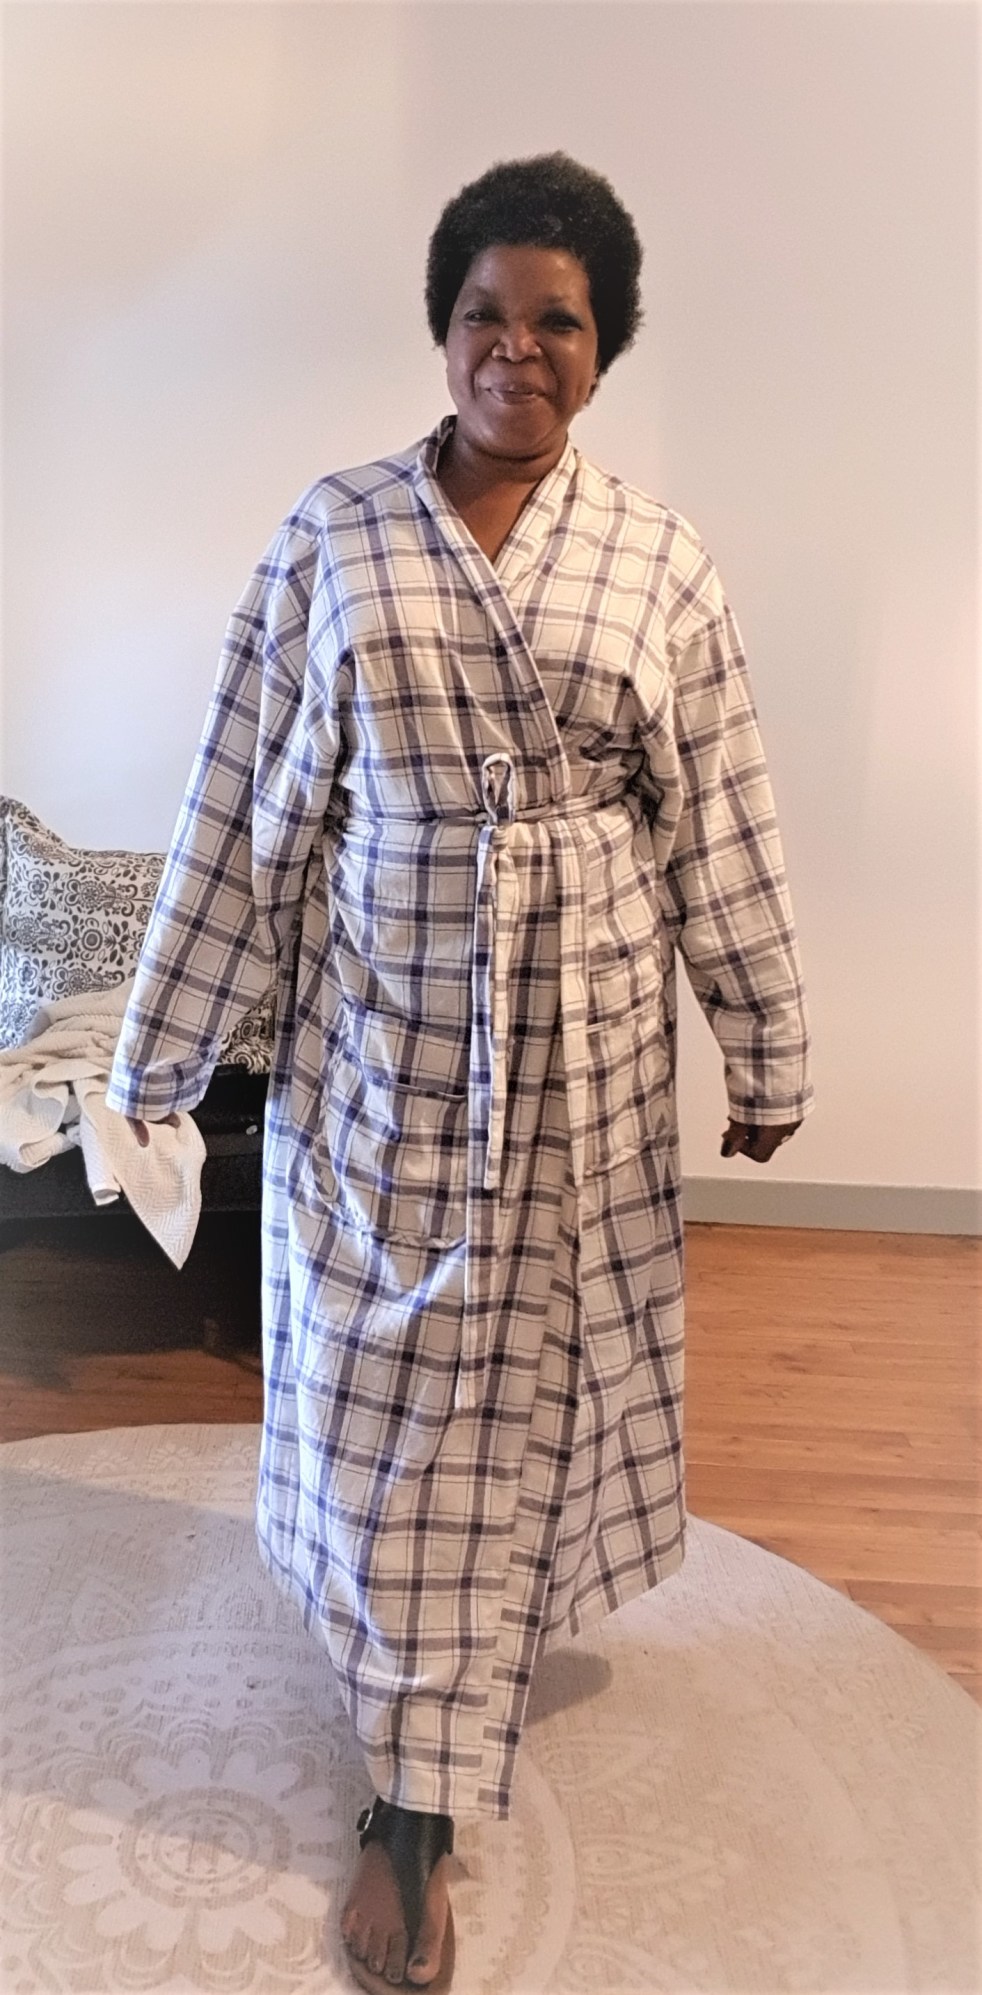
I’m delighted with the end result and this may be a rare repeat sew, I fancy another one in a more ‘elegant’ fabric. I think I’ll size down next time as this seems both too roomy and too long, my pockets and waistband are both too low according to the recommended placements.
Mission accomplished, stash dweller ousted, sewing challenge entered. Smugness level satisfactory.
Thanks for dropping by,

Elaine xx
