
A third of the year has already gone and I have just published my MakeNine for 2019. Although I have made a few items this year already, I’m now embarking on one of the more prominent ones. I don’t really like getting caught up in hype and typically the fact that everyone likes a thing is usually enough to put me off, but having seen the previews of the garments, I bought Named Patterns’ Breaking the Pattern book for myself at Christmas and I can’t stop gushing about it. I like all of the items in the book and I want to make most of them. My choices from this book could comprise a make-eight if that were the challenge.

The Halla coat is the project I’m sharing this time. First impressions, I thought it might be more complicated, but it’s not the first coat I’ve made and it went together really easily.
If you have never made a coat and are nervous about it, don’t be. This coat is very beginner friendly, as I think, are most of the projects in the book. It doesn’t have any particularly difficult elements like buttonholes, or other closures or plackets or anything really fiddly. It does have a lining and set in sleeves but the instructions seem relatively clear and easy to follow.
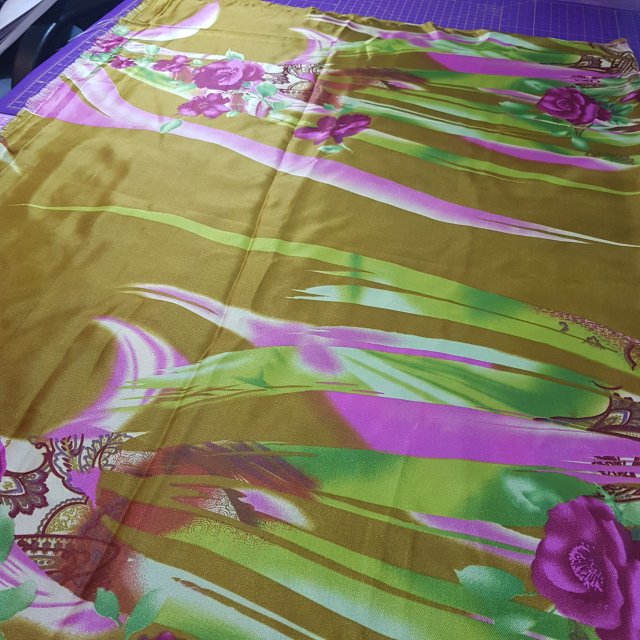
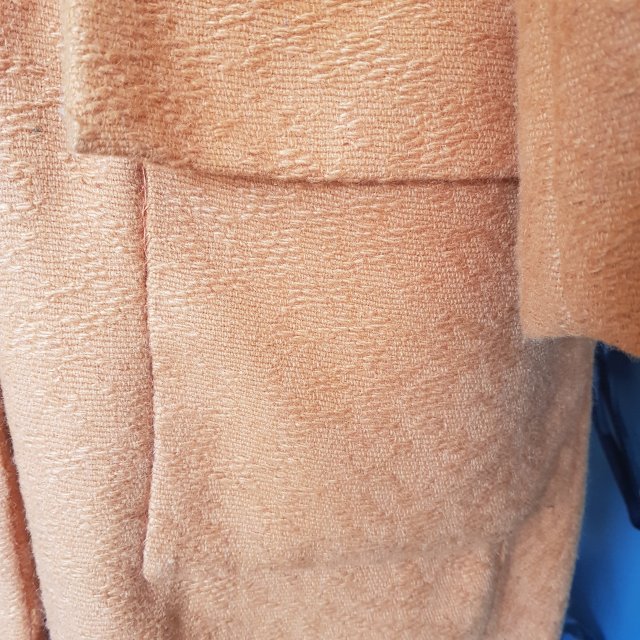
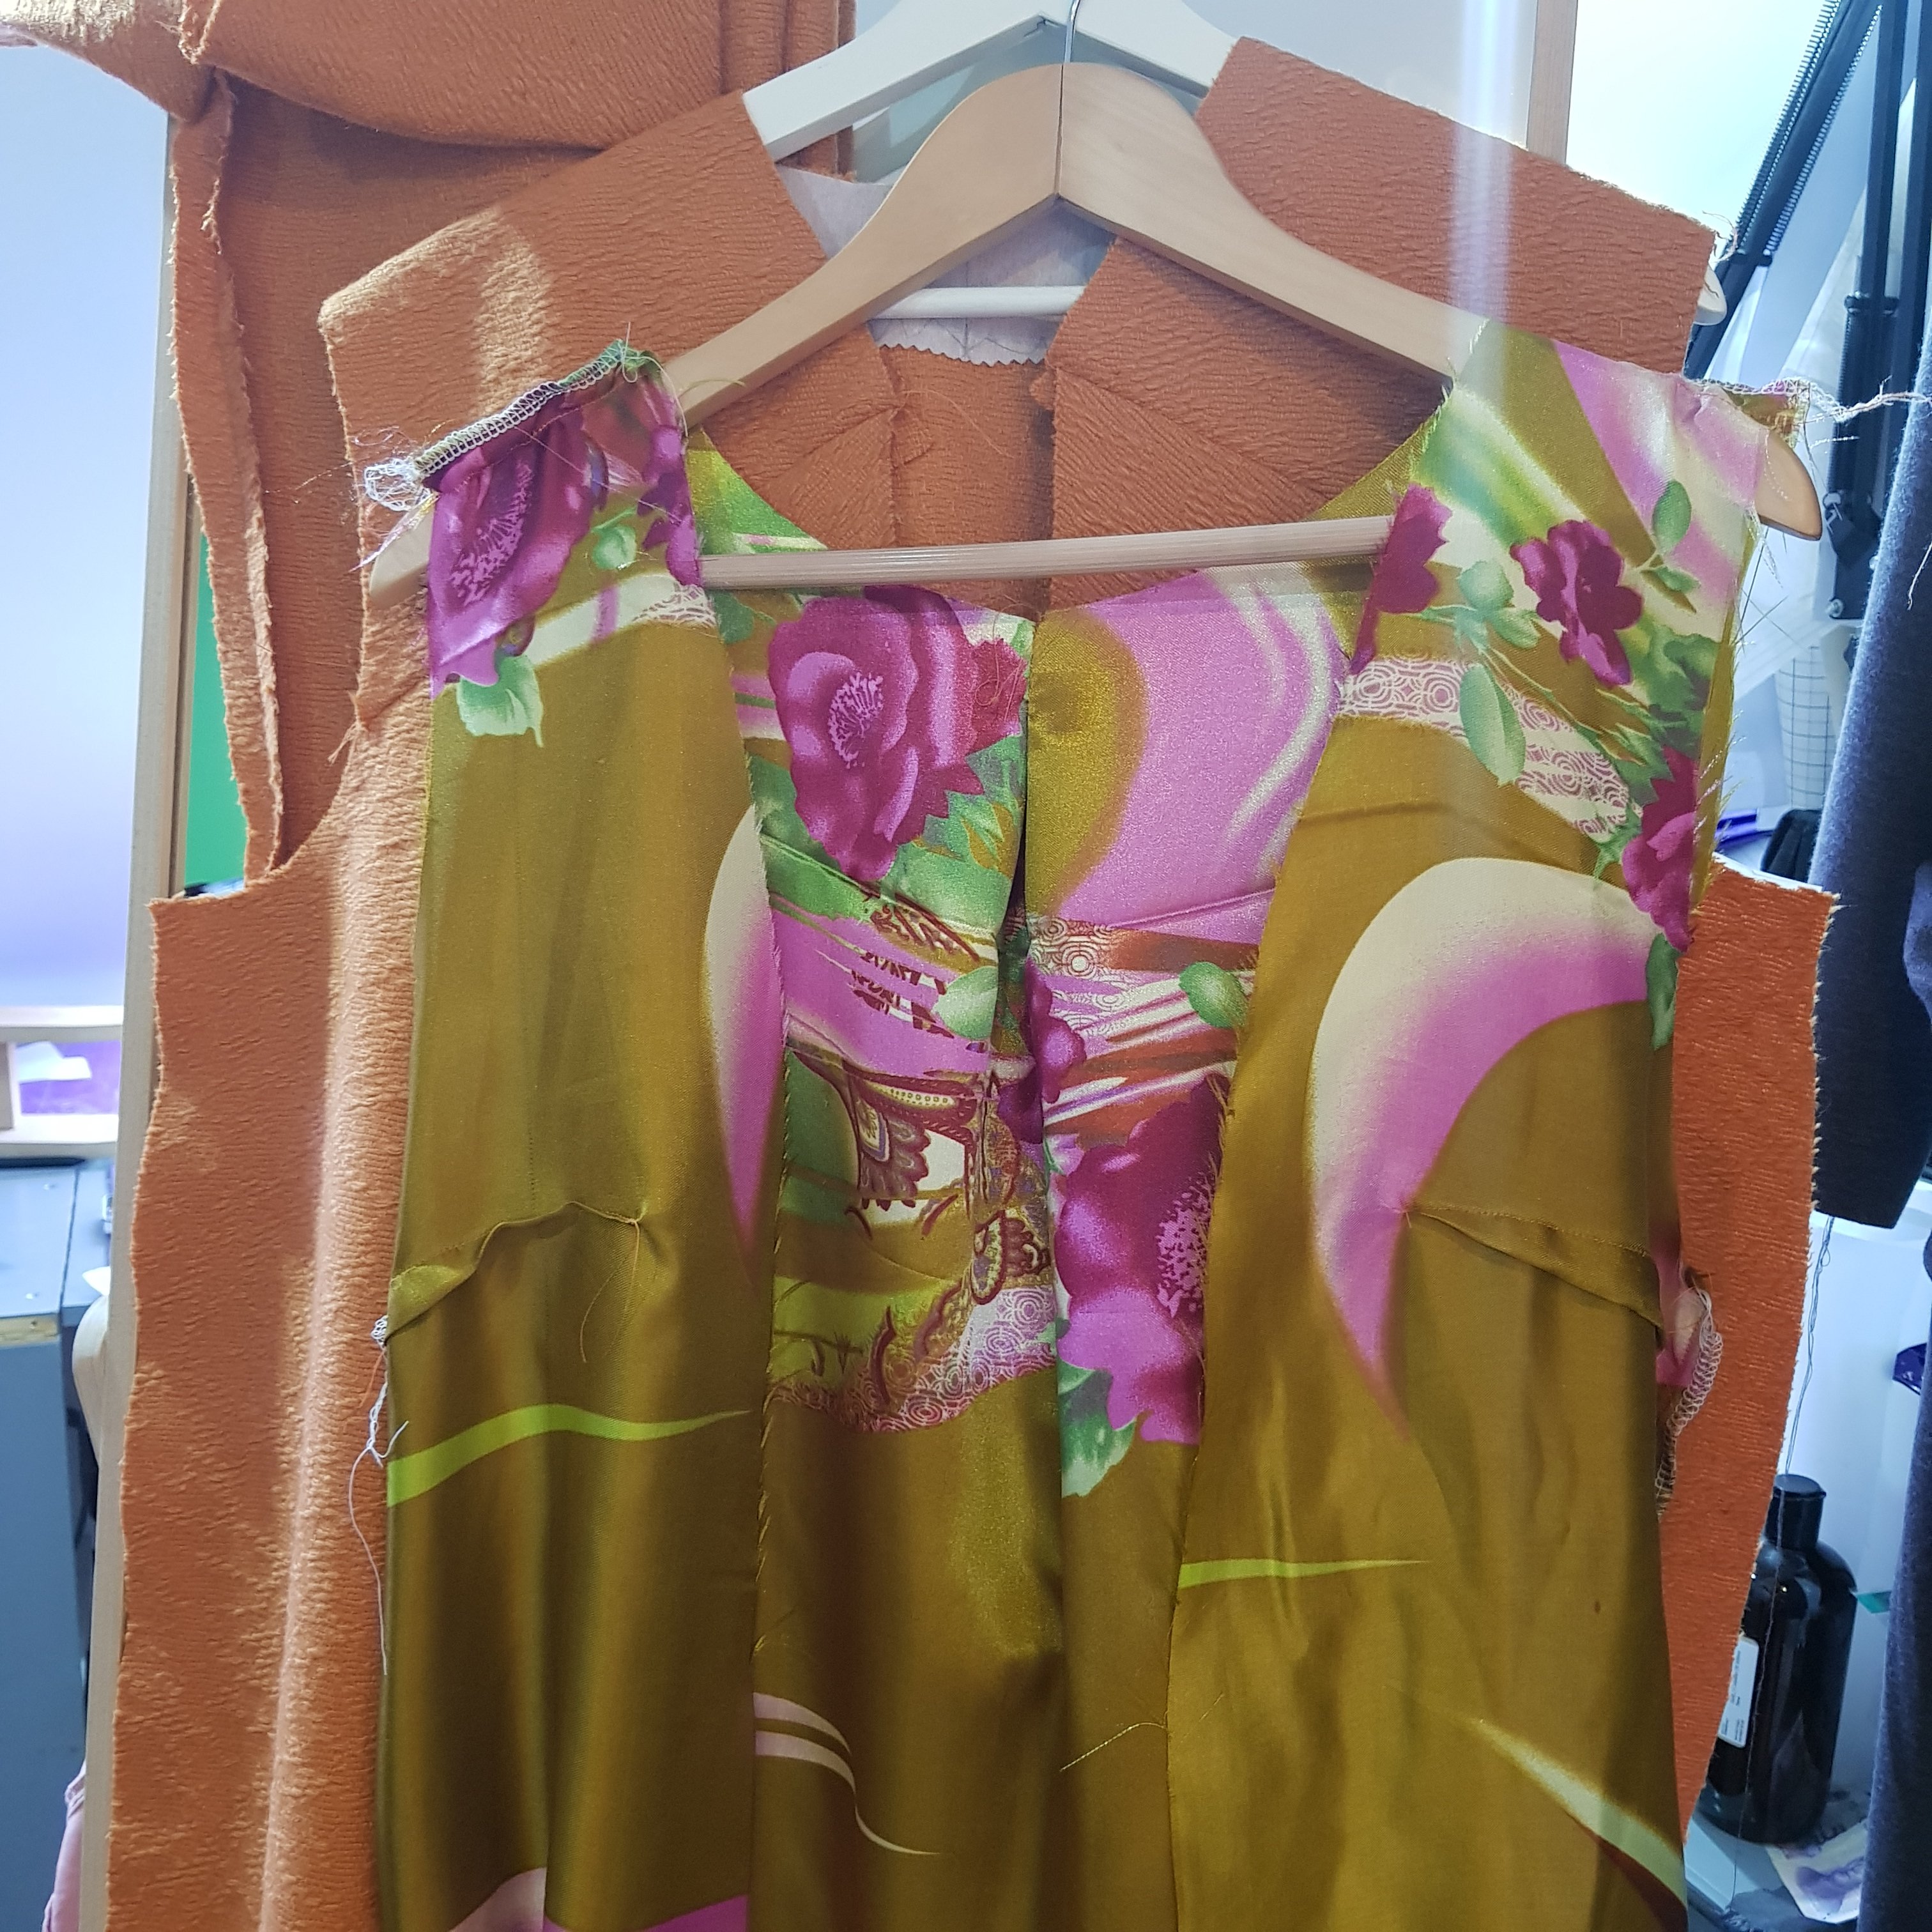
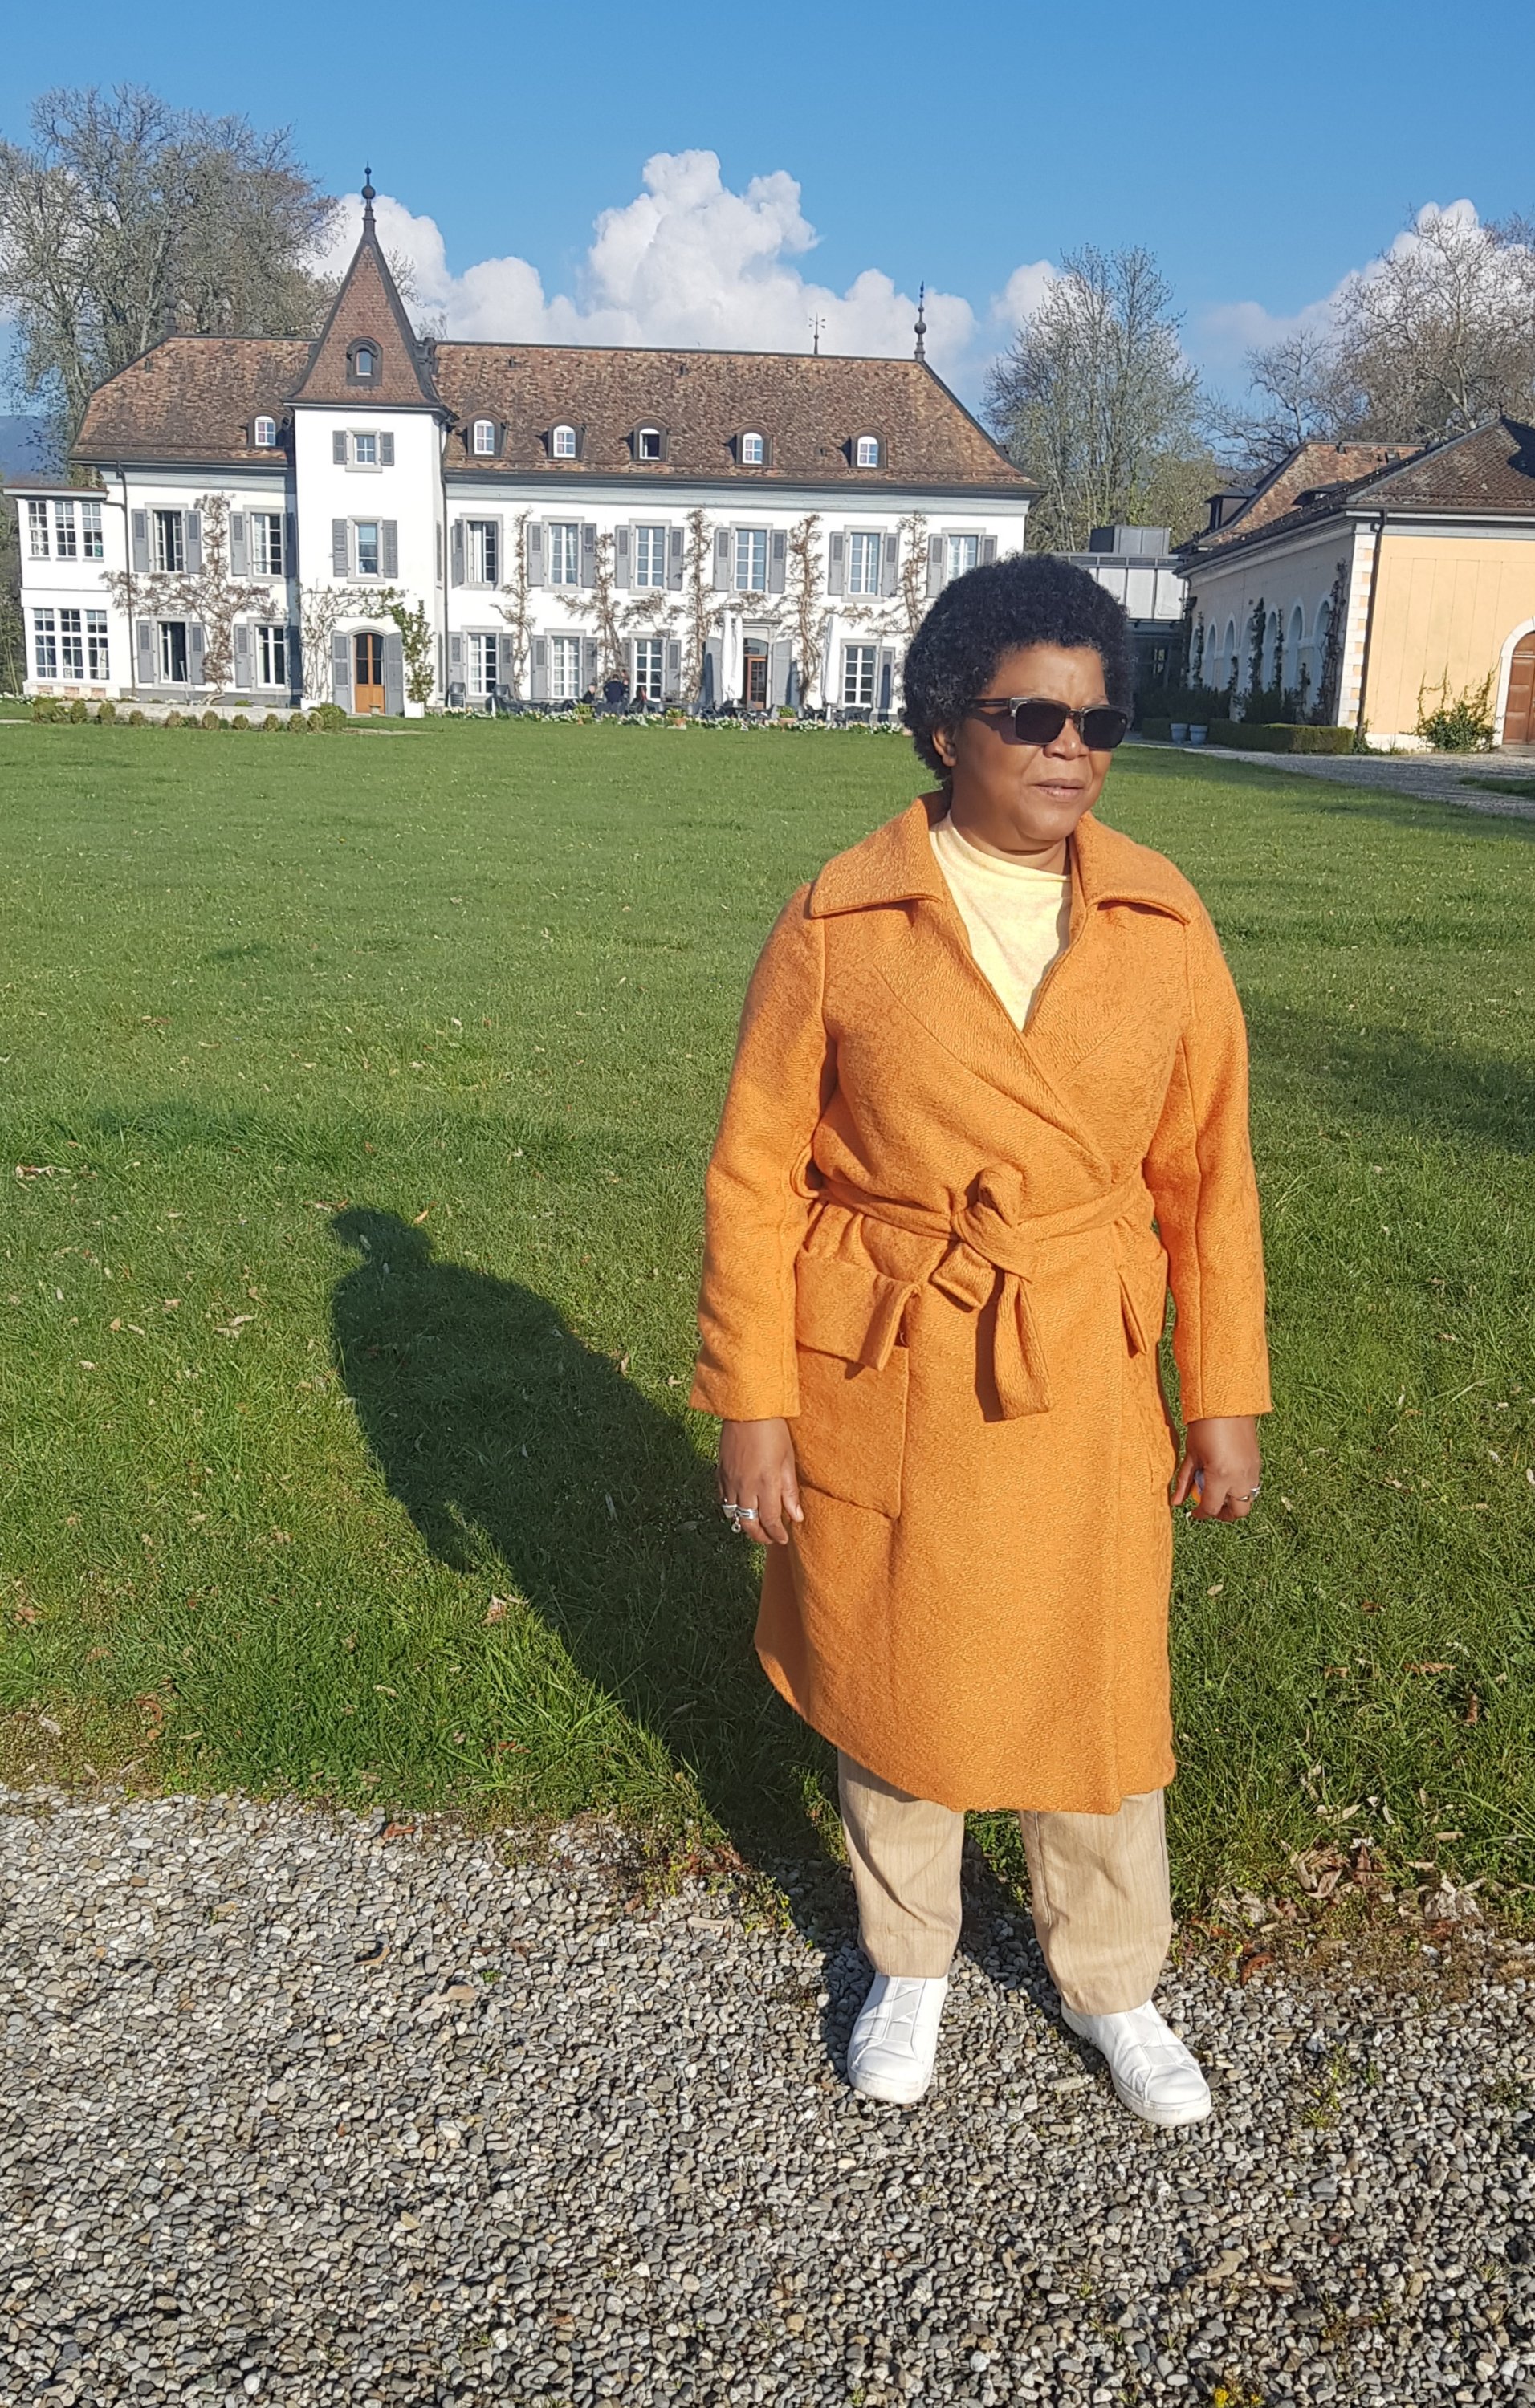
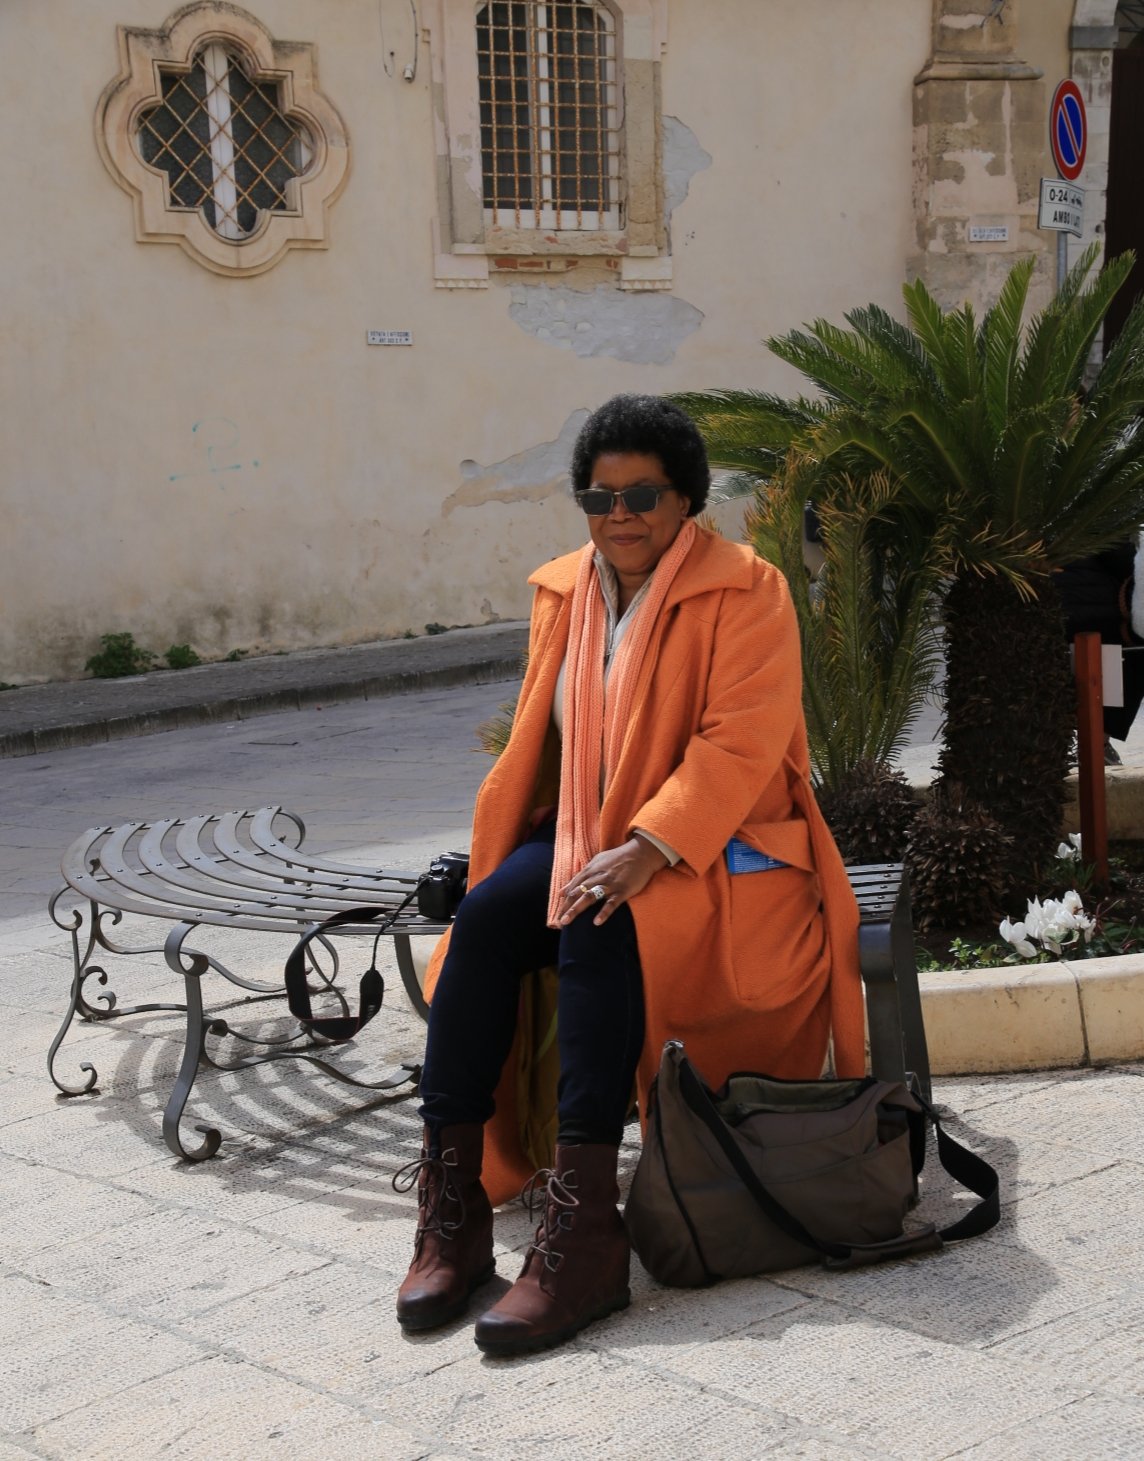
Fabric choice was the first thing to do. I like the sample in the book and that informed my choice of colour. The book version is a kind of peach coloured cashmere, I leaned a bit towards orange, using a textured wool-viscose mix from The Textile Centre.

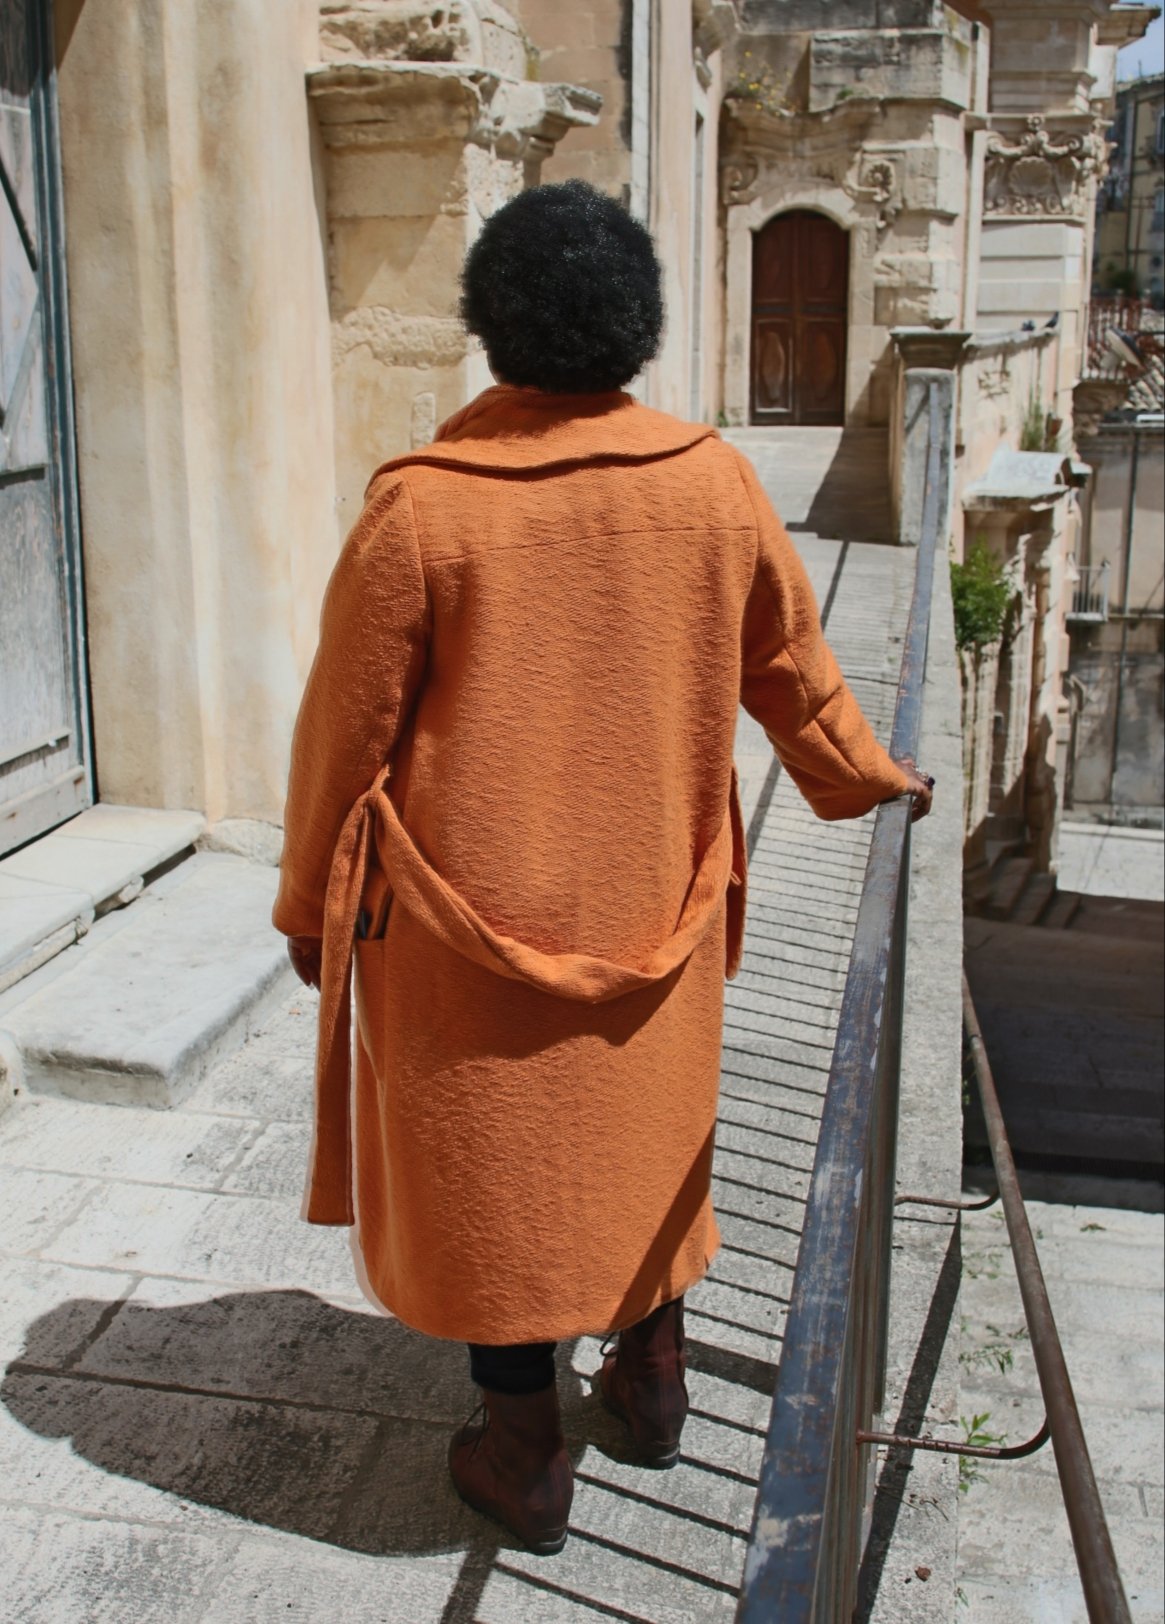
The first design detail is the faux lapel. I really like the thought process here, it gives a nice line and is easy to create. This one element determines that this, for me, will be a spring/autumn coat; because the place that I feel the cold the most is around my neck, so while there is a generous collar, I dont think you can really close this up against the cold, I would almost definitely need a scarf as well if it were really chilly. Anyway, this is the first process in the coat, you have to join the pieces to form the front, the stitching line gives the impression of a lapel.

Once the faux lapel is made, the yoke is attached. Instantly I could see where they are going with the design, it’s a simple yet powerful effect. Right from the start I loved the lines that the seams create. This immediately struck me as a design I was going to love.

After you have done this and joined the shoulder and side seams this already resembles a coat. I hope I never lose the thrill of seeing my pile of fabric become something that looks like a garment. It’s a wonderful feeling.

I found this super lining material on eBay, I knew I wanted something striking even though it’s for the inside and most people won’t even see it. This leapt out as a perfect foil for the burnt orange colour of the coat.
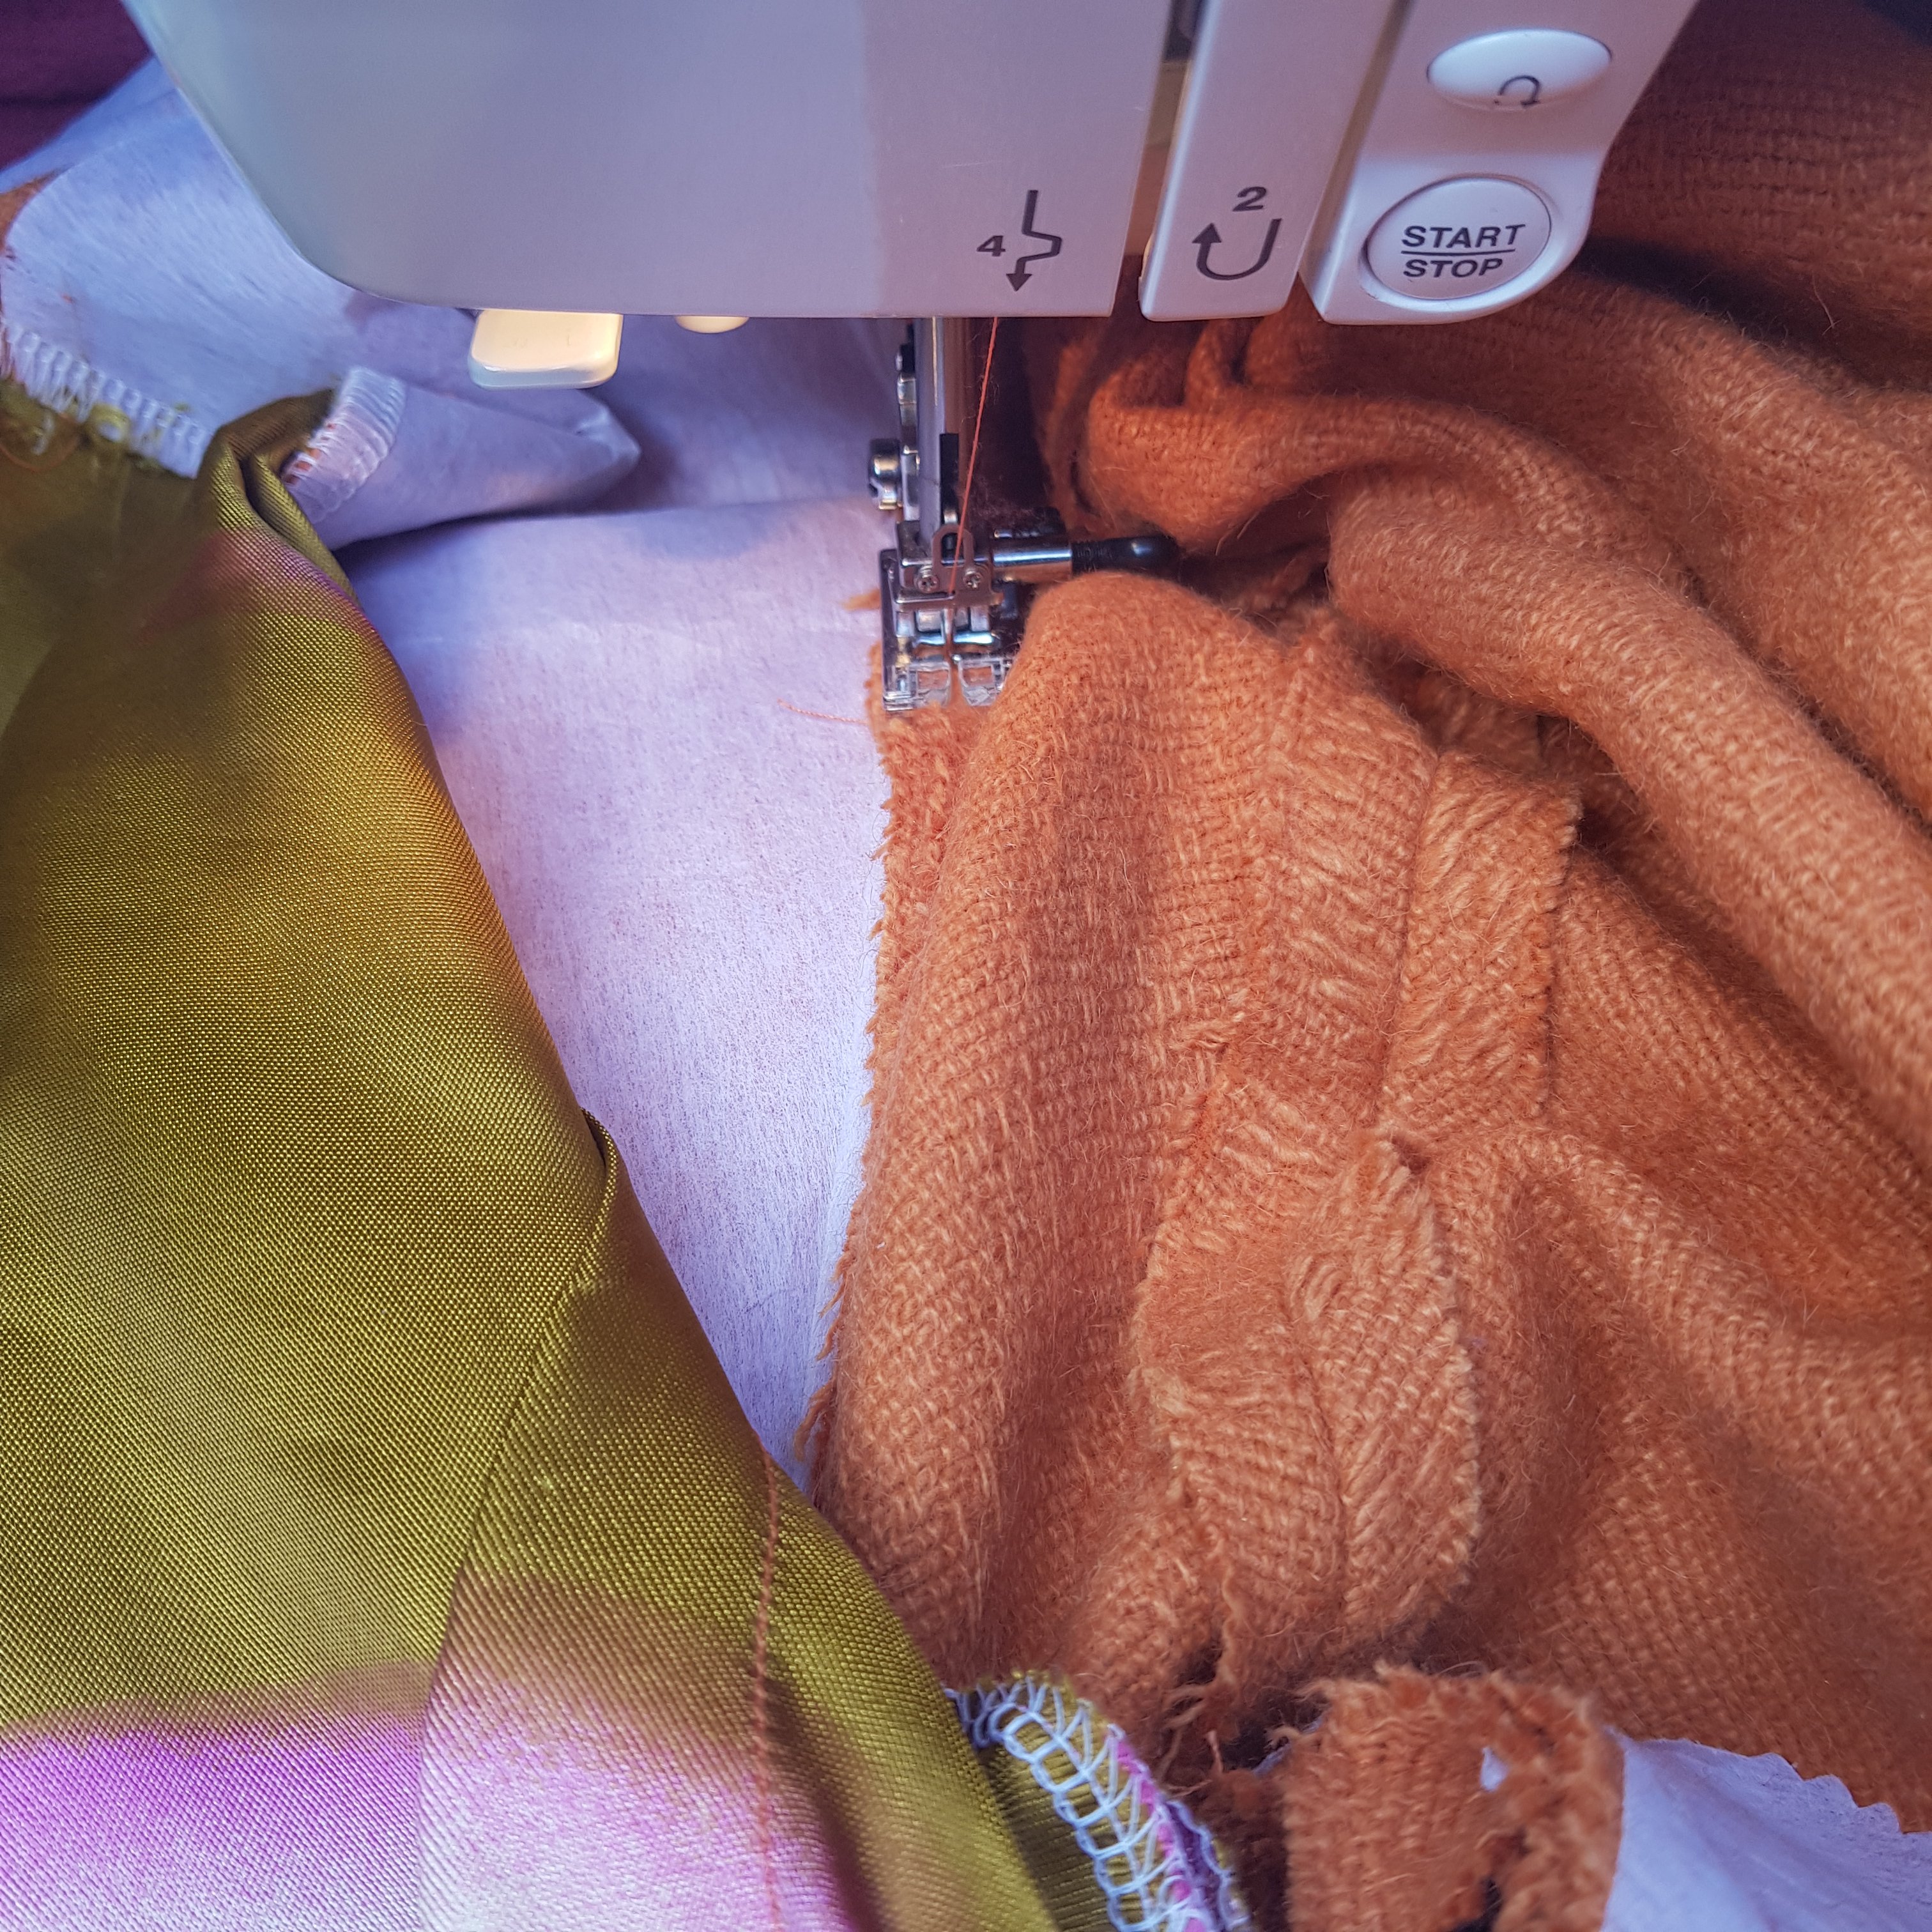
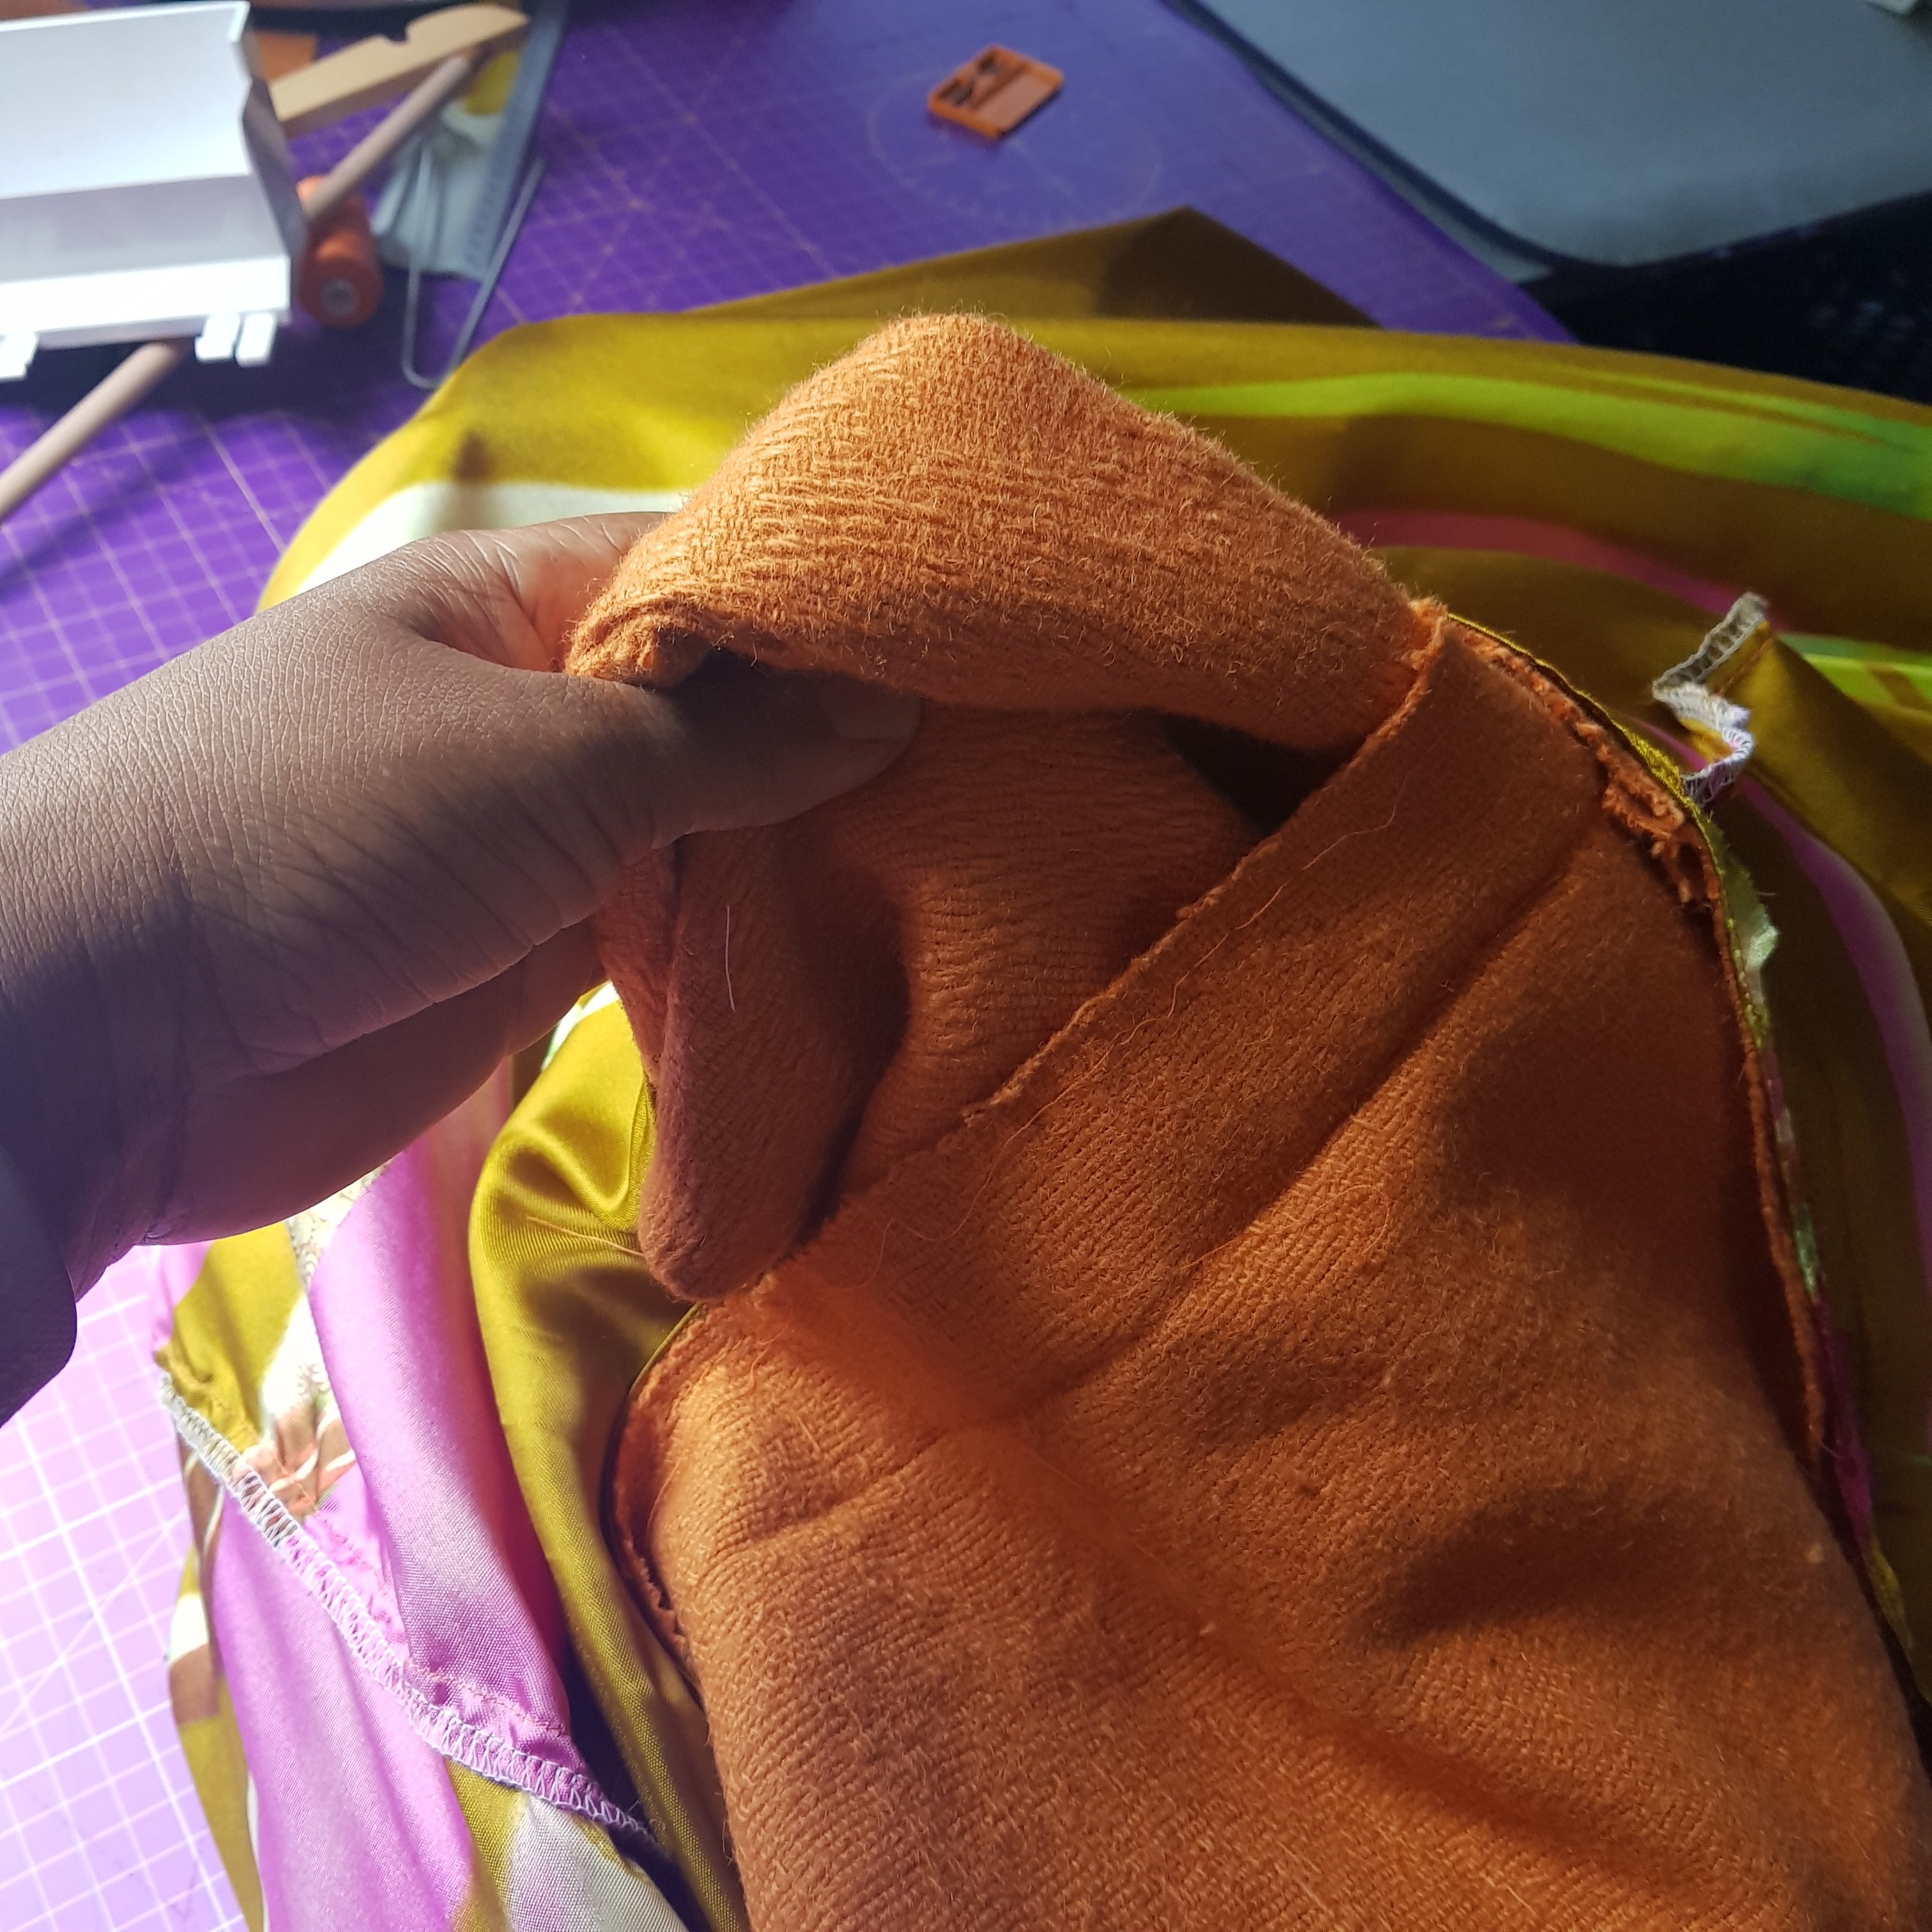
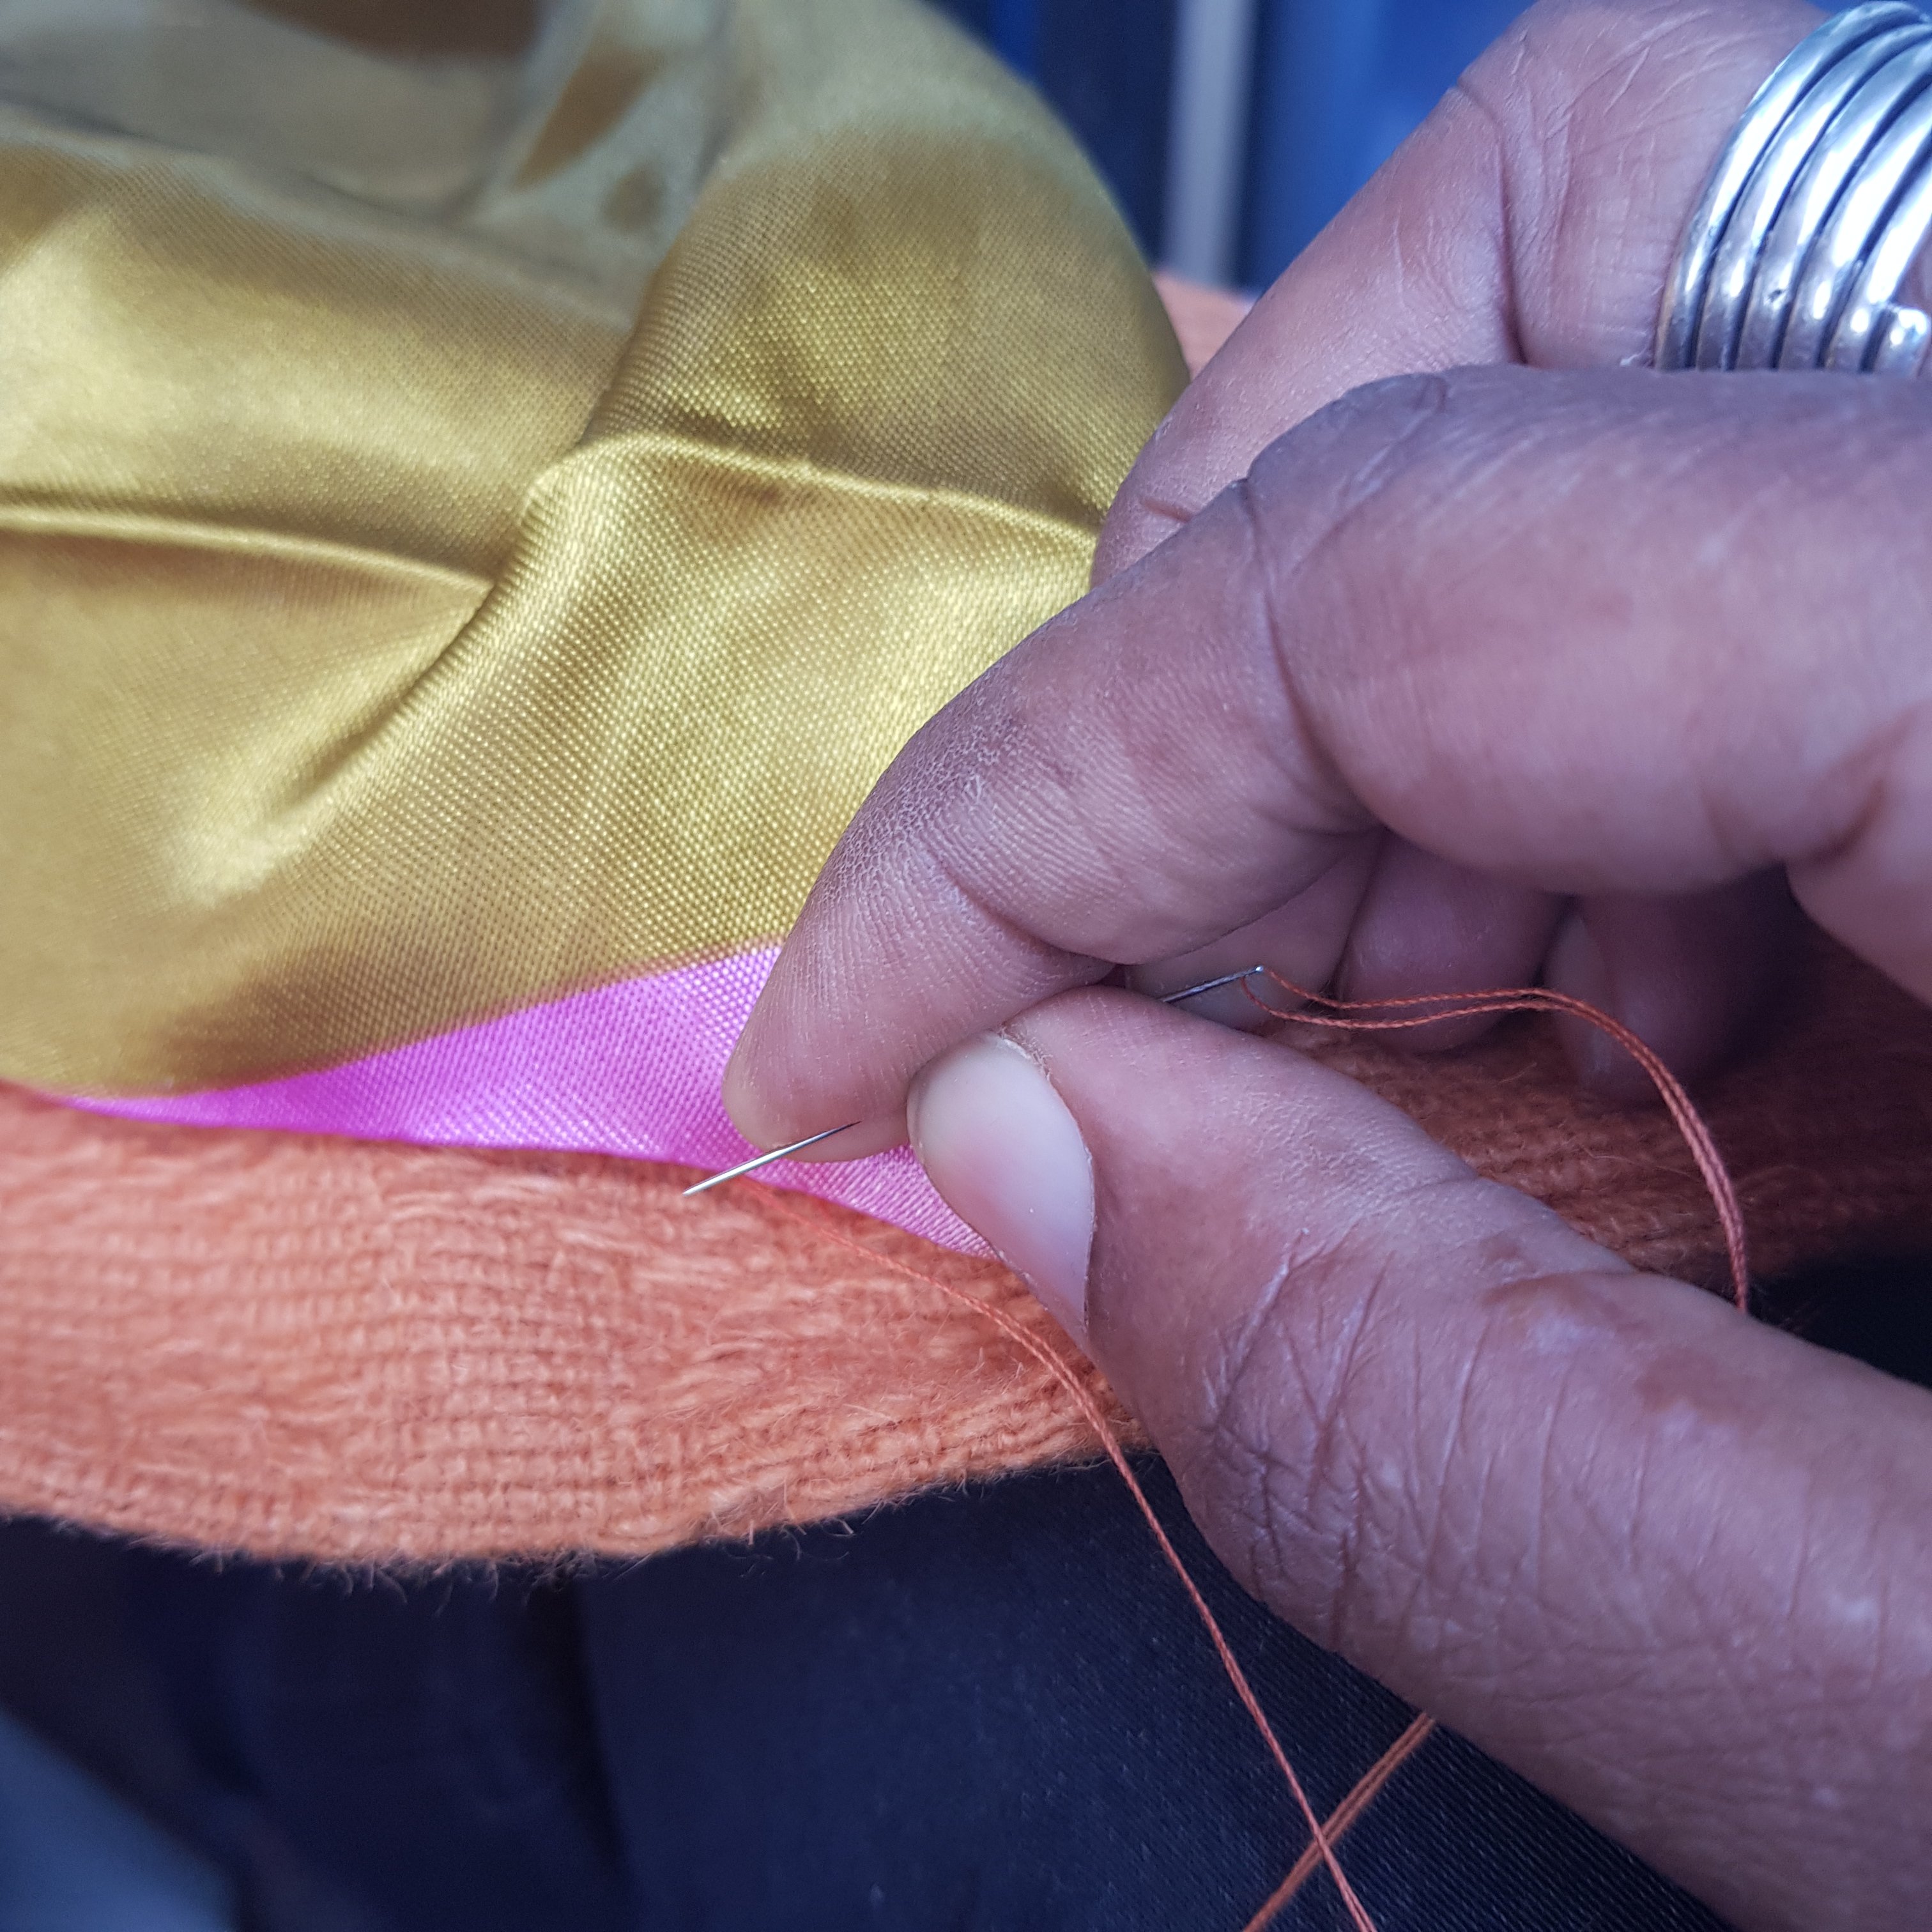
The pockets are lined patch pockets; easy to make and then attached by hand for a nice floating effect. Note to self, my hand stitching was appalling and I need to work on this, it was a bit untidy and because of the loose weave of the fabric, my knots didn’t hold, I may do this by machine in future, or improve my hand stitching…

When I used to sew before, I worked my way methodically through ALL the techniques, I made tee shirts then skirts, then trousers and built my skills up to making suits and coats. One of the most satisfying things to make is a good set in sleeve. I’ve mostly sewn knits recently and love the speed and ease of putting in a sleeve on the flat, but this project required a bit of tailoring. To make a set in sleeve, you need to gather the sleeve head to introduce ease. This is done using two parallel lines of loose long stitches, if your machine does a basting stitch this would be perfect. Pull the two threads to gather the fabric and using your fingers, spread the gathers evenly between the two marks you made when cutting out. You did copy all of your marks and notches didn’t you?
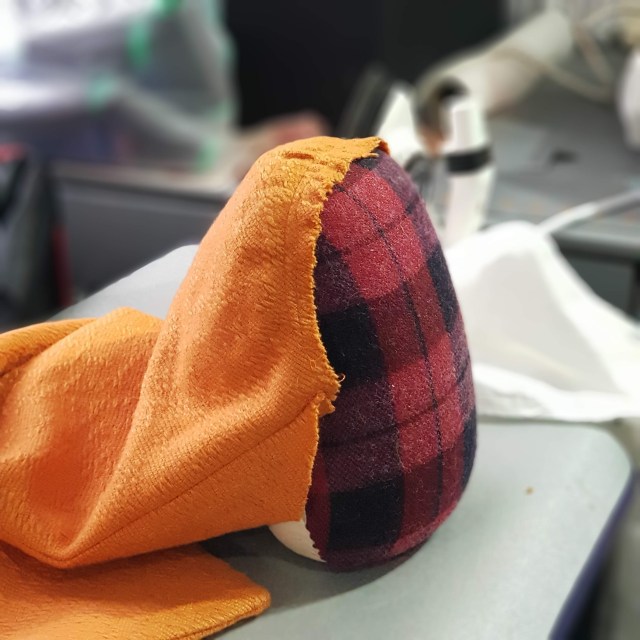
This is one of those times when you realise the value of your tools. I don’t think you can achieve a truly good sleeve head without a tailor’s ham. Put your sleeve onto it and using your steam iron, set the shape of your sleeve. It honestly is a thing of beauty when you see it start to form.
When you are happy with the shape on the ham, its time to insert the sleeve. Once again matching notches and marks, pin the sleeve into the armhole. You could also baste in place if you are very thorough. Stitch the sleeve in and again using your steam iron to fix and mould your sleeve head into shape. About now you have permission to declare yourself a sewing goddess because you will be in awe of what you have created.

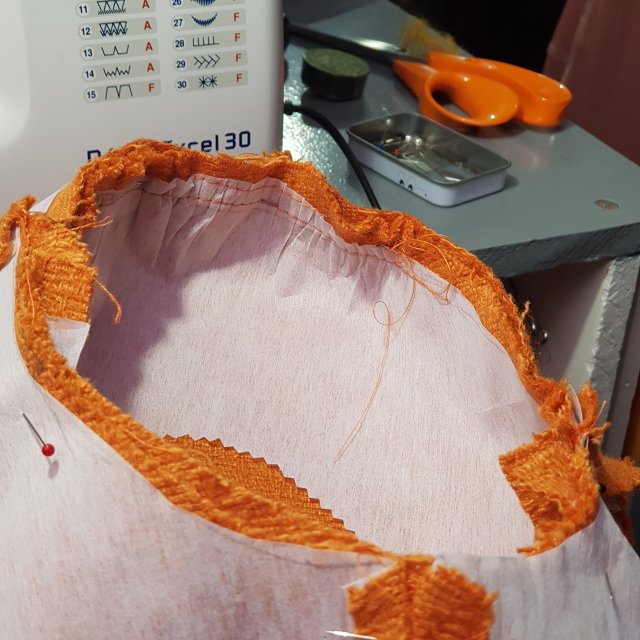
If you have sleeves on, this means you have finished the outer shell and need to complete the lining A.K.A. make another coat please. Make the tuck centre back, join the shoulders and sides and insert the sleeves much the same as the outside. I found at this point that my lining was really delicate so I had to overlock all the edges as it frayed so much. Hindsight moment– my fabric started to disintegrate almost immediately on the first few wears, so it might be worth considering this when choosing your lining, it has to be robust enough to stand up to use. For now it’s so beautiful that I’ll wear it until it wears out.
The two shells are ready to be joined together.
Match your notches!! and fit the inner and outer shell together, with the right sides together. I used my overlocker to secure the lining. You need to perform some contortions to join the sleeves at the cuffs. Then turn the whole lot outside in. The final step is to close the coat with hand stitching.
This is where I felt that the book maybe is a little lacking. I thought when I started this project that it was quite beginner friendly, and it is up to a point. When you get to the tricky bits, like bagging the lining for example, they have a habit of referring you to another place in the book. The instructions are not clear for this bit and if I hadn’t already made a coat with a bagged lining before, I think this would be quite difficult. It’s hard to explain here. I think you might need other references to help complete this step.
Anyway, the lining is finished by sewing the hems on the sleeves and on the lower edge, close this, leaving a gap and then turn it all inside out. Close the gap with hand sewing.
EDIT Named Clothing have produced a great video tutorial showing how to line the Utu pinafore, this should help with the coat as well.


So here is Halla, not the first or the last thing I will make from Breaking the Pattern. It’s also part of my #MakeNine2019 pledge. Are you in love with this book too? I’d love to see what you made from it.
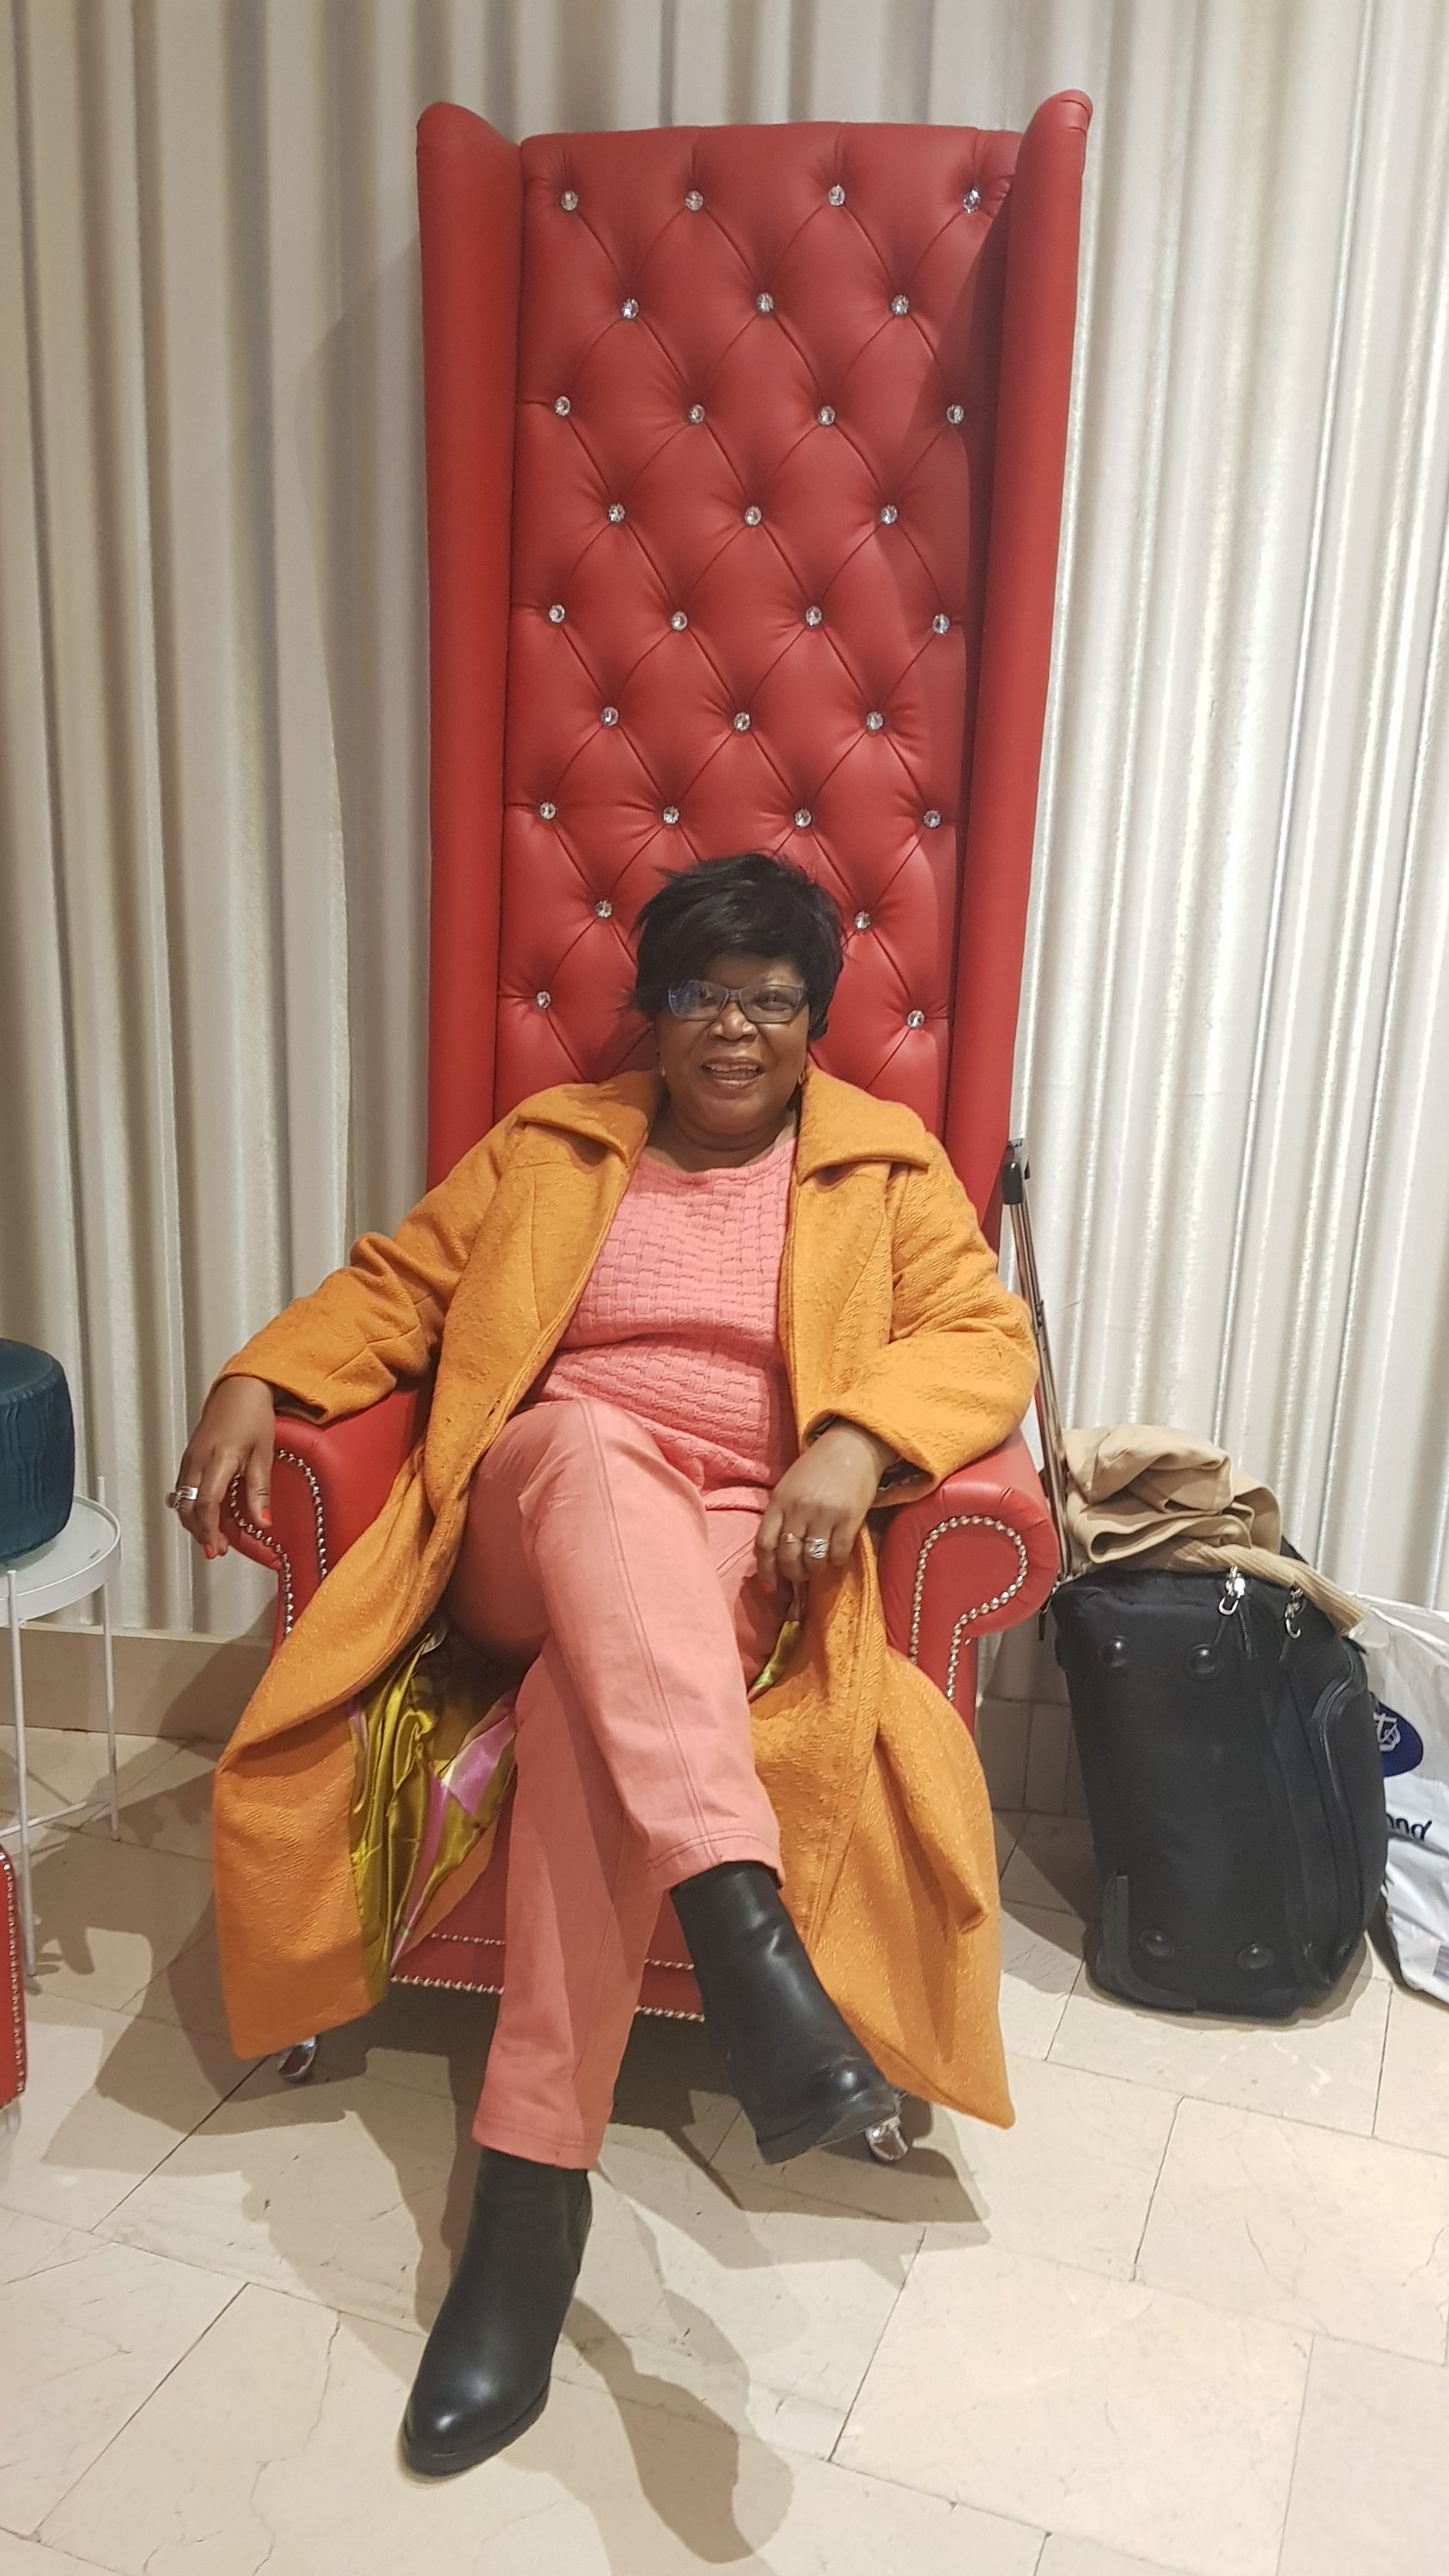


And here’s me being silly just to finish off!
Thanks for dropping by.


What a stunning coat. Beautiful fabrics on both the outside AND inside. You look so happy wearing it, and that says it all!
LikeLiked by 1 person
Oh Hi Duane, thanks so much for the visit! That coat made me extremely happy for all the reasons you noted. I just discovered you after seeing your Sienna Maker coat. It’s fabulous, you are so right that our super sewing power makes amazing things possible. I spent a nice interlude scouring your blog and your makes are inspiring.
LikeLike