
What are your dream sewing projects? Have you got any sewing projects that you’d just love to create that you’ve never managed to realise? I always think of my craft as making dreams come true – #sewingdreams. I’ve just finished another piece to go into what has become my Coffee & Tiramisu Collection. I’ve been given this sheer fabric by @minervadotcom in exchange for a review. As soon as I saw it I knew exactly what I wanted to make with it.
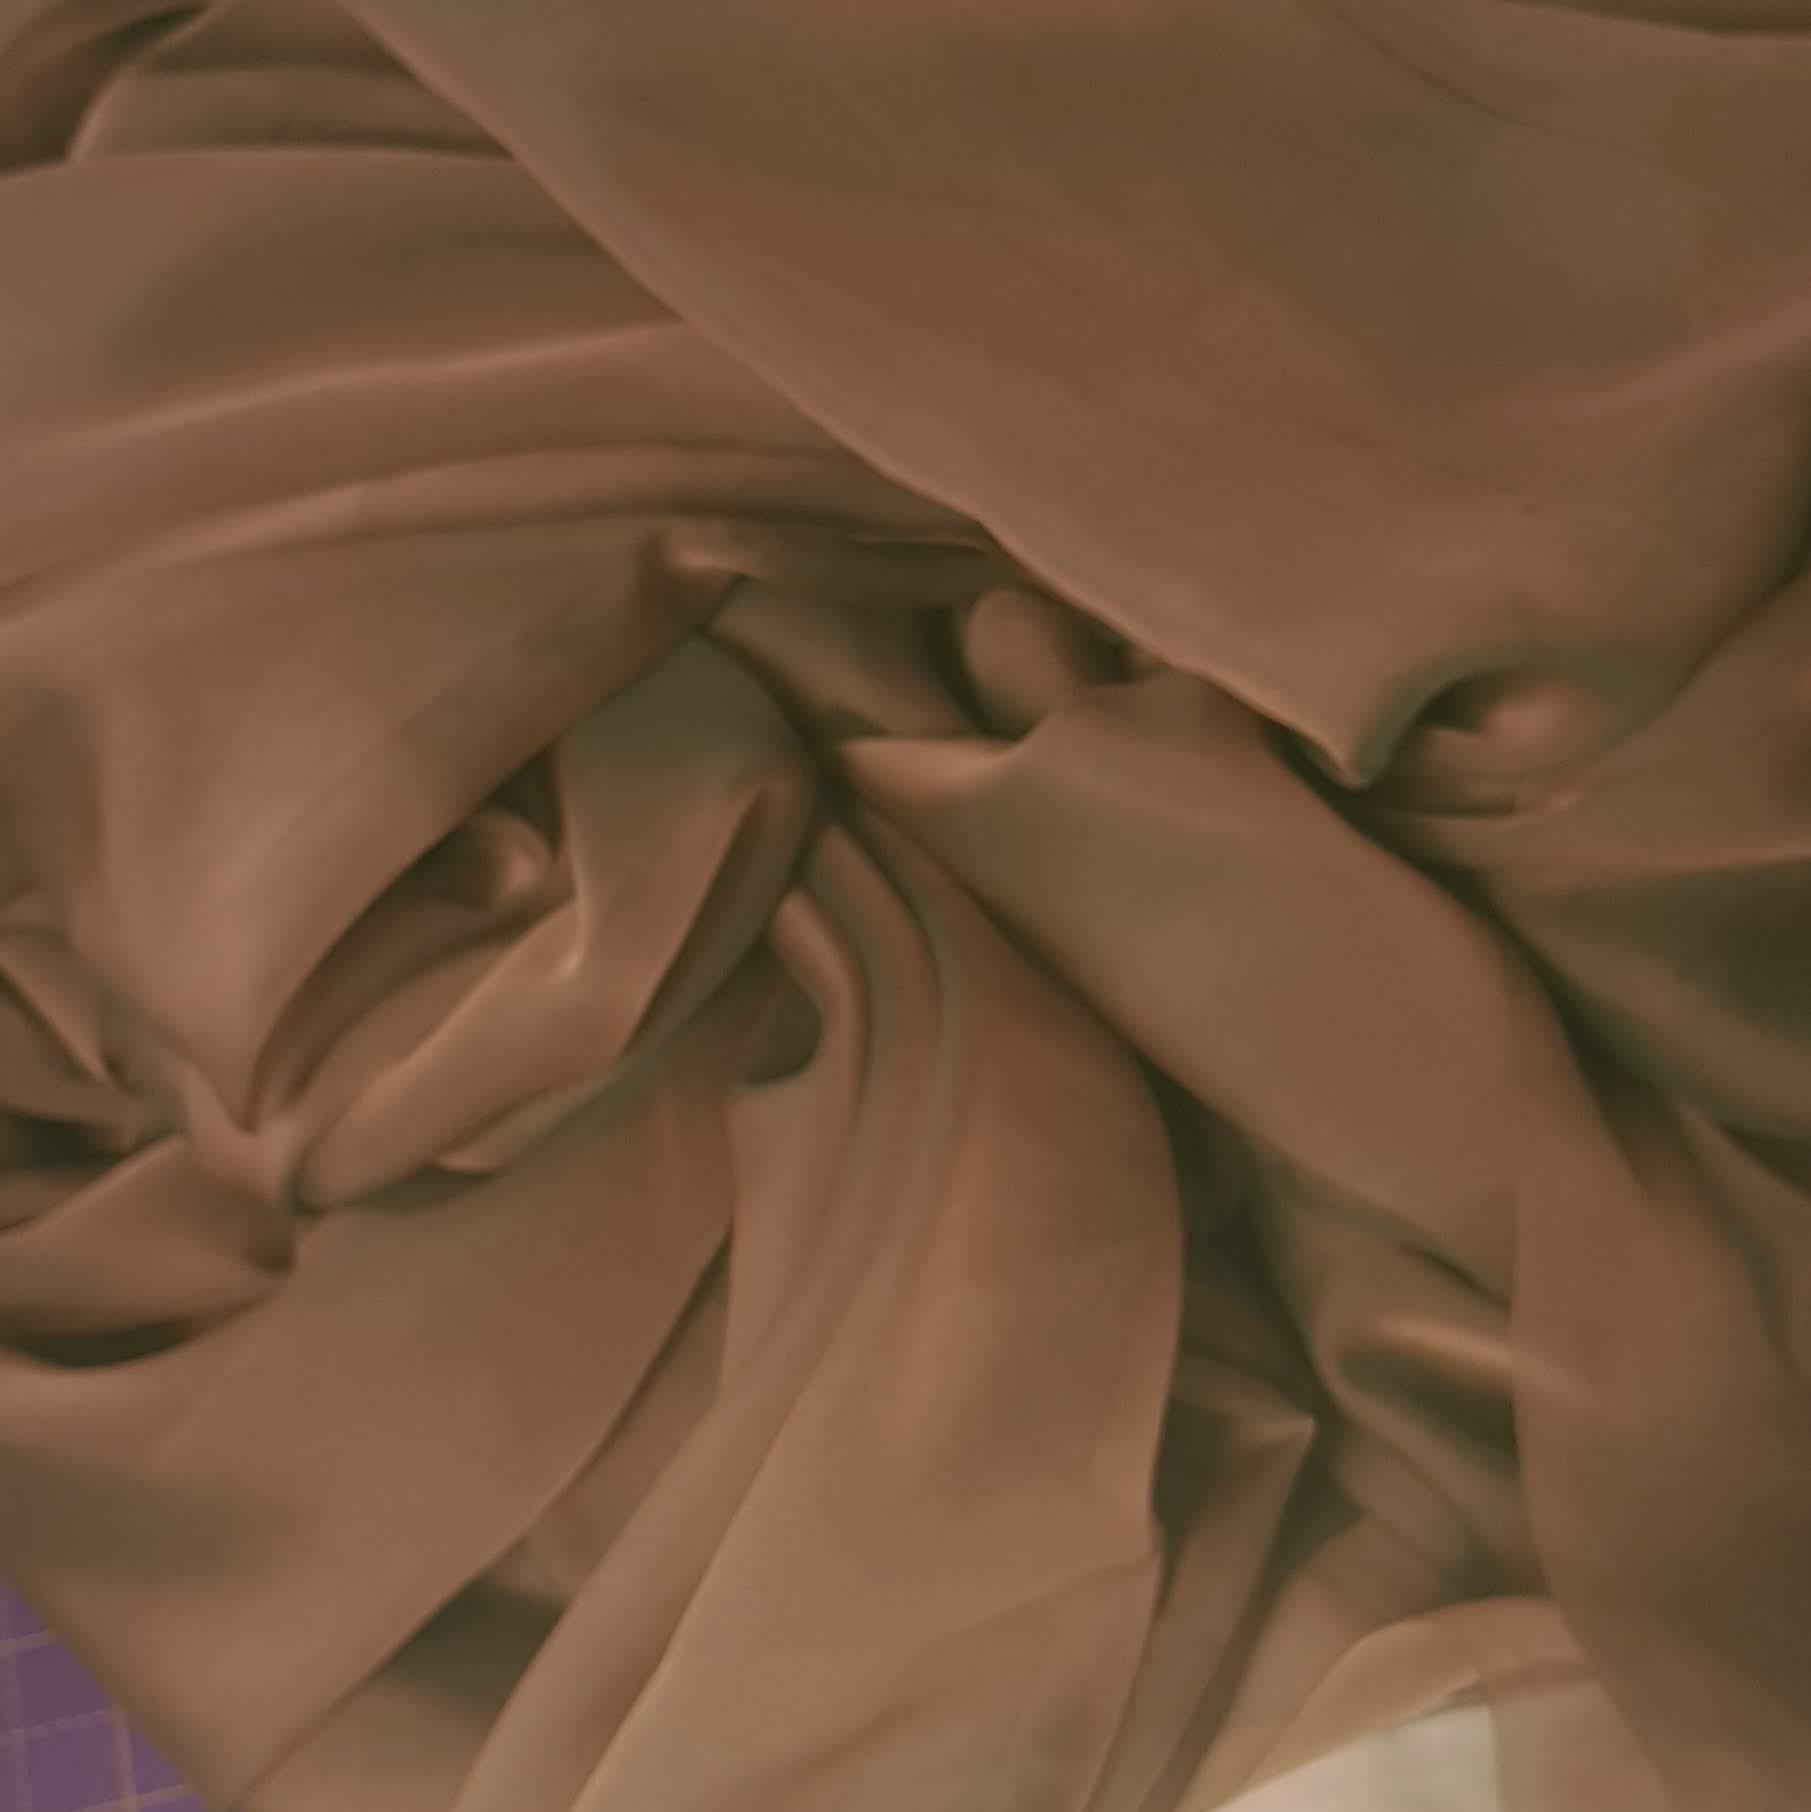
This Cationic chiffon fabric is divine. It is 100% polyester and it has a lovely smooth and silky handle to it. It has an iridescence to it and a two-tone appearance in the changing light.
I’ve been ogling sheer trench coats on the fashion webz for quite a long time, you can see my inspiration board here if you’re so inclined. I was also entranced by the X-rayed pieces on display at some of the recent fashion exhibitions at the V&A.

Here is the final inspiration, Dolce e Gabbana Organza Trench. Full retail price £1400, bear in mind that this is nylon, not even silk! Even with the sale price this is still waaay outside my budget for clothes.
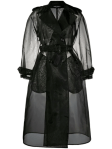
Dolce e Gabbana Chiffon Trench Coat 
Dolce e Gabbana Chiffon Trench Coat

So I decided I’m finally going to make my sheer trench. I’m using an old Vogue pattern – V8179 which again comes out of the pattern stash. I used view C which is a belted overcoat with large lapels and in-seam pockets, but I’m considering putting patch pockets on as well but they’re more visible. Side note: illustration of view B looks a lot like me in 1997 when I think I bought this pattern (translation: representation matters).

Probably the most essential thing to do when you start making anything with this fabric is to apply Fray check and make sure that you handle it as little as possible. I think I made a double error in that I didn’t stop the fraying from the start and also so I tackled this in instalments. I can imagine the more you handle this fabric, the more it will fray so stabilise it and work on it as quickly as possible. #topsewingtip I actually have a lot of leftover hairspray from when I used to straighten my hair. This makes an excellent substitute for fray check, simply spray on your edges and it will stabilize those threads and wash out later.

Sewing this sheer fabric means French Seams on everything, and although this is a relatively straightforward garment to construct, it means that you’re making every seam twice.
French seaming involves first sewing the seam with the wrong sides of the fabric together, yes the opposite of everything you’ve ever sewn before. Then you flip everything right sides together and sew a second seam which encases the raw edges. This double seam should be on the inside of your garment. It still needs to be finished well because it will show through the sheer garment.
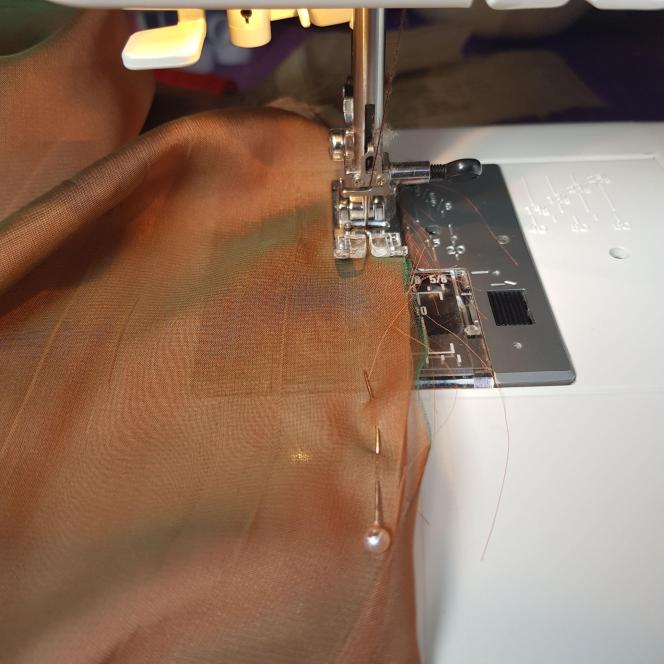
the first inside-out seam 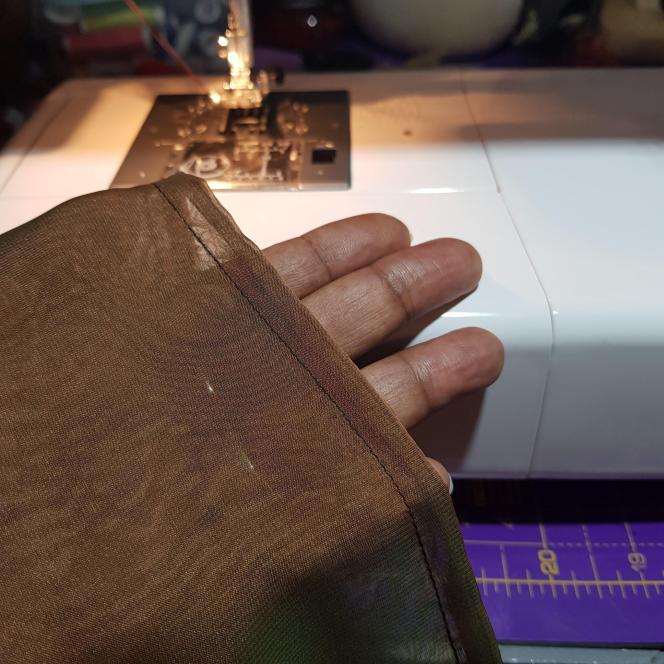
edges all encased
Another recommendation I’d make is not to use too complicated a design. You’ve got to be so careful on this and I always struggle a bit with things involving complicated spatial awareness. You’re talking about turning things inside out and back to front multiple times here, which is guaranteed to confuse my brain: – cue multiple missteps as I repeatedly failed to tell my wrong side from my right side, not to mention my right side from my left side. It took me 4 attempts to get my right front and right side front (…that’s easy for you to say!) sewn together the right way around on this garment. Hence the need to point out the wisdom of sewing this garment as quickly as possible and using Fray check as these mistakes meant more handling than is ideal and I probably lost a few millimetres of fabric because of this.
I went back and forth over the pockets; the pattern has in-seam pockets that I was really nervous about how to insert those using the French seams. This taxed my brain so much I didn’t think I’d be able to cope with so many inside outs and back to fronts.
However, I decided to press ahead with the in-seam pockets. I inserted the pocket to the side seams wrong sides together then turned and sewed the second seam. Then I had to do the same for the pockets, wrong sides together, then turn and sew again making sure that the seam ended up on the inside. It was actually just as hard to describe it as it was to actually do it! This might have been the most complicated section.
Now I’m very good at following instructions and working out sequences, I think that’s why I find sewing a satisfying pastime. However, poor spatial awareness is always a bit of a problem for me and as soon as you start having things back to front and inside out; opposite and then back the other way round again that’s just a Recipe For Disaster – my brain gets addled and I’m not quite sure which way is in or out so this was very difficult doing this section. So one of the pockets turned out upside down and therefore I had to unpick the entire side seam and the pocket and do it again. As you can imagine with this fabric, I was not enjoying this part of the process at all.

I spent a long time mulling over whether to try to add storm flaps to make this a ‘true’ trench but in the end, I decided against it; more drafting, more manipulating – I thought I’d better not add to my troubles. I also dispensed with the epaulettes and cuff tabs and opted for simplicity.
I had to be a little creative when finishing the hems. I used the narrow hem foot to finish the raw edge but it didn’t look crisp enough to leave it like that so I did a turn-up but then I thought I didn’t want a line of stitching visible, so my solution was to use seam tape to secure the hem turn up on the coat and the sleeves. I cut a very fine strip of fusible seam tape no more than 5 mm and used that to secure the hem. It is just visible up close but I don’t anticipate anybody getting that much into my personal space to inspect my coat hem.

So another dream make is complete. I love the finished garment and I had great fun in a #spareroomphotoshoot practising my party vibes for whenever we have a shindig.


If you get the urge for frosting, even if you have ‘nowhere to go’ I recommend you do it anyway. A bit of frosting is good for the lockdown soul.
Thanks for dropping by,


Wow, your coat is stunning! So stunning. I am just about to sew my own bit of frosting , a velvet cloak. No idea when I will wear it but I just have this desire for a big, swirling, soft cloak, so that will be my New Year project!
LikeLiked by 1 person
Oh, thank you! Definitely make the cloak, that sounds a marvellous idea. I have nowhere to wear mine yet, but it was really enjoyable making things for better times. I look forward to seeing your cloak.
LikeLike
You look so stylish!
LikeLiked by 1 person
Thank you so much, it was a lovely project and hopefully, it won’t be too long before I get to wear it for real.
LikeLiked by 1 person
This is so fabulous! Did you also sew French seams for the sleeves?
LikeLiked by 2 people
Hi, thank you! Yes, I ‘Frenched’ it throughout. It was another bit of holding my breath and trying to keep up with the inside-out/outside-in process, but that was actually easier than the pockets.
LikeLiked by 1 person
Chiffon is tricky to sew, your coat is very stylish. I hadn’t thought to use hairspray on chiffon! (I did once use sticky tape to hold it to my table once!)
LikeLiked by 2 people
Thanks for the visit, the hairspray was a spur of the moment thing – but the sticky tape is a good idea too!
LikeLiked by 2 people