
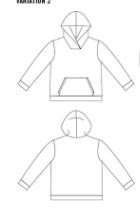
After making the Finlayson sweater for Gary I took a shine to the interesting collar neckline and decided that although this is a menswear pattern I wouldn’t mind having a go out turning this into a dress.
I also thought it’d be cool to try the hood attachment rather than the collar I used before, that will be a nice touch
I had another piece of this sturdy cable textured knit fabric in a plum colour that I wanted to use and thought this would be ideal as it was still really cold even though it was nearly May.
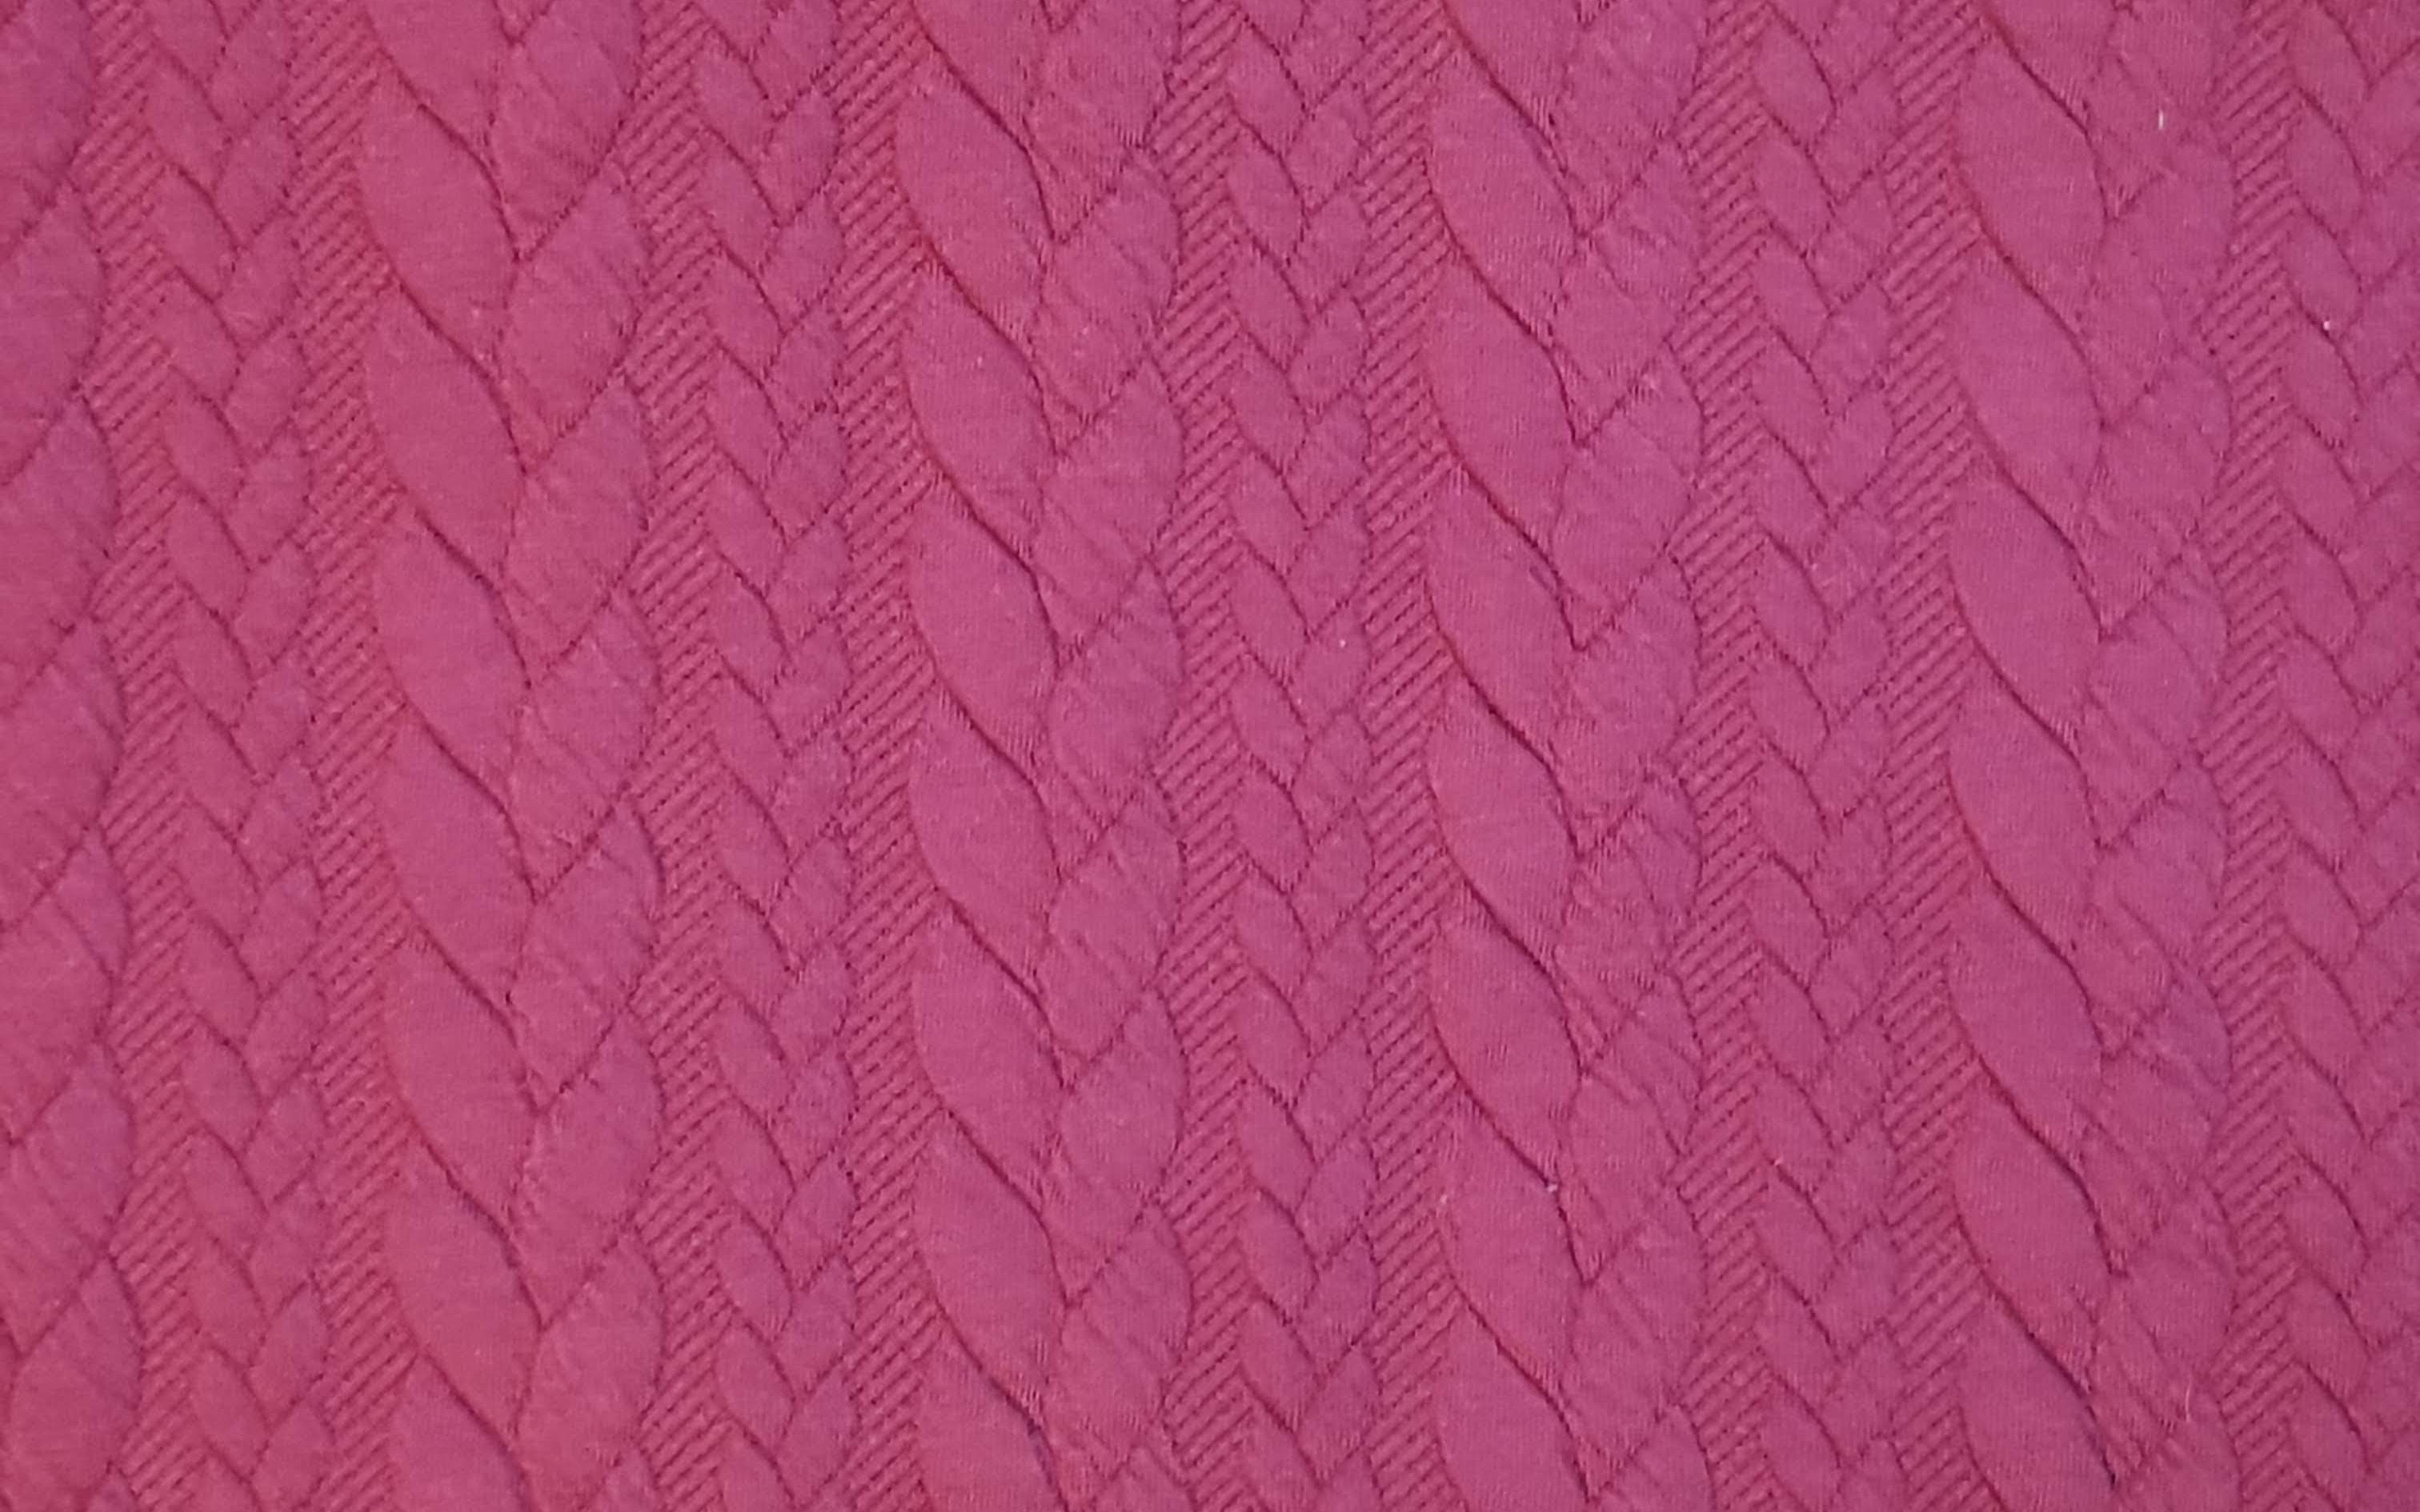
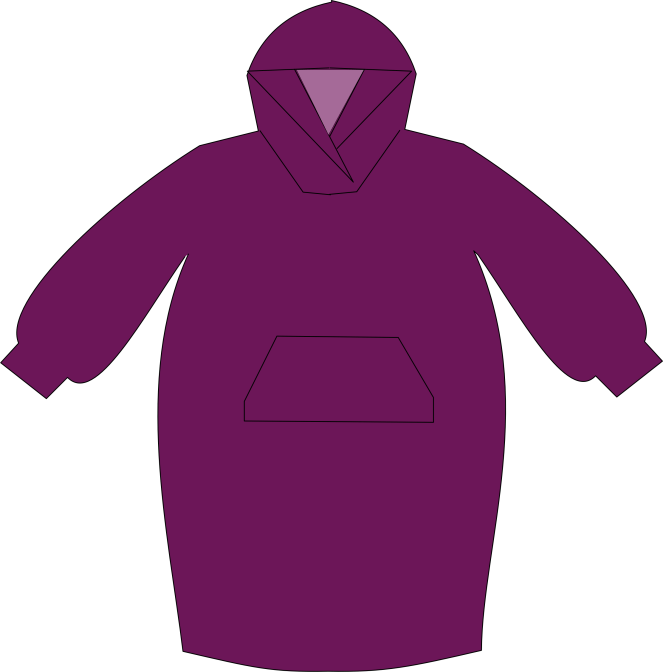
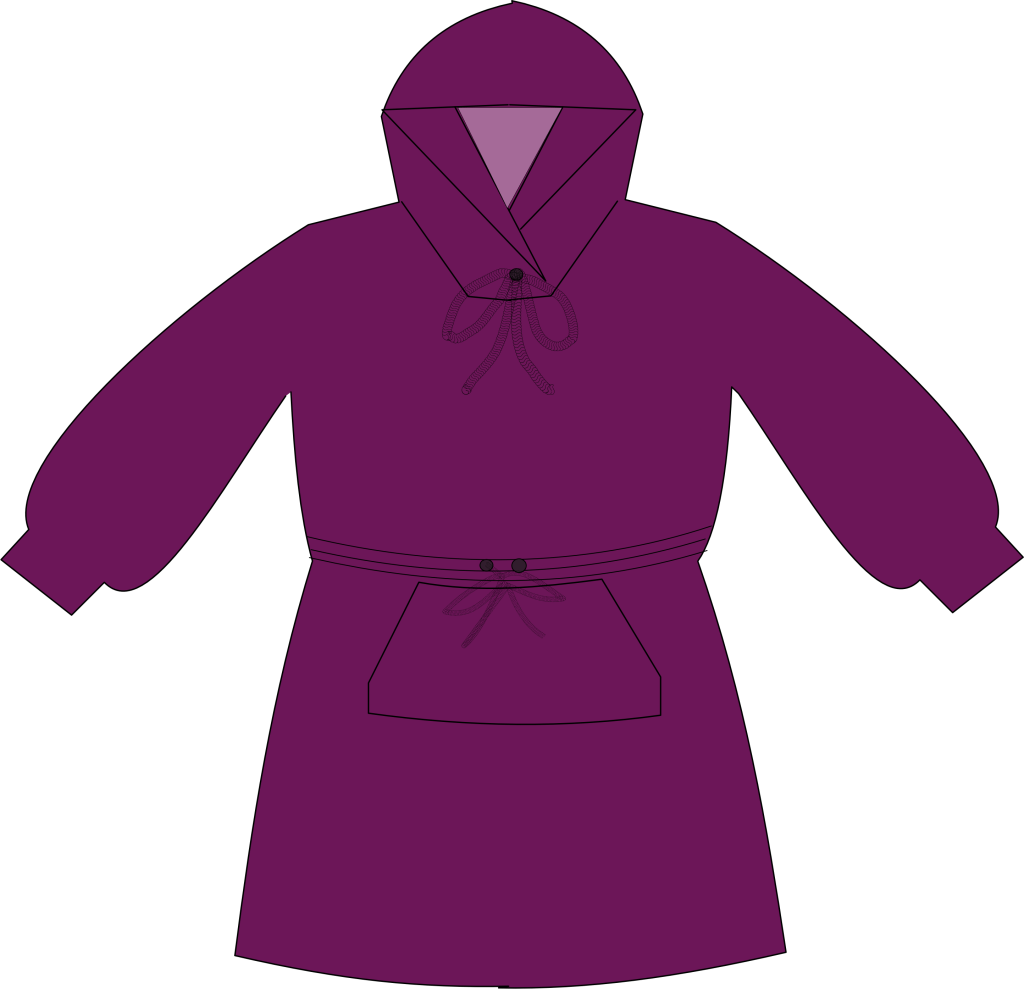
What I had in my head was to lengthen the top to a dress and reshape it so it had a kind of cocoon shape. I wanted sleeves that were a bit fuller than the men’s version and I was going to use the hood and kangaroo pouch pocket that comes in the pattern.
How it started 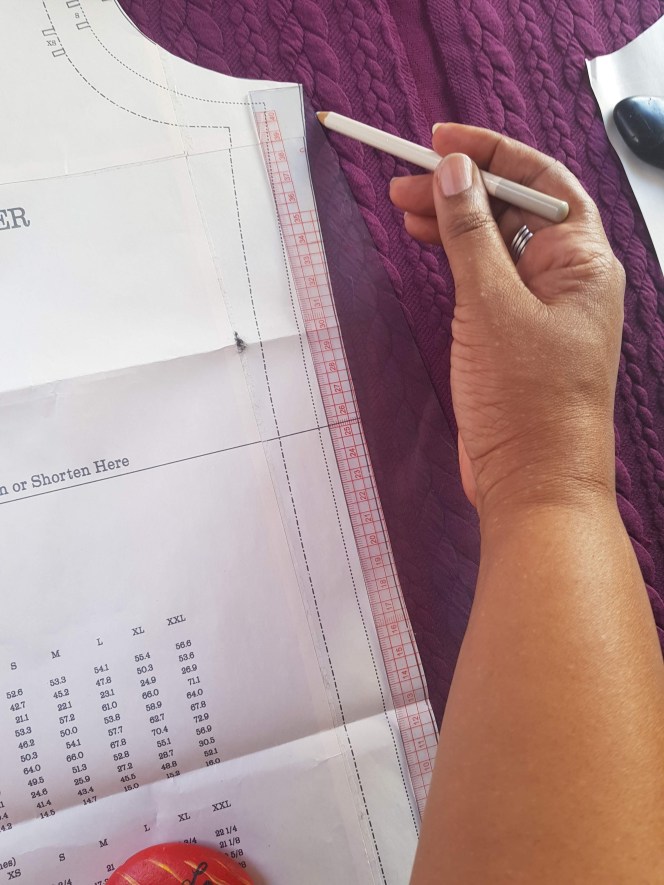
There is a deep back facing which is the first section to sew. You should add any embellishments like labels at this point. Once you attach it to the back you cannot then add anything or it will show on the outside.
facing
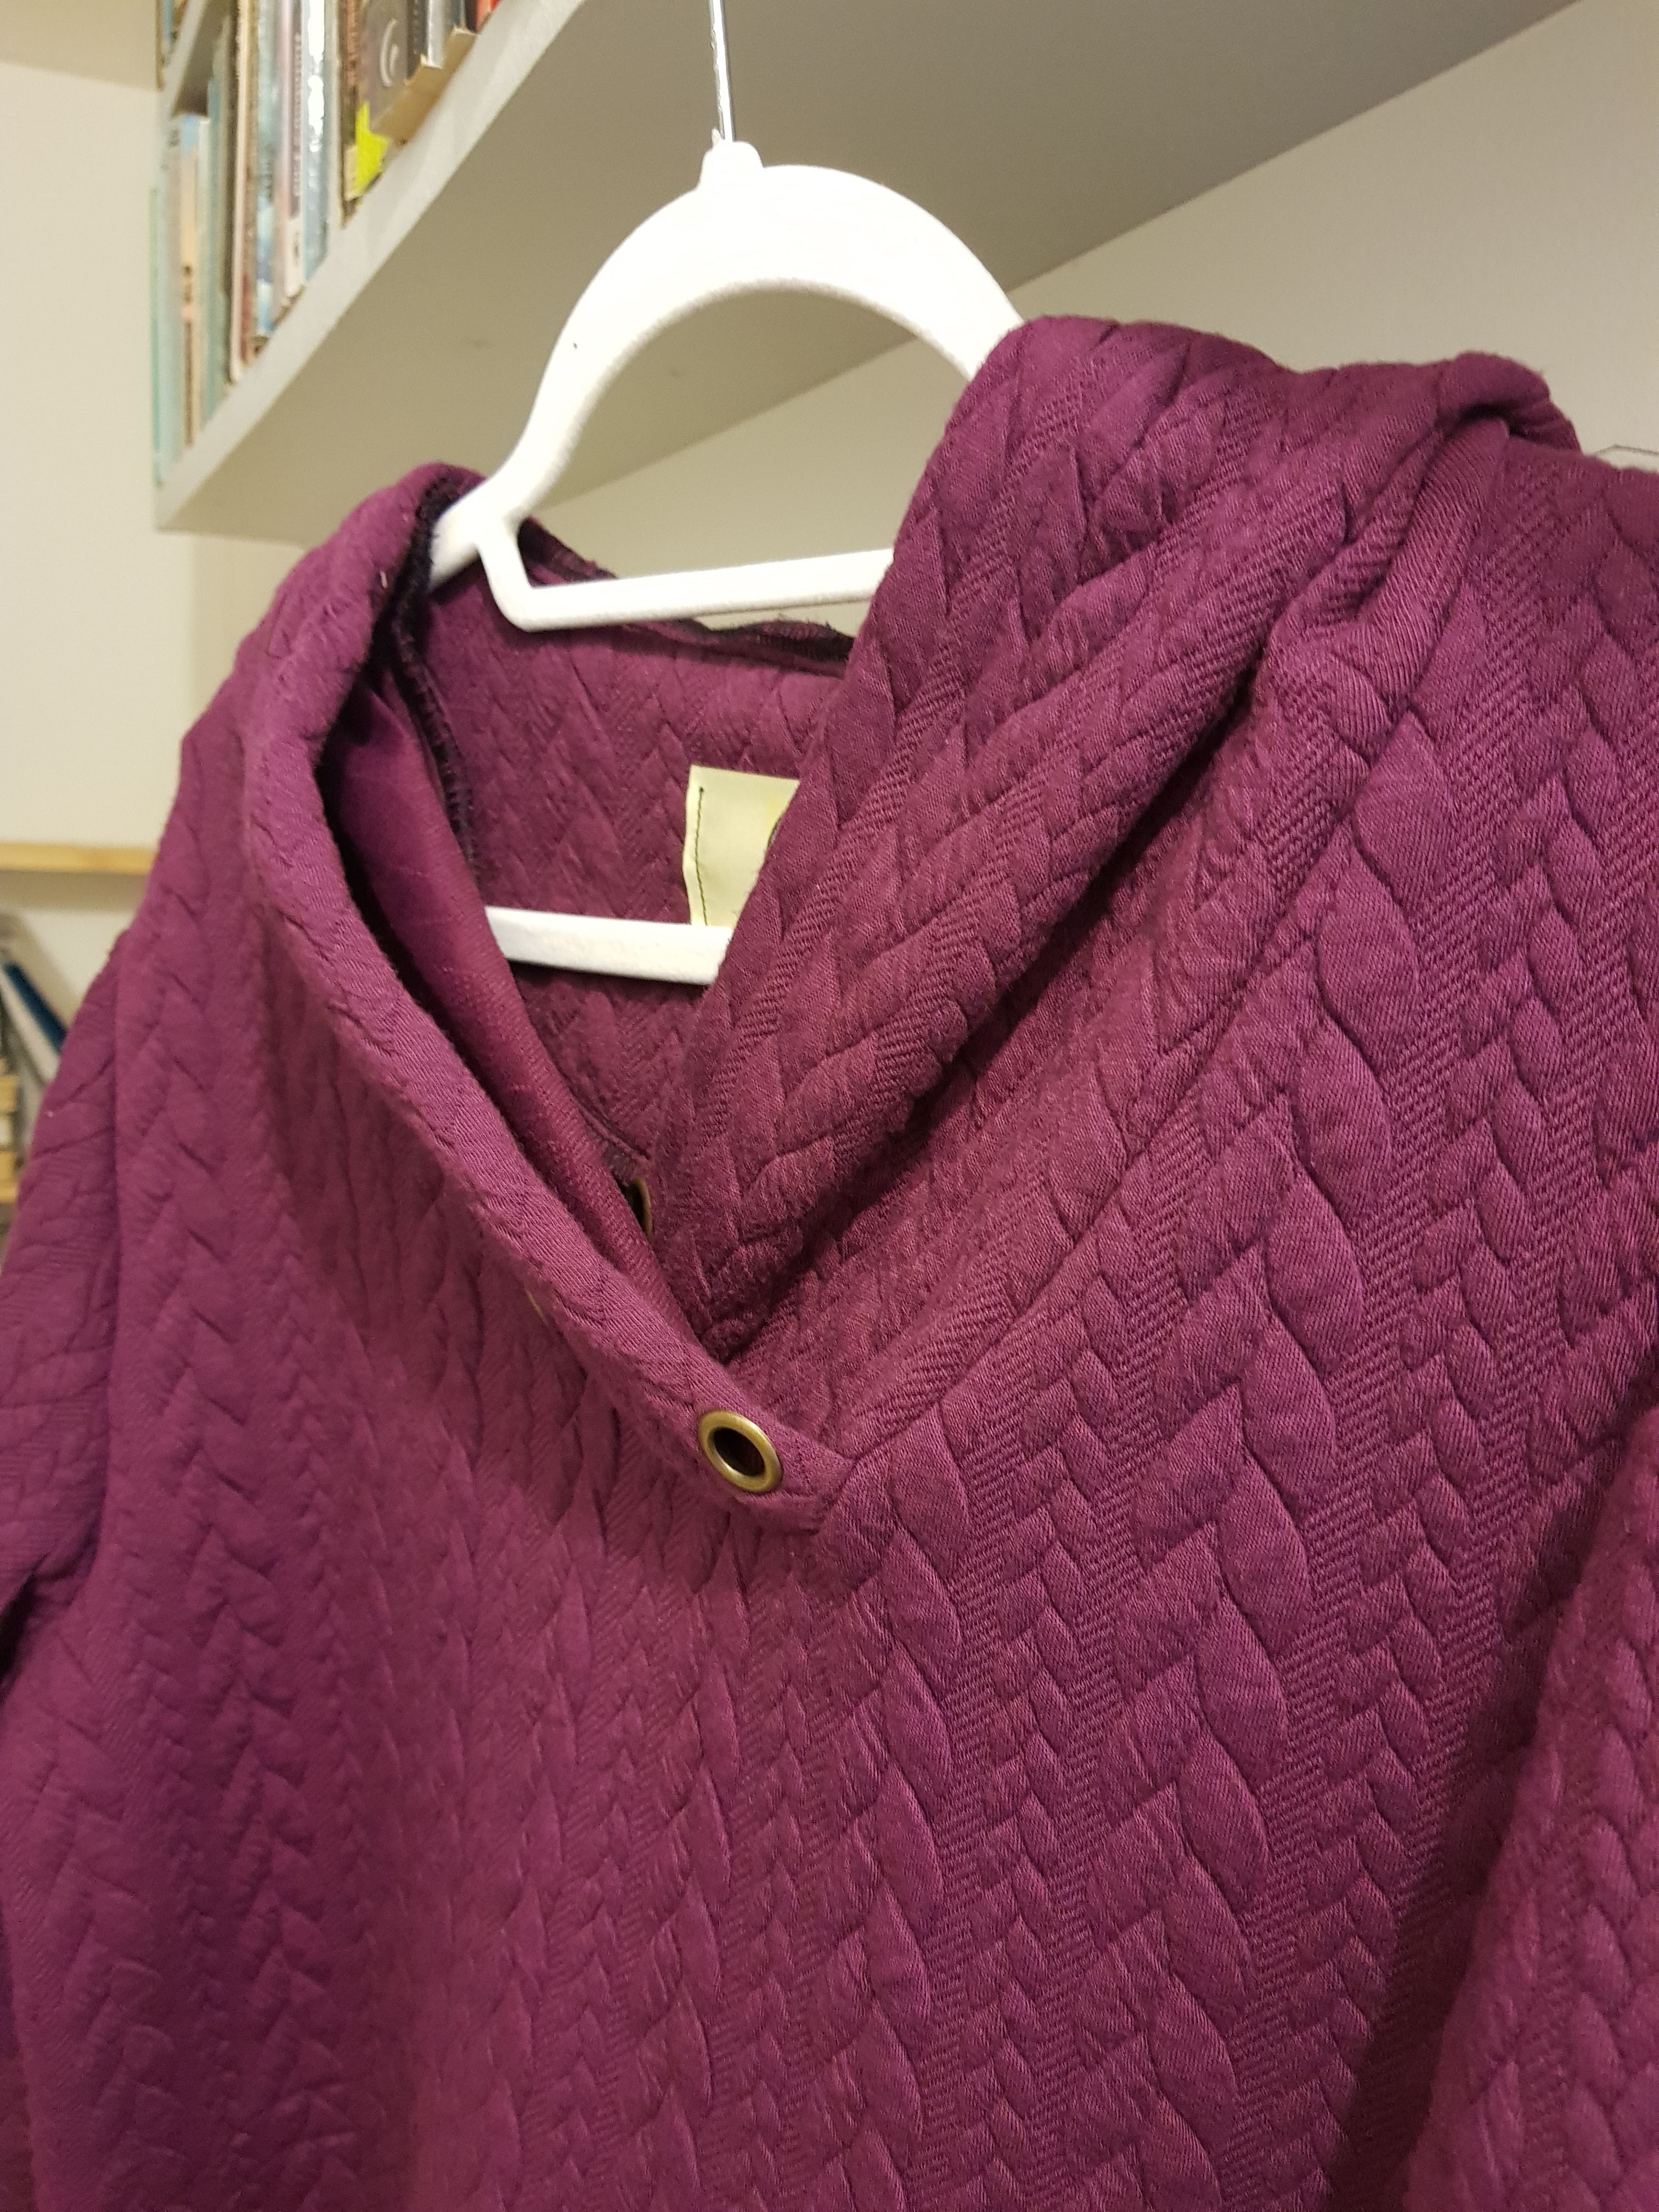
When I got to the stage of adding the hood I tried it on before assembling and then remembered one of my fitting issues which is #bigheadproblems. I’d love to be a hat wearer but my large noggin together with my big hair means that most hats are too small for me, beanies never cover my ears, which in my opinion is the point of a beanie. I once had a couple of those lovely wide brimmed felt hats but they never sat well and even the cool fedora that I tried for a while really doesn’t do it unless I’ve got my hair straightened. So I had to make this hood bigger and of course I’d already cut it out so I added a strip of fabric at the front. While I was thinking this through I decided I needed to have a drawstring to pull the hood tight even if it does end up being no more than ornamental.
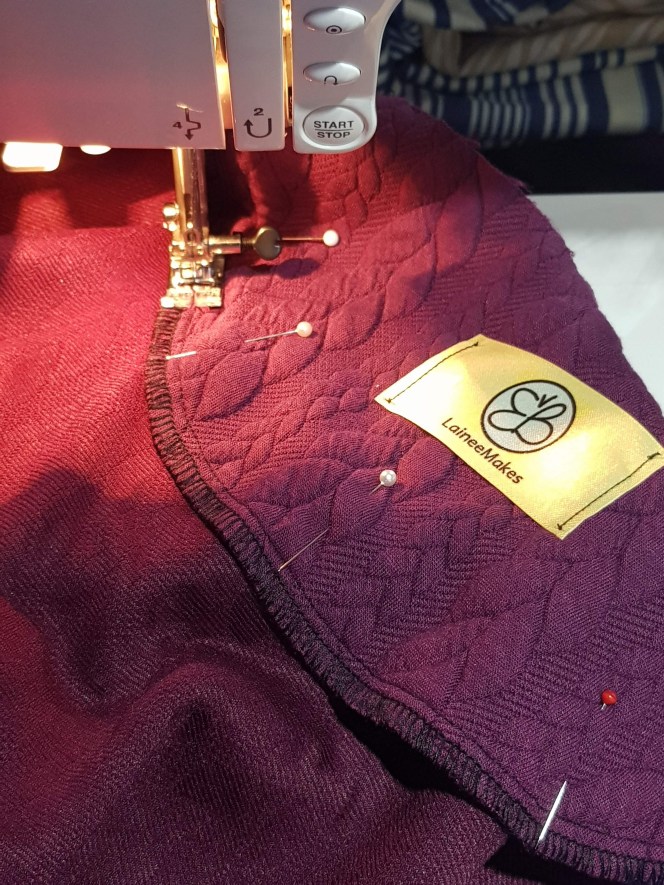
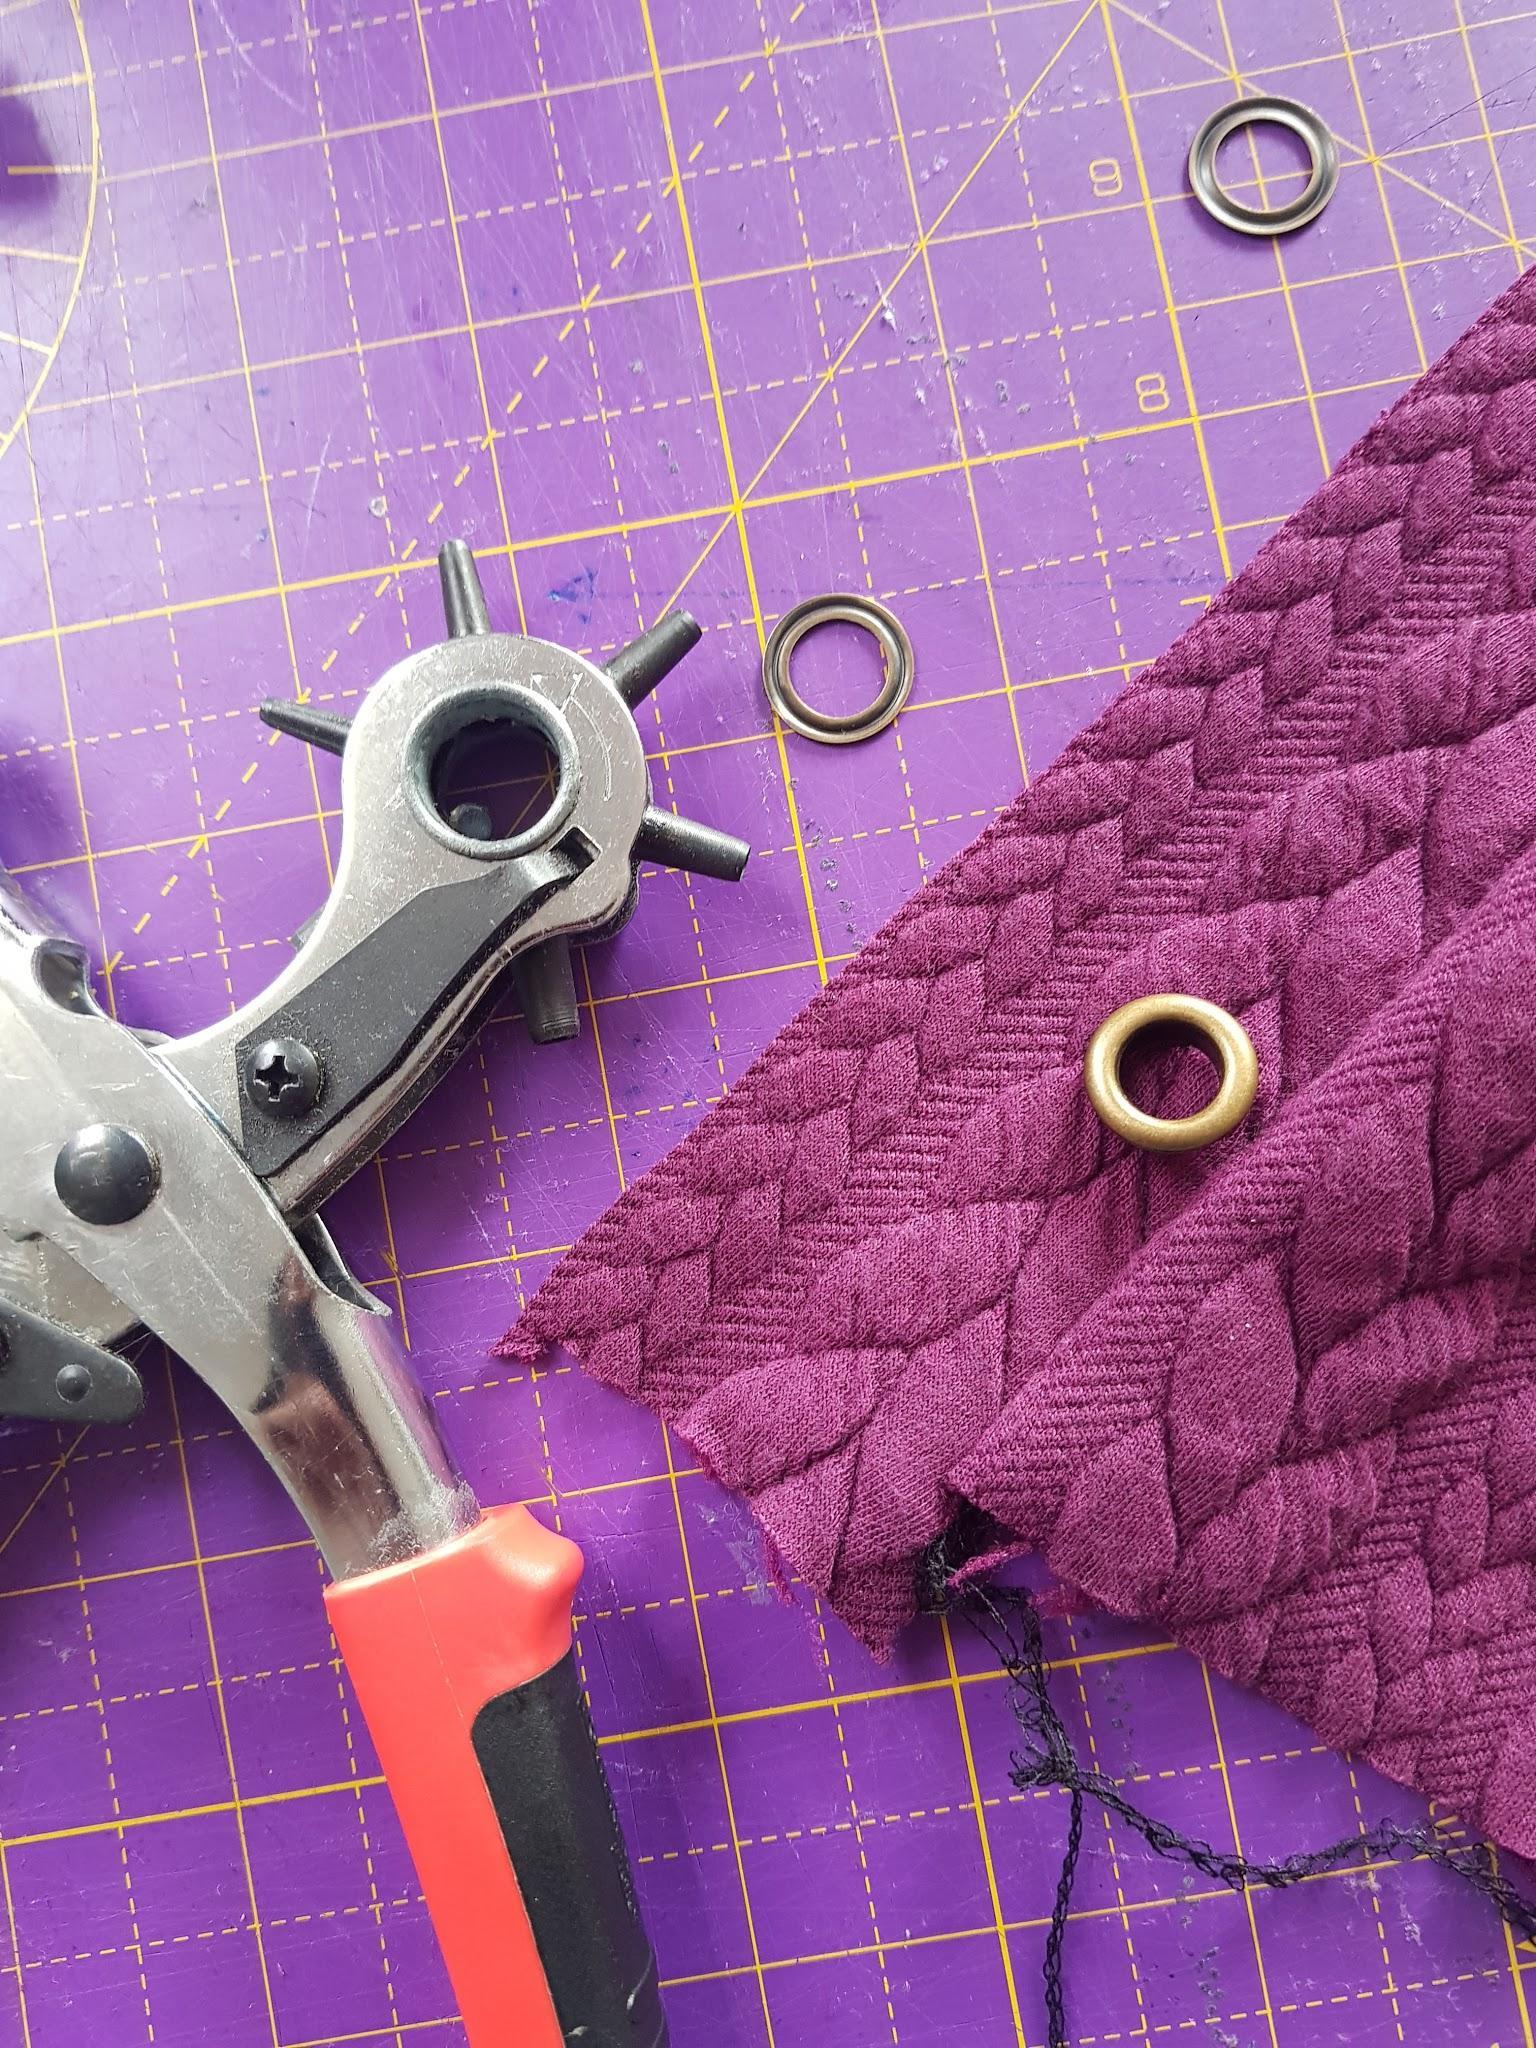
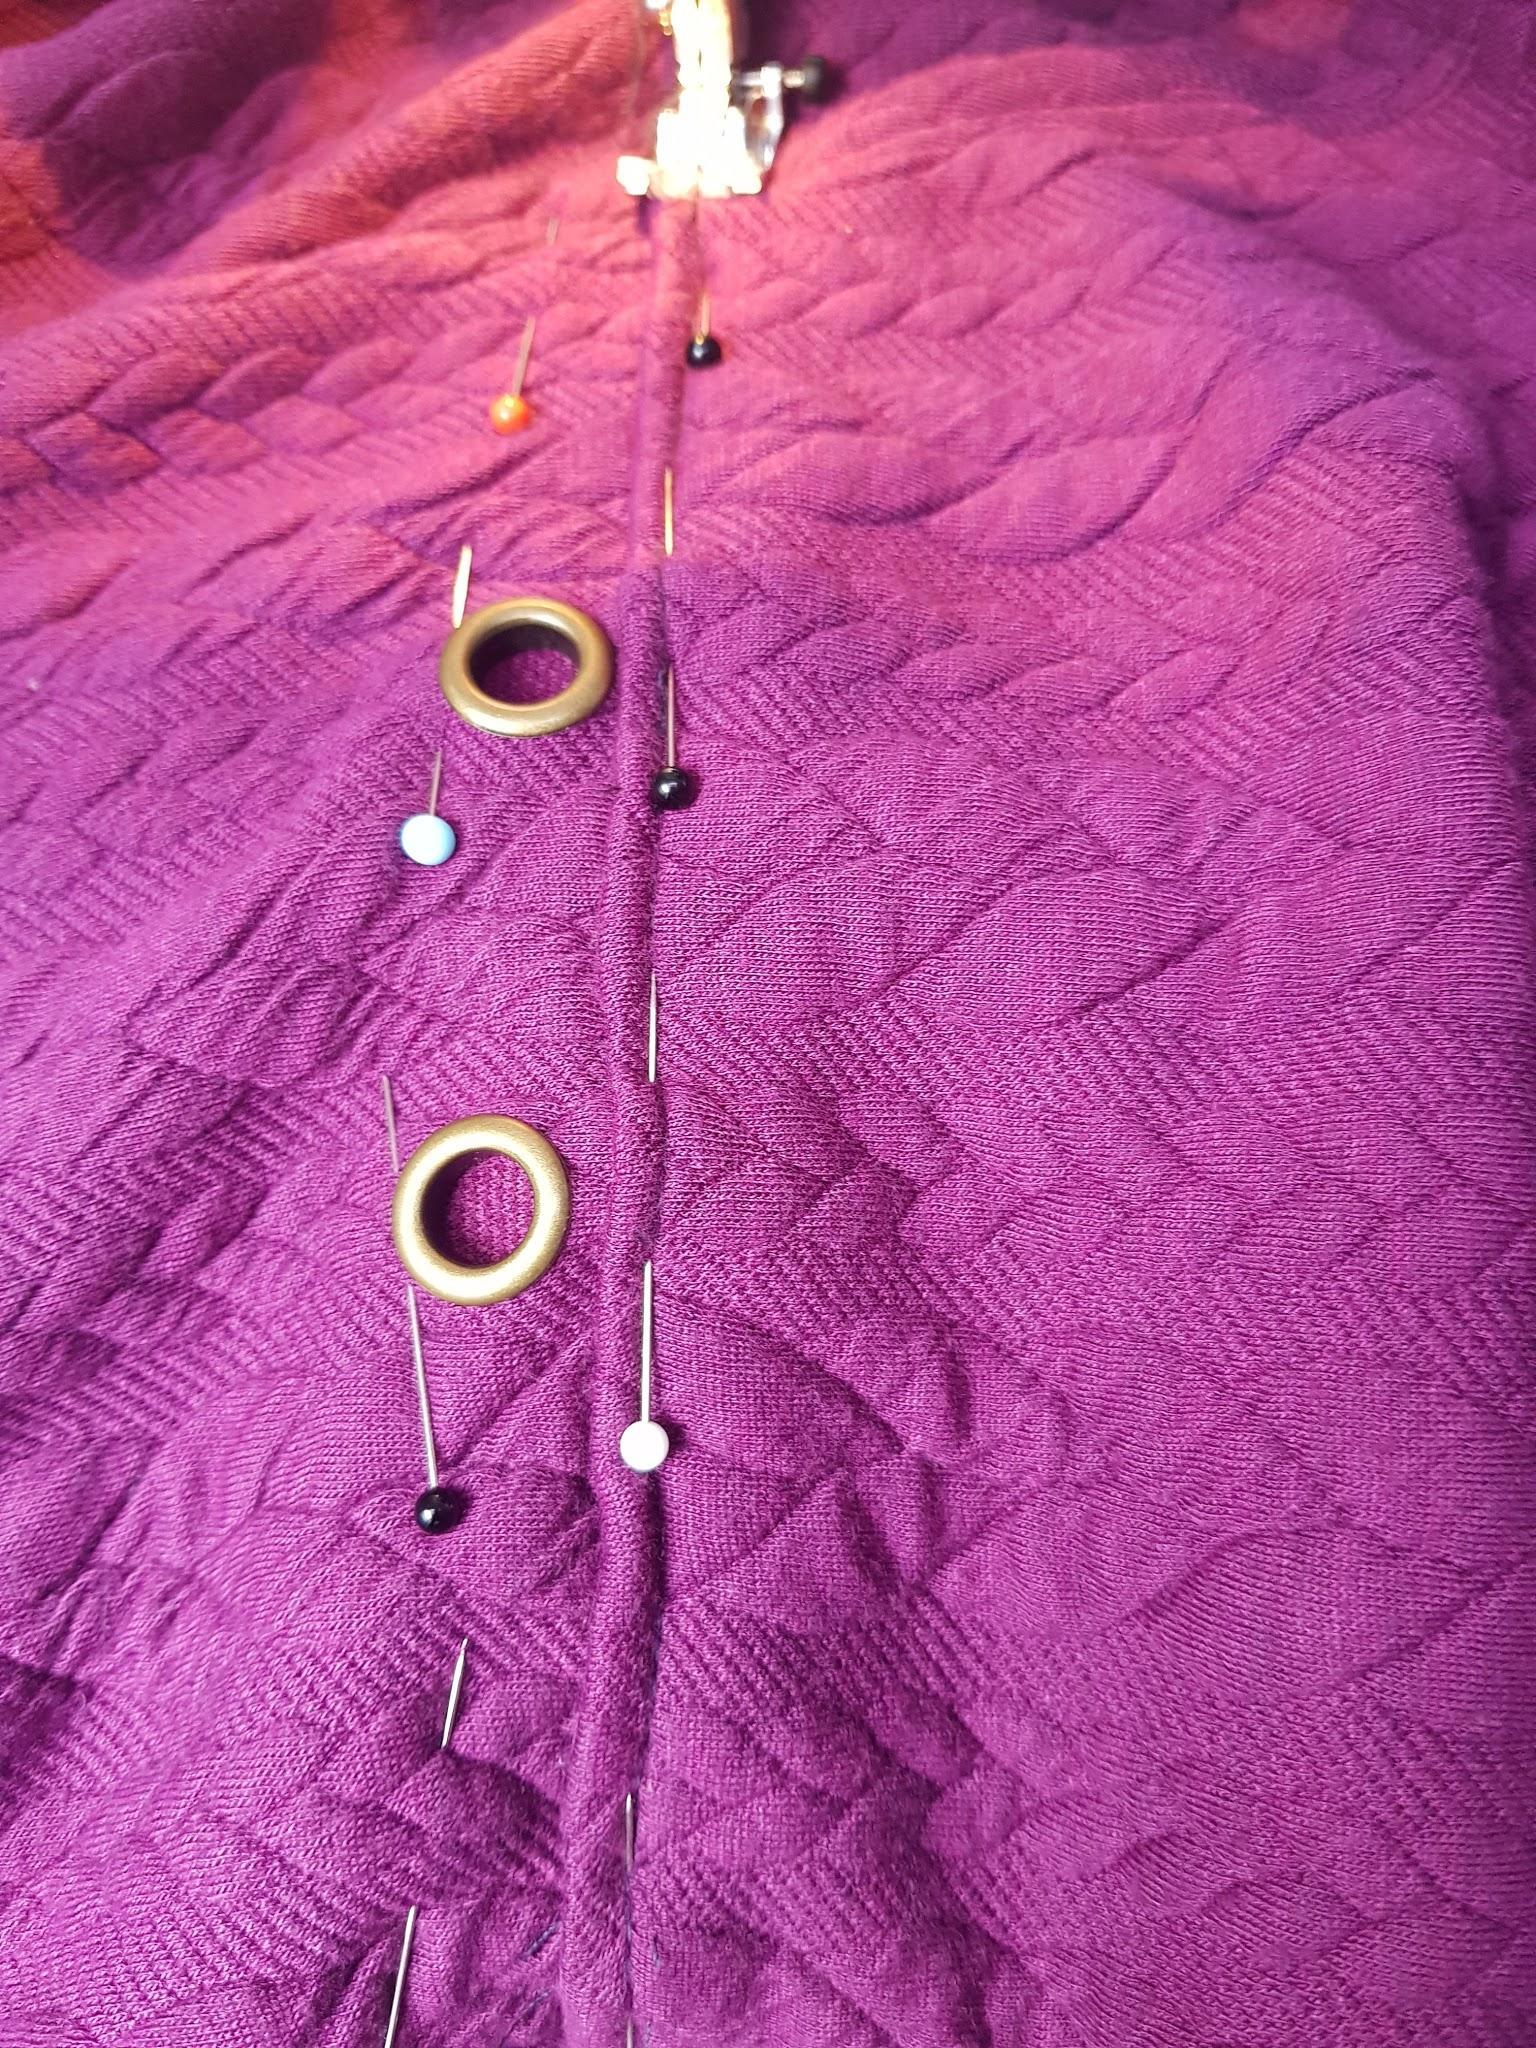
This gave me the opportunity to use some of the several hundred eyelets that I seem to have acquired over the years. I attached a 4cm strip of fabric with the overlocker then I inserted an eyelet on either end of the strip before closing it up so that the cord could go through.
So far so good but when I went to install the hood I realised that due to to the style, one of the eyelets was going to be hidden inside the overlap, so I ended up adding a third eyelet on the outside layer opposite to the first one.
Once the hood went in it was an easy task to sew up the side seams and the sleeves and there here you have a garment. When I tried it on, I was underwhelmed as it was very wide and very long. My estimations of how much to add on to give the shape that I wanted were way off. The cocoon shape that I had in my imagination just didn’t materialize and with the length down by my calves, this hoodie resembled nothing more than one of those towelling changing things that those people who swim in the sea wear. I decided to return to a straight silhouette for the dress and chopped off the good 20 cm of the bottom – it now hit around my knees.
This dress is a bit of an experimental hack and by the time I reached the almost final fitting and reshaped it from the cocoon shape I’d started with, I decided I now want to add drawstring at the waist. I put in a couple more eyelets at the centre front and then tried to figure out putting in a channel for a cord. Definitely into ‘making it up as you go along’ territory by now. I cut a 3 cm -ish strip of the fabric that I had cut off the bottom to make the channel. I guesstimated about 2 cm which would allow the cord through.Then after about a bit trying to finish it with a zigzag edge, I decided to go about it another way. I intended to top stitch the strip which meant pinning on the inside and then figuring out how to somehow get the pins on the outside. So here we are with the width of the strip eyeballed followed by estimating its position by feel – So professional! This may work out brilliantly or it may end up looking absolutely shite.
After wrangling with the channelling which was a slow painstaking job I say painstaking because I managed to jook myself with pins several times – I eventually completed it reasonably well and I just had to wait for my cord to arrive to see if this had been a successful experiment or not.
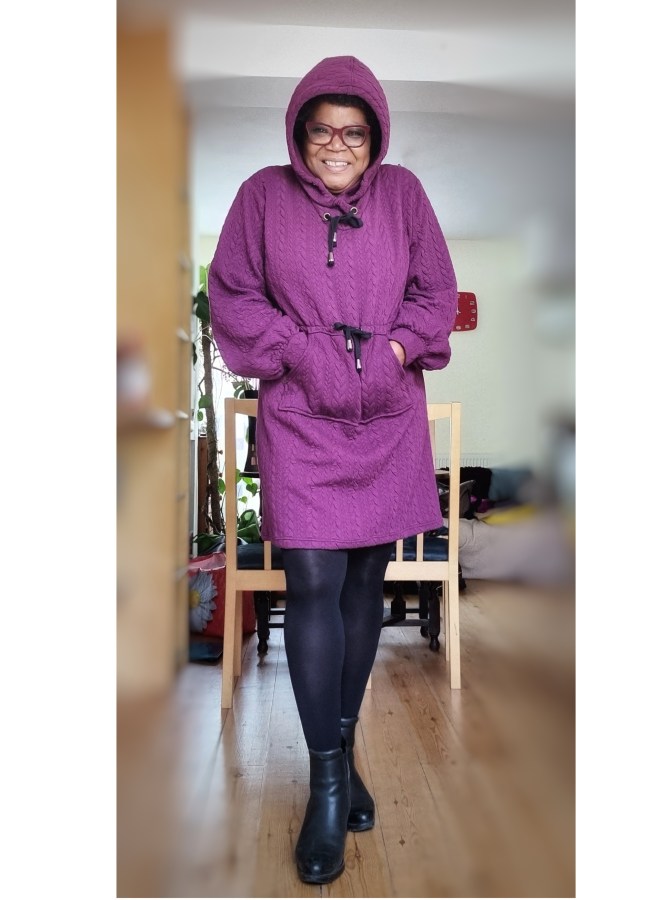
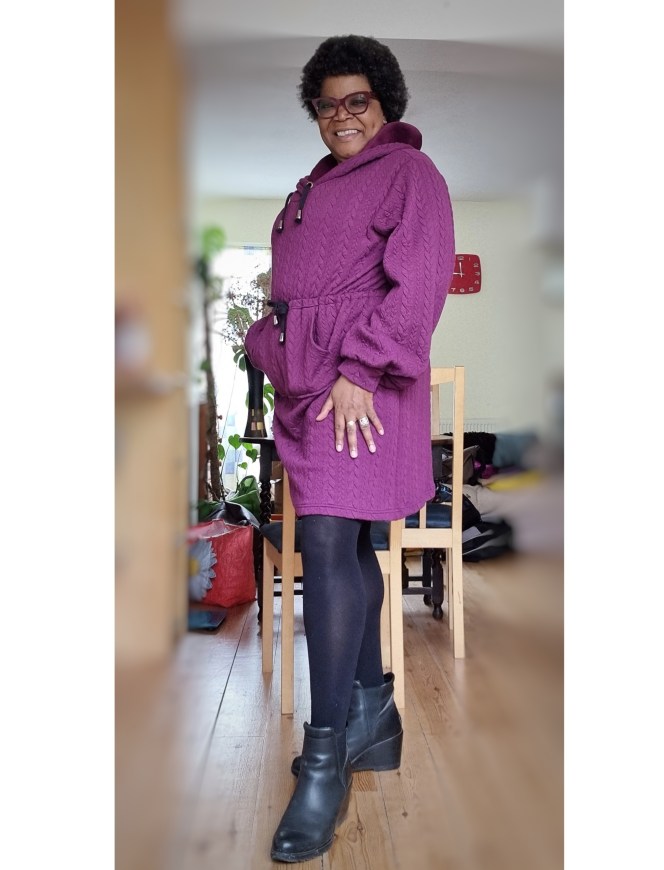
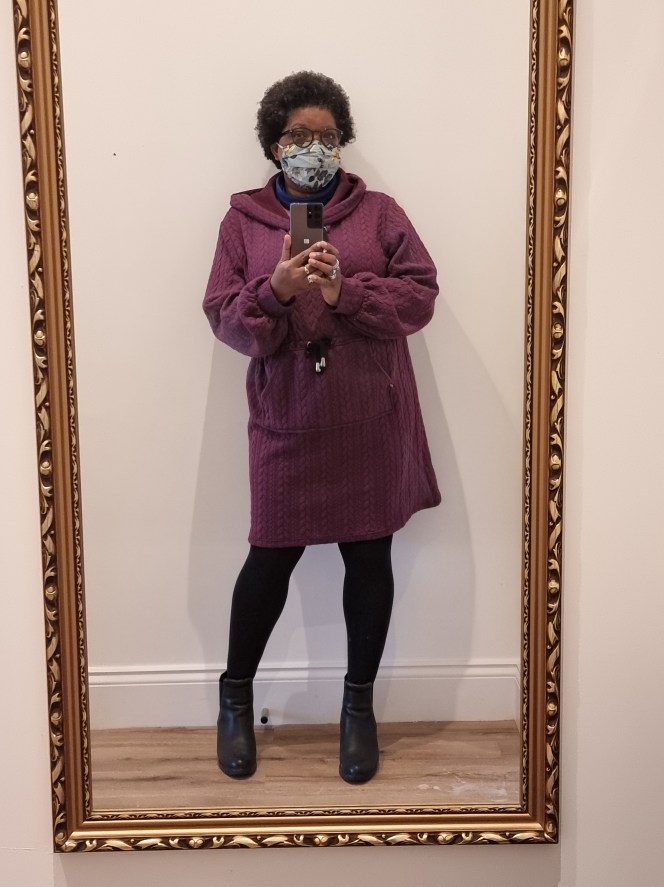
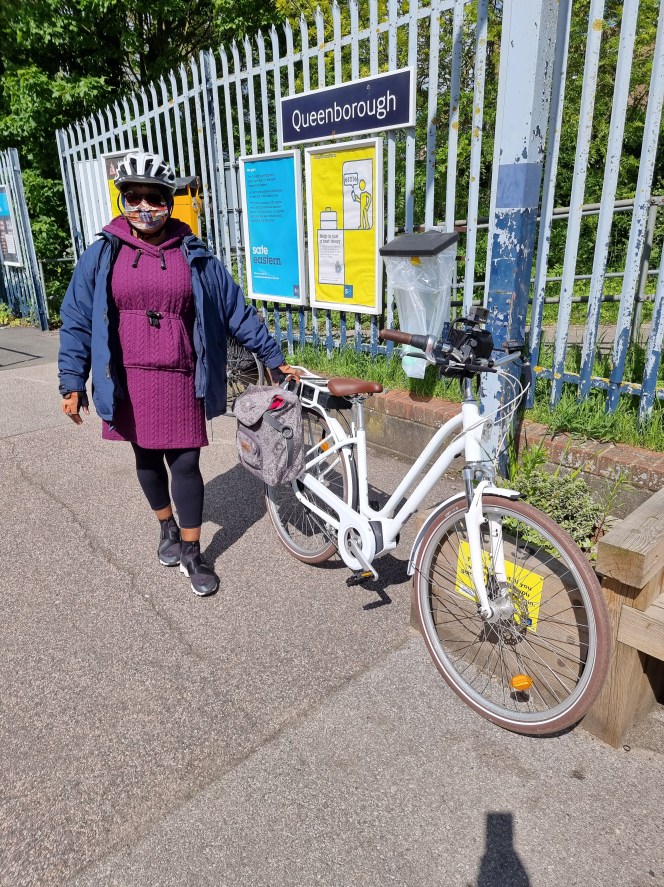
The finished dress is very pleasing. Knee length, cosy, roomy enough for tee shirt underneath if necessary – I am very happy with it. It’s great on its own or with leggings, it is a good cycling outfit. It was another thing that helped in the really cold spring that we had this year. I wore it a lot well into May and it’s nearly time to break it out again now that it’s Autumn.

One for the plus pile I think. Do you ever do ‘stream of consciousness’ sewing – making it up as you go along? How did it go?
Thanks for dropping by,


That came out amazing!
LikeLiked by 1 person
Oh thank you very much!
LikeLike
I really love the finished object, and it’s great hearing how you were able to tinker with it as you went along to make it work for you. I am still a beginning sewist so I haven’t tried anything like stream of consciousness sewing, but I’d love to get to a place where I’m comfortable doing that.
LikeLiked by 1 person
Thank you, I’m glad you liked it. As a beginner I always wanted to do everything “properly” and I think that’s good. When you reach the stage when you have the confidence to just try something out, it takes your craft to a new level. Enjoy your sewing.
LikeLiked by 1 person
Oh you are so talented! That is an amazing hoody dress! I love that you can go cycling in it or wear it out to lunch, etc. Very versatile!
LikeLiked by 1 person
Thanks, Tierney. It really is comfortable and I think it’s going to turn out really useful too.
LikeLiked by 1 person
Your writing makes me laugh Elaine. Can tell you had fun making this one 🙂
LikeLiked by 1 person
Aww thanks, Emma. It’s nice to hear that – sometimes it seems I’m just rambling. It was a fun make and fun to remember it as I wrote.
LikeLike
Holy cow, is that ever cute! Everytime I try to make it up as I go, all I get is a pile of wasted fabric. You look fabulous and ready for a fun autumn adventure!
LikeLiked by 1 person
Ah thank you and welcome, I don’t start out thinking I’m winging it. It just sort of happens. 😉
LikeLike
How clever are you! Absolutely love this. Is it possible to share sizing and measurements in the future? Some of us are older and we’re in the plus size range. I also can’t buy regular hats, so the fact you mentioned this as a concern is also a concern for me. Love this on you, the choice of colour and want to make one!
LikeLiked by 1 person
Thank you Deb, I’m team big hats too. The hoodie was a bit made it up as I went – I didn’t really measure. The original pattern is a man’s 42″ chest – which is also my bust measurement. I eyeballed about an inch on either side on front and back so I guess 4 inches in all then lengthened to my knees. Same with the arms just added a bit on either side. If you have a T-shirt or sweater pattern that fits you nicely, could start there and enlarge it.
LikeLike